The Brute has the biggest health pool in the game and the worst defensive kit: a single protective spell, no invisibility, no way to escape. They do not need one. They close the distance, break their opponent’s legs, and count on the match being decided before they fall.
In short
Role — the Brute is the melee area class of Solwaris: the biggest health pool in the game, and a single protective spell. Its roles: Assault and Control with the original kit, Summon with the variants.
Stats — the Brute has 980 health, 12 AP and 6 MP, with 45% resistance to MP removal but only 20% on AP.
Passive — for every 10% slice of health lost, their Rage gives them +11% damage dealt and +3% resistance, that is +99% damage and +27% resistance at best, at 10% HP or less.
Closing — Charge costs 4 AP, reaches 7 tiles in a straight line, has no cooldown, and brings the Brute into melee before hitting for 23 to 34.
Control — Roar (4 AP) and Stomp (4 AP and 1 MP) strip MP from your opponent; Quake (3 AP) pulls them 2 tiles towards the point you picked.
Weakness — Stoneskin — 70% resistance until the next turn, 3-turn cooldown — is their only protective spell.
980health
12action points
6movement points
20%resistance to AP removal
45%resistance to MP removal
The passive: Rage
Rage
The more hurt you are, the harder you hit and the better you hold: +11% damage dealt and +3% resistance per 10% slice of health lost, that is +99% damage and +27% resistance at best, at 10% HP or less.
At half health the Brute hits 55% harder; at 200 health left, 77%. The bonus rises in steps, a whole 10% slice of lost HP at a time, and caps at +99%. It is the only passive in the game that rewards having been hit, and it completely changes how you read the health bar: a Brute at 300 HP is not a Brute about to die, it is a Brute hitting 66% harder.
The resistance climbs far more slowly than the damage: 15% at half health, 18% at 300 HP, and 27% only at 98 HP or less. It cushions the end of the fight without turning it around: Rage is still a race first. A Brute that commits too early dies with its best bonus active.
The Brute’s eight spells
Mace smash
4 AP · range 1 · 1 cast per turn · no cooldown
31 to 44 damage on an adjacent enemy, and the target loses 12% resistance for 2 turns: everything that hits it afterwards hurts more. The effect does not stack — a second hit only refreshes the duration. So it is an opening spell, not a spell to repeat.
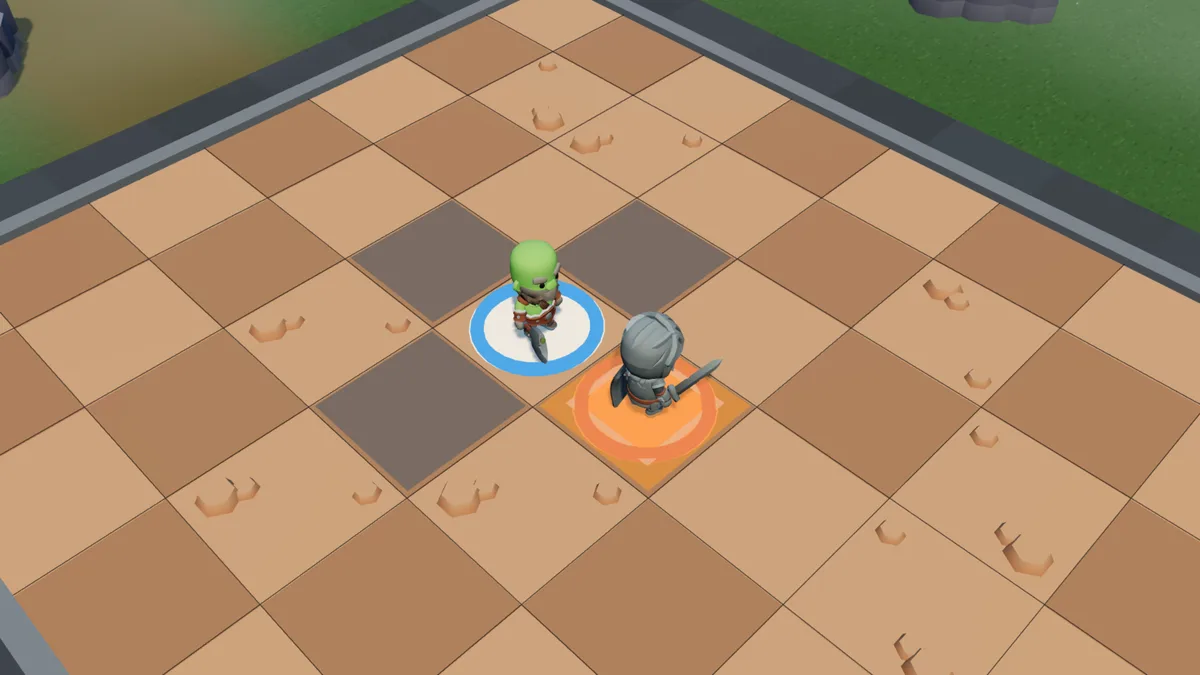
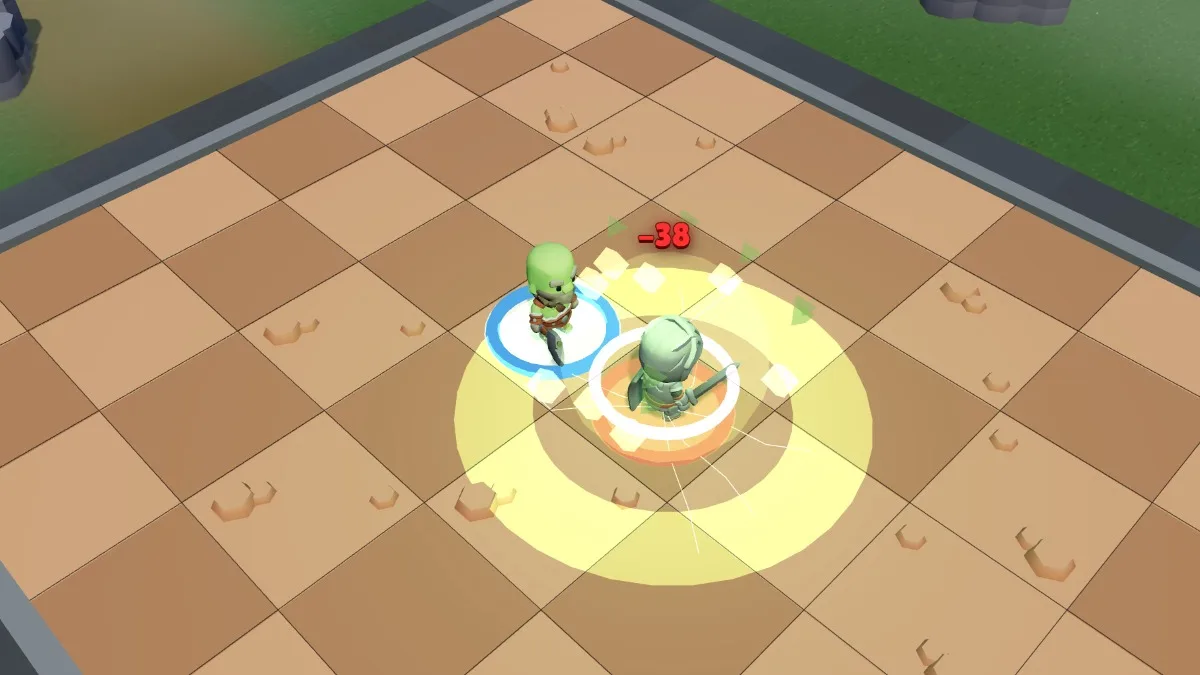
Range 1: an enemy adjacent to you.38 damage, and the target loses 12% resistance for 2 turns.
Charge
4 AP · range 2 to 7 · in a straight line · 1 cast per turn · no cooldown
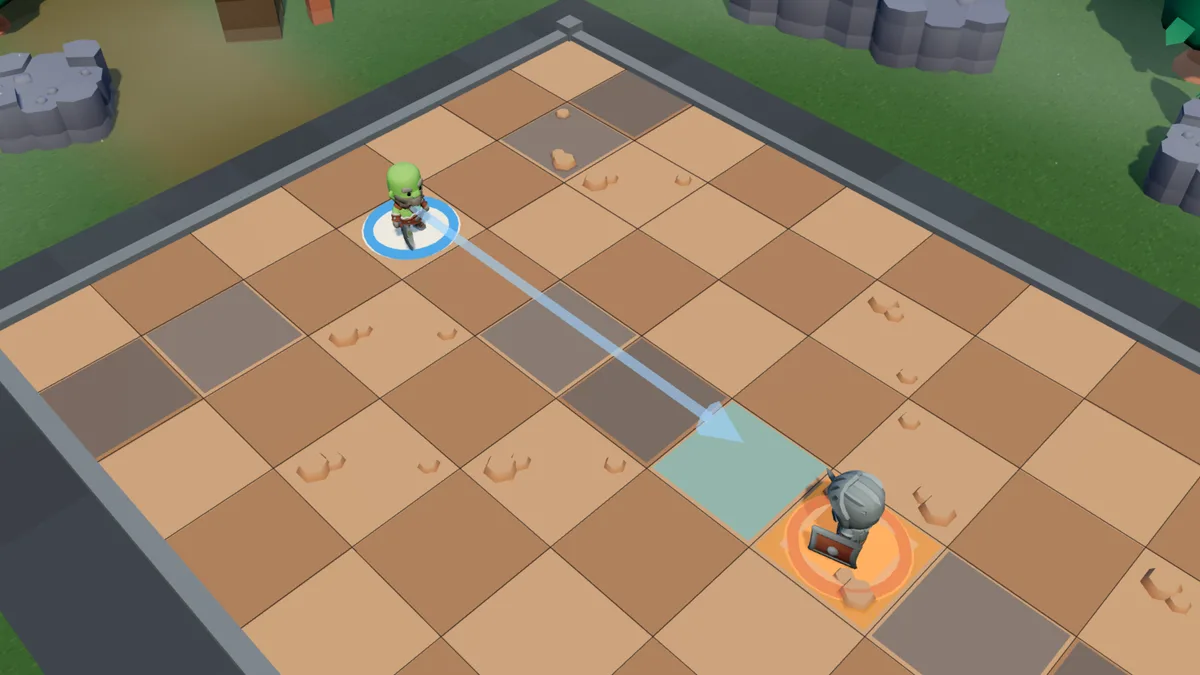
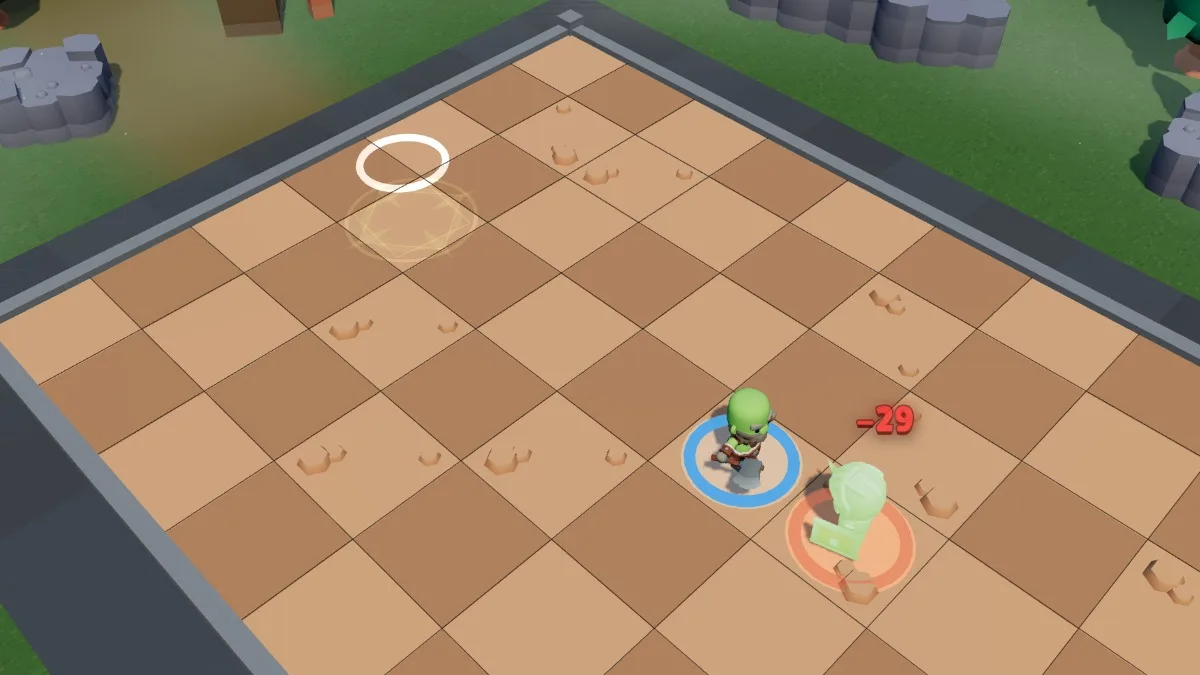
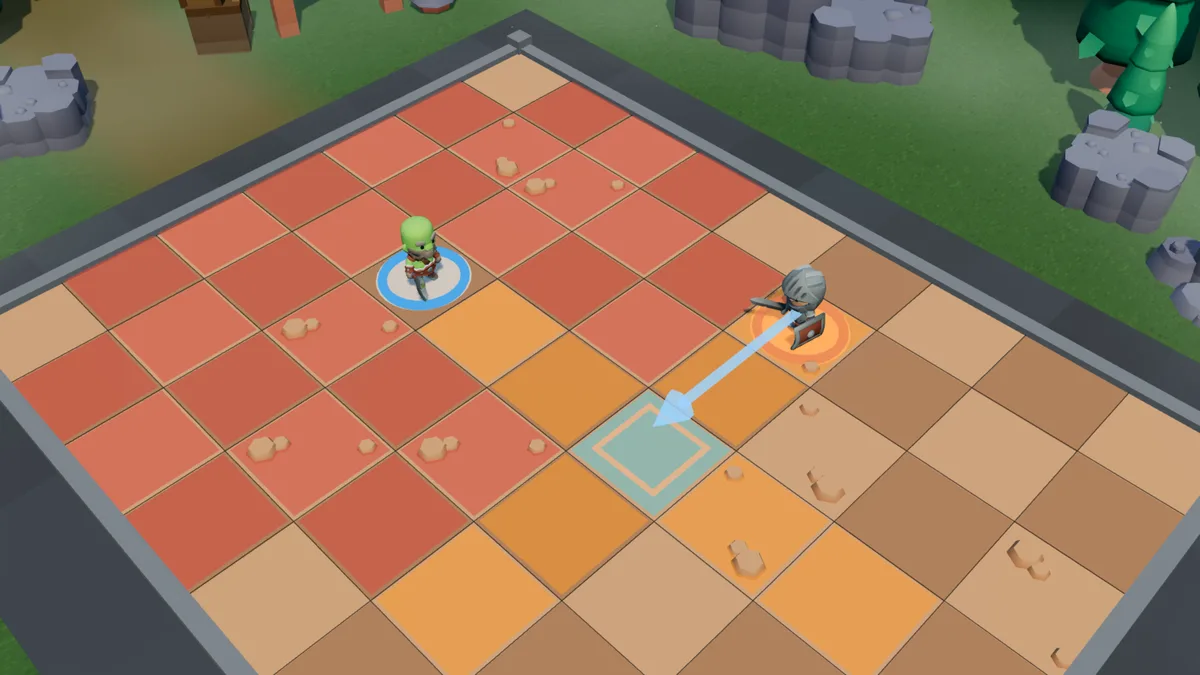
You rush in a straight line to the tile next to the enemy, then hit them for 23 to 34. You have to see the target; an entity, a hole or a trap on the way stops you short of it — the blow still goes off, but you do not reach melee. Six tiles covered without spending a single MP, and no cooldown: it is the best gap-closing tool in the game, and the spell your whole placement is built around.
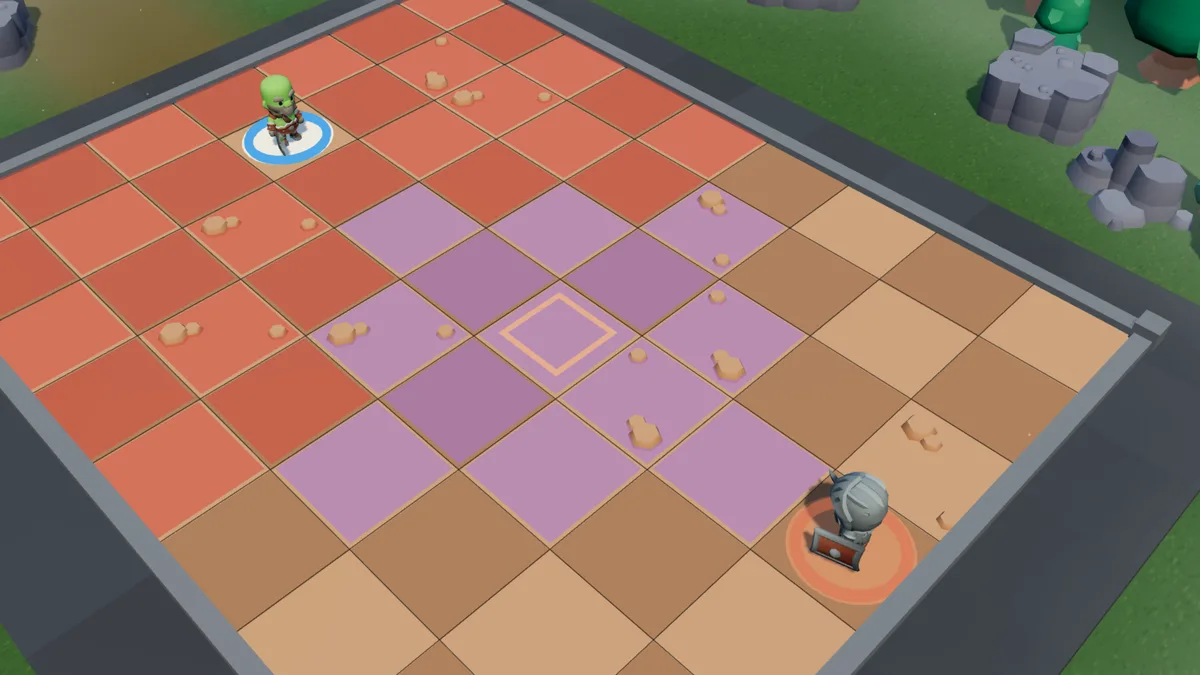
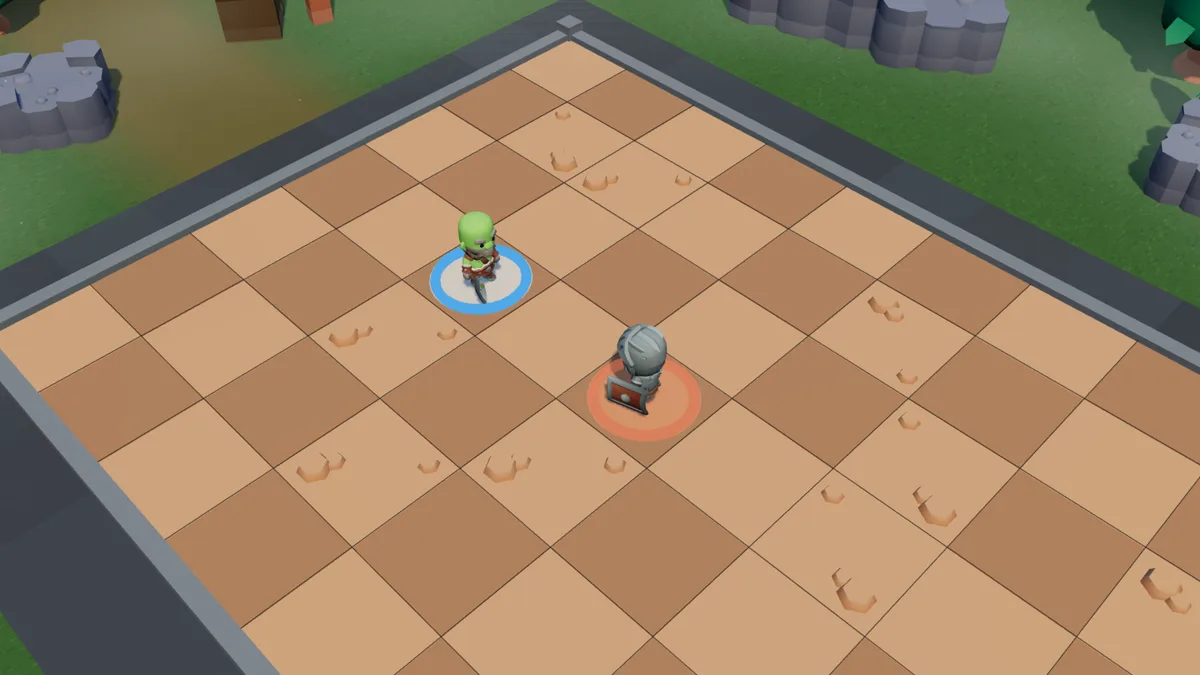
In a straight line, from 2 to 7 tiles, target in sight.You rush to the tile adjacent to them, and strike: 29 damage.
Quake
3 AP · range 1 to 4 · cross of 2 tiles · 2-turn cooldown
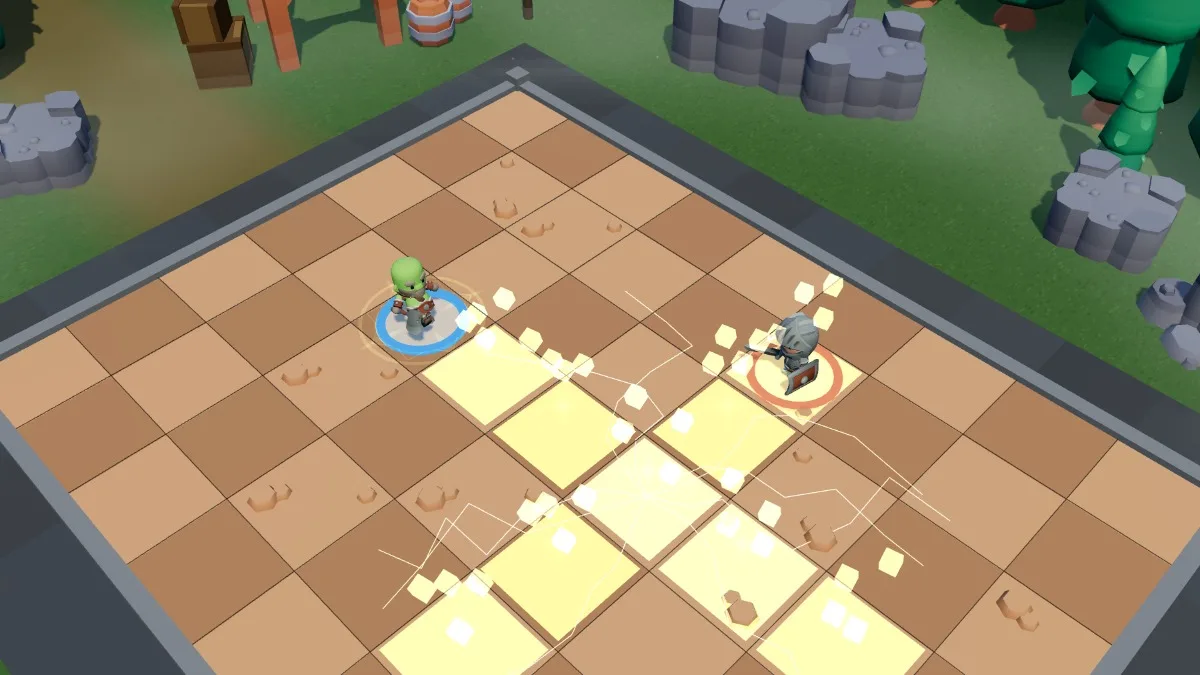
17 to 24 damage to everything inside a cross of 2 tiles around the target point, allies included (not you), all of which you recover in full as health, then pulls each target 2 tiles towards the centre. The damage is low; the pull is not. Aim at the tile where you want your opponent to end up, not the one they are on.
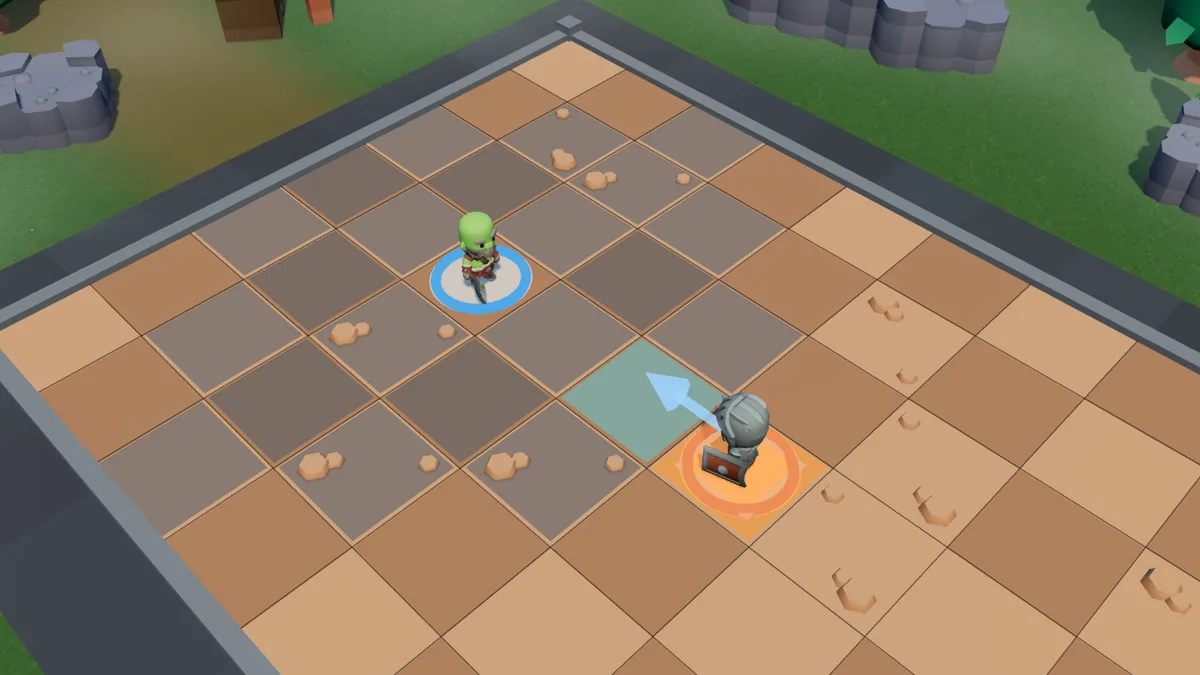
Cross of 2 tiles around the target point, up to 4 tiles away.21 damage, and everything in the cross is pulled 2 tiles towards the centre.
Roar
4 AP · range 1 to 5 · 2-turn cooldown
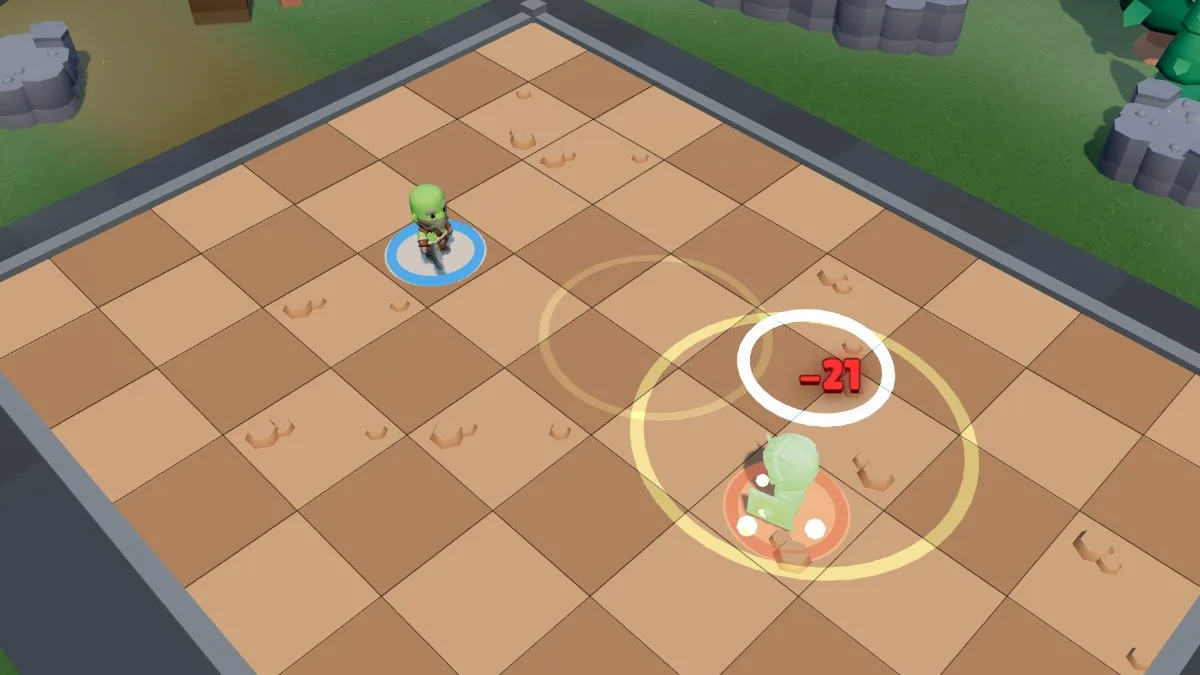
17 to 24 damage that you get back entirely as health, and the target loses 2 to 4 MP during its next 2 turns (it can partly resist). A maintenance spell: it heals you, it slows them, and it reaches 5 tiles — so it works even on the turn you could not close.
Range 1 to 5, with line of sight.21 damage that you get back as HP, and 2 to 4 fewer MP for them.
Pit
4 AP · range 1 to 6 · free tile · 2-turn cooldown
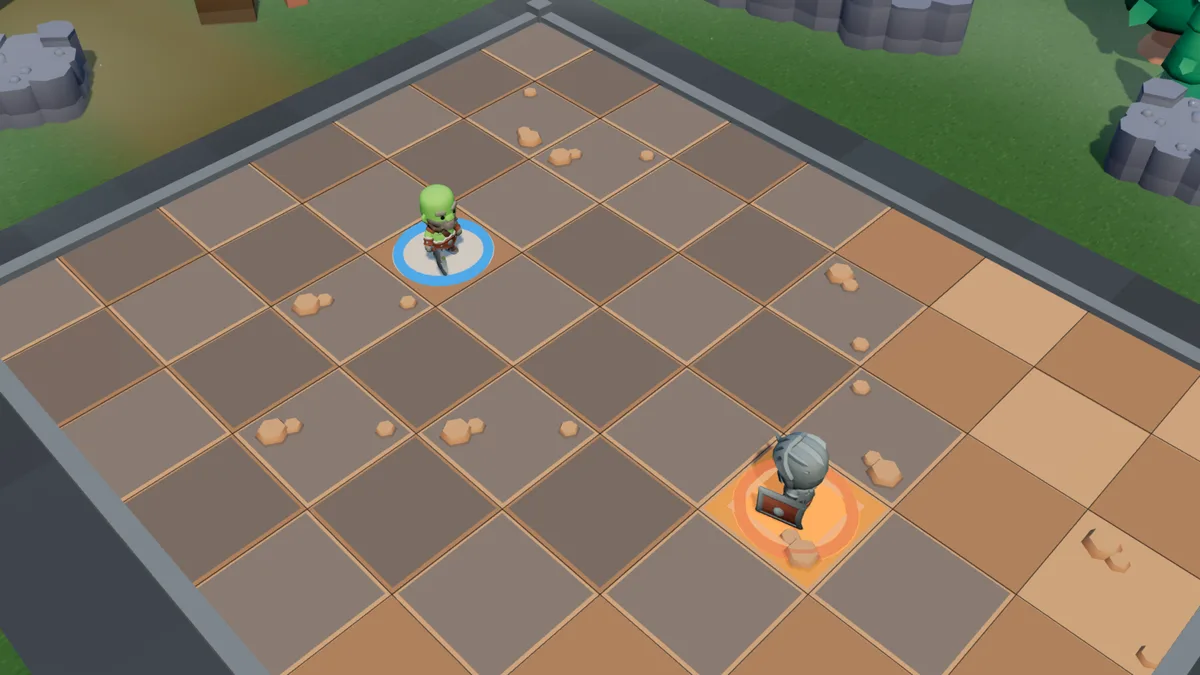
Lays a trap your opponent cannot see. It goes off as soon as someone walks, is pushed or is pulled within 2 tiles, and stops them dead: everything in the area at that moment — you and your allies included — takes 22 to 34 damage and loses 2 to 4 MP, at once and for its next 2 turns. It lasts 8 turns. Its 2-tile area makes it the widest trap in the game: placed in a corridor, it is almost impossible to avoid.
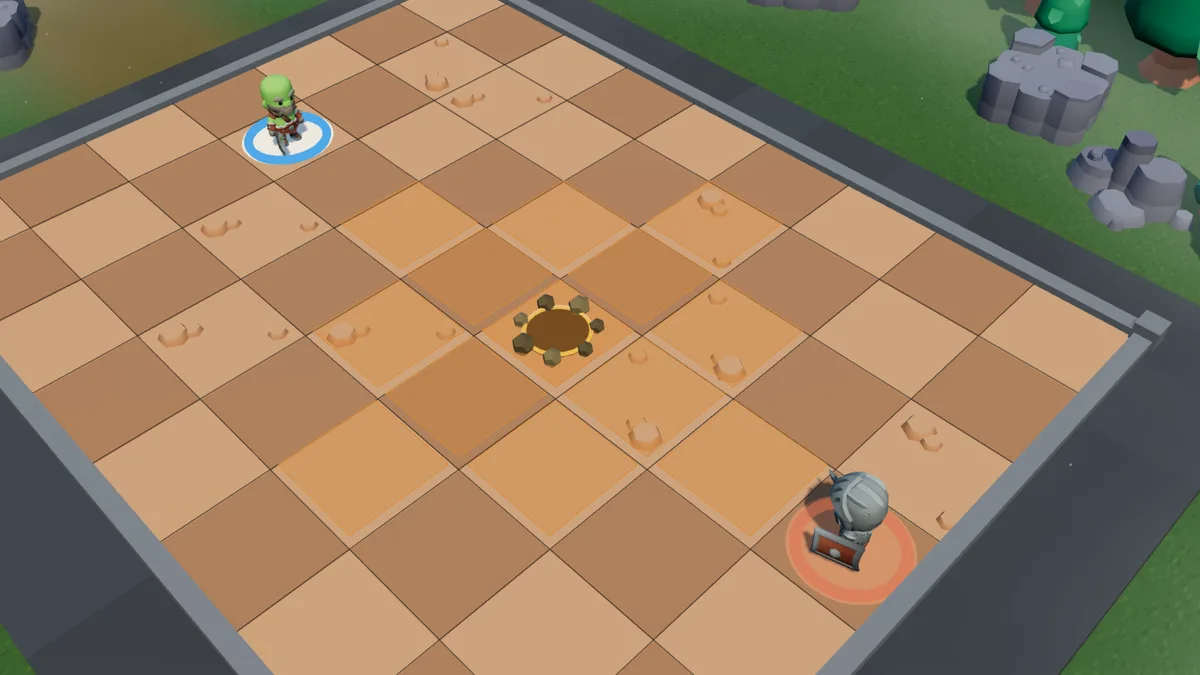
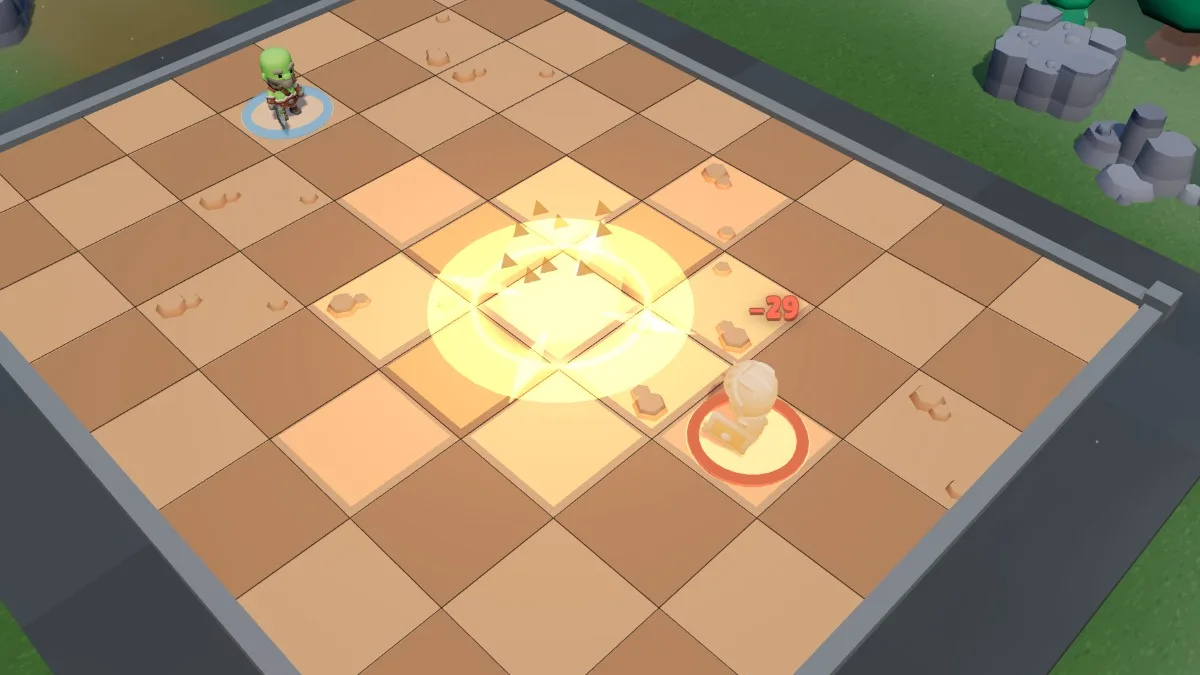
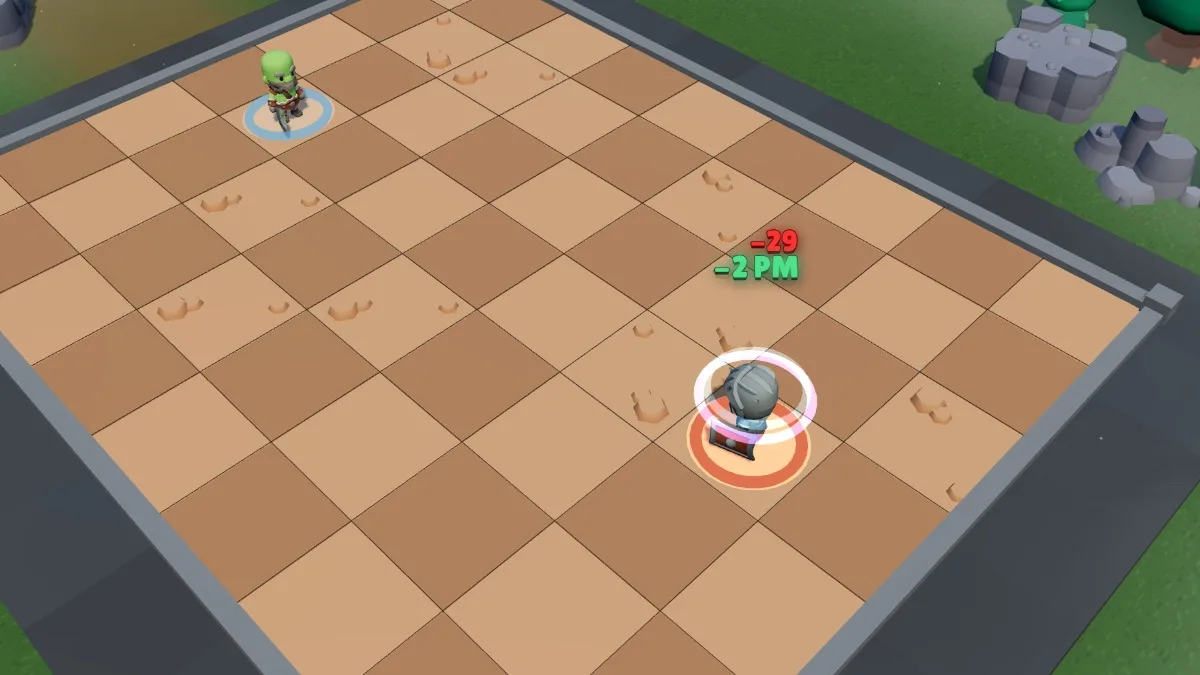
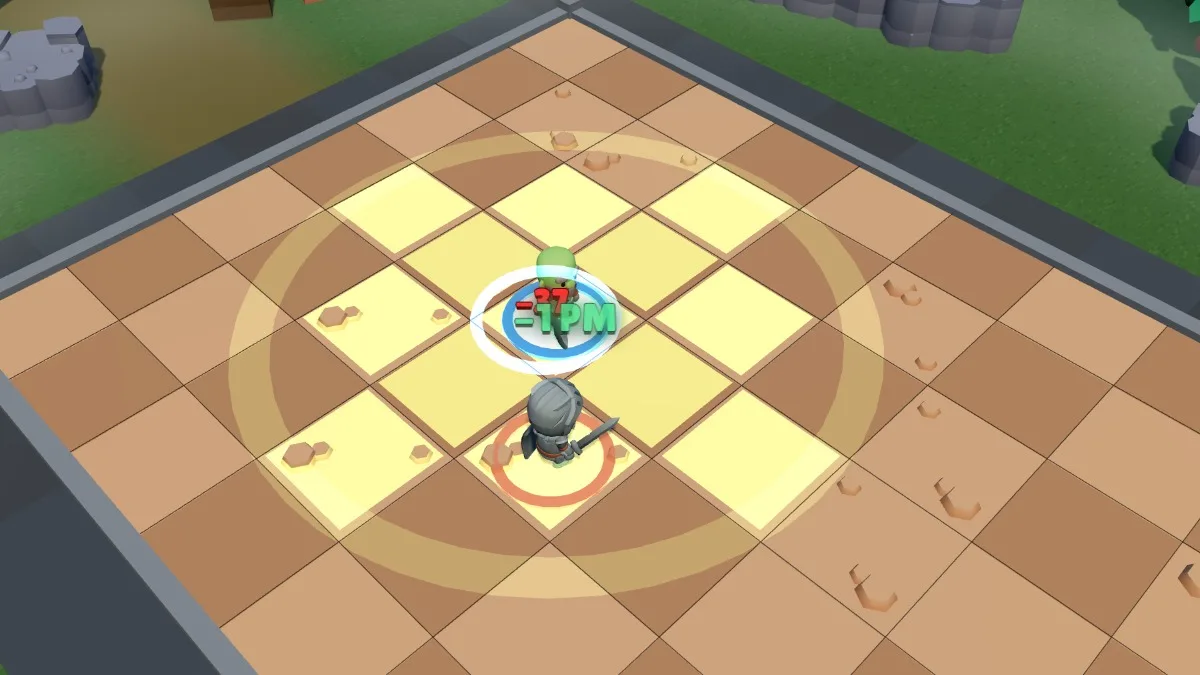
A circle of 2 tiles, invisible to your opponent.Laid: you can see it, your opponent cannot.Triggered: they set foot in it, 29 damage.After: the Pit is gone, and the Warrior has 2 to 4 fewer MP for 2 turns.
Stomp
4 AP + 1 MP · around you, 2 tiles · 2-turn cooldown
30 to 42 damage to everything within 2 tiles of you, allies included, and each target loses 1 to 2 MP on its next turn. The only spell in the class that also costs a movement point: count it in your movement, not just in your AP.
Everything within 2 tiles of you: 37 damage here, and 1 to 2 MP lost.
Intimidate
3 AP · range 1 to 3 · 2-turn cooldown
No damage: pulls the target one tile towards you, and it deals 20% less damage during its next 2 turns. Three AP to cut a fifth off two turns of enemy attack is the best deal in the class — and the tile you gain is often enough to put your opponent inside Stomp’s area.
Range 1 to 3: no damage.They are pulled one tile, and will hit 20% softer for 2 turns.
Stoneskin
3 AP · on self · 3-turn cooldown
70% damage resistance until your next turn, added to Rage’s own up to the 75% cap. Your only protective spell, and it lasts a single opponent’s turn: do not cast it as a precaution, cast it on the turn you have just closed in on someone who still has all their AP.
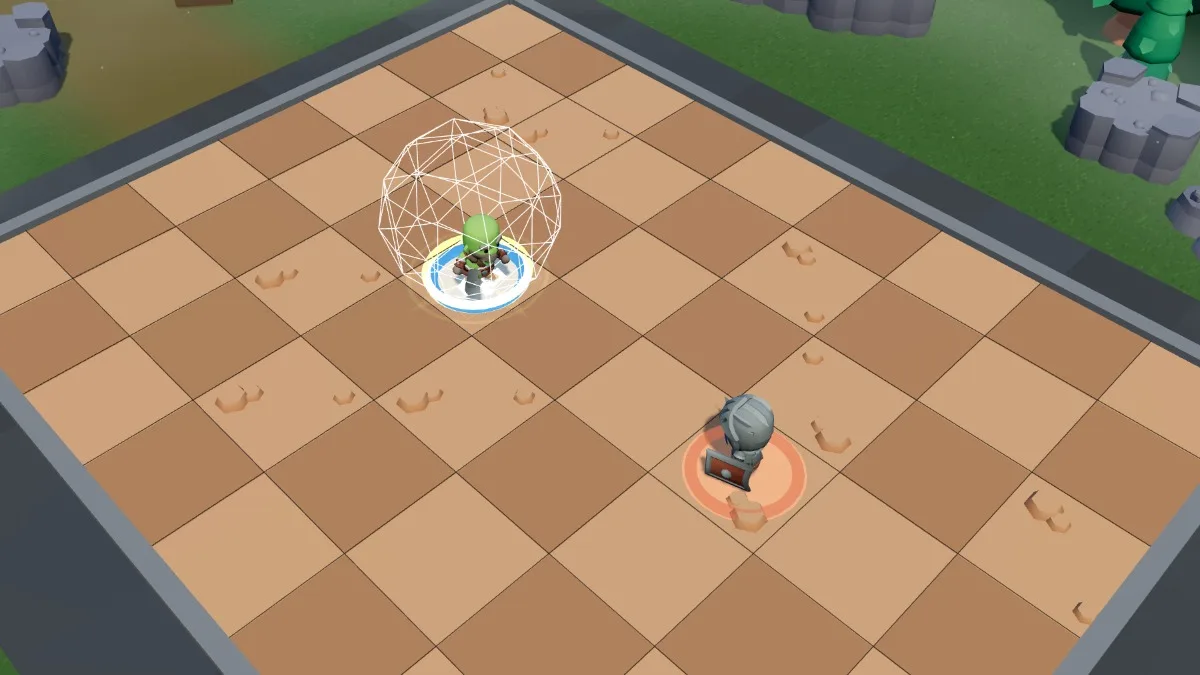
+70% resistance until your next turn.
The variants
Every spell slot has a second version, and so does the passive: before the fight, in the grimoire, you pick one version per slot. The Brute’s variants call beasts — two at most at a time — and lead them; her base kit doesn’t change. The choice is locked when the fight starts, and your opponent sees it. All of them are available, in every mode.
Pack leader (passive variant)
Replaces Rage.
A living pack hits harder. Your beasts have 25% more HP. In return, you have 10% less HP: 880 instead of 980. Each living beast gives you and your beasts +6% damage when it arrives, then +6% more on each of your turns it is still there, up to +20% per beast (+40% with two) — the full bonus on your fourth turn with it. A beast that is killed takes its bonus with it, the next one starts again at +6%, and its call goes back on full cooldown.
Wild whip
4 AP · range 1 to 3 · 2 per turn
Replaces Mace smash.
A whip crack at an enemy in sight, up to 3 tiles away, twice per turn: 22 to 30 damage, multiplied by 1 + the number of your beasts next to the target (×2 with one; with two, the ×2.5 cap). With all your damage bonuses combined (beasts next to the target, Rage, Pack leader), the hit never goes above ×2.5, critical hits aside.
Tip. On its own it is a small ranged hit; with one beast next to the target it doubles, with two it triples. So place your beasts first — Rush moves them up — then strike. Its catch: with no beast next to the target, you pay a lot for little.
Call of the boar
4 AP · range 1 to 3 · free tile · 4-turn cooldown, restarted when the beast dies
Replaces Charge.
Summons a boar (110 HP, 6 MP) that you control on its turn: it charges in a straight line at an enemy 2 to 4 tiles away (20 to 28 damage, every other turn) and, in melee, lands a tusk strike (16 to 22 damage, pushes back 1 tile). It stays on the field with no turn limit. At most 2 beasts at a time, and only one beast called per turn. Cooldown: 4 turns, which restart from zero if the beast is killed.
Tip. The beast that catches a runner: it charges them in a straight line and, in melee, pushes them back. Line it up with its target before its turn. Its catch: you no longer have Charge to get there yourself, and a killed beast restarts its whole cooldown.
Call of the rock
4 AP · range 1 to 2 · free tile · 4-turn cooldown, restarted when the beast dies
Replaces Quake.
Summons a stone golem (160 HP, 4 MP, 50% resistance to AP/MP removal): in melee, it strikes (20 to 28 damage) and shakes the ground (8 to 12 damage, −2 MP). It stays on the field with no turn limit. At most 2 beasts at a time, and only one beast called per turn. Cooldown: 4 turns, which restart from zero if the beast is killed.
Tip. The golem holds a tile and slows what it touches: put it between the enemy and you, or next to the target to feed Wild whip. It is the beast that best soaks up Pack bond. Its catch: it is slow — summoned too far away, it never arrives.
Call of the raven
3 AP · range 1 to 4 · free tile · 4-turn cooldown, restarted when the beast dies
Replaces Roar.
Summons a raven (95 HP, 8 MP): it pecks up to 3 tiles away (10 to 15 damage, −1 MP) and strikes with its beak in melee (18 to 24 damage). It only looks like it flies: it walks the map like everyone else. It stays on the field with no turn limit. At most 2 beasts at a time, and only one beast called per turn. Cooldown: 4 turns, which restart from zero if the beast is killed.
Tip. The beast that harasses from afar and chips away at enemy movement: perfect against a class that keeps its distance. Keep it out of area spells. Its catch: it is fragile, and you lose the heal from Roar.
Pack instinct
2 AP · on self · 3-turn cooldown
Replaces Pit.
Your beasts gain 1 MP and 15% damage for their next 2 turns. The damage bonus counts right away, Rush included. No beast, no effect.
Tip. Cast it on the turn your beasts are about to strike, not before: the bonus only covers their next turns. With two beasts alive, it is one of the best deals in the kit. Its catch: with no beast, the AP are wasted.
Rush
2 AP · on self · 2-turn cooldown
Replaces Stomp.
Each beast moves 1 tile towards the nearest enemy, then strikes it if adjacent: 22 to 30 damage. The hit is the beast’s own: its damage bonuses count, not your Rage, and it costs the beast neither AP nor MP. No beast, no effect.
Tip. One more attack for each beast, outside its turn — and the way to get them next to the target before Wild whip. Its catch: each beast moves towards the enemy nearest to it, not necessarily the one you are after.
Wild swap
2 AP · range 1 to 6 · one of your beasts · no line of sight · 2-turn cooldown
Replaces Intimidate.
You swap places with one of your beasts, up to 6 tiles away, even without line of sight. Nothing anchored can be swapped.
Tip. Your way in and your way out: send a beast ahead and take its place, or leave melee and leave it behind. It works without line of sight. Its catch: nothing anchored can be swapped, and the beast taking your place takes the hits too.
Pack bond
3 AP · on self · 2-turn cooldown
Replaces Stoneskin.
Until your next turn, the damage taken by you or by any of your beasts is split equally between you and each of your beasts: half each with one beast, a third with two. Each share goes through the resistances of whoever receives it, and is never split a second time. No beast, no effect.
Tip. Your beasts become your health reserve: cast it before a big enemy turn, while they are still healthy. Its catch: against an area spell that hits the whole pack, sharing changes nothing, and a beast that dies takes its damage bonus with it.
Playing the variants
With her variants, the Brute no longer fights alone: she calls beasts, two at most, which play on their own turn, and the whole kit revolves around them. A beast plays right after you, on the very turn you call it, but it still has to reach its target: this is a plan that pays off on the second and third turn, not the first.
The pack turn (10 AP)
Rush (2 AP) — each beast moves one tile towards the nearest enemy and hits them if it ends up next to them.
Wild whip (4 AP) — with two beasts next to the target, it hits two and a half times as hard.
Wild whip (4 AP) — a second time, while they are still there.
Everything rests on positioning: a beast that is not next to the target does not count. The remaining AP go to Pack instinct, cast first: it strengthens your beasts further for their next turns.
Sharing the blows (5 AP)
Pack bond (3 AP) — before the enemy’s big turn: what you take is shared with your beasts.
Wild swap (2 AP) — you take the place of a beast that stayed back, and it takes yours in melee.
The opponent ends up next to a beast, not to you, and every hit they land is split between all of you.
Three combos
Full close (12 AP, 1 MP)
Charge (4 AP): you arrive adjacent, up to 7 tiles away, without touching your MP.
Mace smash (4 AP): the damage, and above all the 12% less resistance for 2 turns.
Stomp (4 AP and 1 MP): it already hits a weakened target, and strips more MP still.
All your AP go into it and you have 5 MP left. That is deliberate: keep them to end the turn on the right side of your opponent, out of the firing line of any retreat.
Setup turn at range (11 AP)
Roar (4 AP) at 5 tiles: you heal and they lose 2 to 4 MP for 2 turns.
Pit (4 AP), after one step forward, placed 2 tiles behind them: at 1 tile, the Intimidate that follows would set it off at once.
Intimidate (3 AP), one step closer still (it reaches 3 tiles): they move one tile towards you and will hit 20% softer.
No big damage this turn, and that is exactly the point: your opponent starts theirs with less MP, less damage, and the Pit on their way back — it goes off at their first step backwards.
Lock down a tile (10 AP)
Stoneskin (3 AP) before the exchange, not after.
Quake (3 AP) centred on the tile where you want them: they are pulled 2 tiles towards that point, and its damage comes back to you as HP.
Mace smash (4 AP) if they have reached melee.
Quake is the only Brute spell that moves the enemy towards a chosen point rather than towards themselves. Centred on a Pit already placed, it does the work on its own — provided you stand more than 2 tiles away from it: it would hit you too.
Combos that work
These lines are the ones that come up most often, and pay off most, across several thousand training matches played by the game’s automatic opponents at their best level. For each one: the spells in order, what you need, what you get out of it, the most common follow-up, and when to do without it. A sequence missing from this list is not necessarily a bad one.
The entrance (7 AP)
Stoneskin (3 AP)
Pit (4 AP)
Conditions. First turn, with the enemy still far away. Place Pit on the path they will take to reach you.
Result. No damage this turn, but you advance under cover: Stoneskin absorbs most of what they throw at you, and Pit is waiting for them — damage, and fewer MP if they come closer.
The line. I play Stoneskin, then Pit, and I advance; they answer by shooting from afar, or by coming into melee through the trap; then I have Quake, Charge and Mace smash to welcome them.
When not to play it. When they are already within range of Charge: hit first. And remember that you trigger Pit too: do not place it on your own route.
Shake, charge, smash (11 AP)
Quake (3 AP)
Charge (4 AP)
Mace smash (4 AP)
Conditions. The enemy at medium range, in a straight line with you, with a clear path for Charge.
Result.Quake hurts them and heals you for as much, Charge brings you against them, Mace smash cuts into their resistance for two turns: everything that hits them afterwards will hurt more.
The line. I play Quake, Charge, then Mace smash; they answer by hitting in melee, or by breaking away like the Arcanist with Blink; then I have Roar to cut their legs from under them, then Charge and Mace smash again.
When not to play it. When the straight line is not clear: an obstacle keeps Charge from being cast, an entity or a trap stops it short of melee, and you are stuck with Mace smash. Against an opponent who runs well, take MP off them first.
There and back (11 AP)
Mace smash (4 AP)
Quake (3 AP)
Charge (4 AP)
Conditions. Already in melee. Aim Quake behind them: it pushes them away from you, and Charge gets back the distance it needs.
Result.Mace smash goes first: the next two spells hit a weakened target. You end up next to them, healed by Quake.
The line. I play Mace smash, Quake, then Charge; they answer with their own melee turn — Wearing cut twice and one Lunge for a Warrior; then I have Stomp or Roar ahead of the same Mace smash and the same Charge.
When not to play it. If Quake cannot push them away — back to a wall, or anchored — Charge will not fire: step back one tile instead, or keep your AP for something else.
Stomp, smash, charge (12 AP)
Stomp (4 AP)
Mace smash (4 AP)
Charge (4 AP)
Conditions. Next to the enemy, with all your AP in hand and at least two MP: Stomp costs one, and you have to step back one tile before Charge, which cannot be cast in melee.
Result. Your biggest melee turn. Stomp also takes MP off them for their next turn: they will struggle to get away.
The line. I play Stomp, Mace smash, one step back, then Charge; they answer by trading blow for blow — Shield bash twice and one Wearing cut for a Warrior; then, with Stomp on cooldown, I have Mace smash, Quake and Charge.
When not to play it. When your step back would walk you into a trap or a firing line. And when you are far away: the line only works if you start the turn next to them.
Whip, then share (11 AP)
Wild whip (4 AP)
Wild whip (4 AP)
Pack bond (3 AP)
Conditions. At least one beast alive, next to the target if possible: each beast next to the target multiplies Wild whip.
Result. Two whip strikes from range, then Pack bond: until your next turn, what you take is shared with your beasts.
The line. I play Wild whip twice, then Pack bond; they answer by going after my beasts, or by hitting me anyway — the hit is then split; then I have Wild whip twice and Rush, or the call of another beast if one has fallen — its own call has restarted its full cooldown.
When not to play it. With no beast on the field: the whip does not multiply and Pack bond has no effect. Against the Artificer’s areas: their explosions hit the whole pack at once.
Their weaknesses
What beats a Brute
AP removal. With 20% resistance, this is the most vulnerable class in the game on that front. The Clockmaker’s Hourglass costs them whole turns: a Brute on 10 AP can no longer chain Charge, Mace smash and Stomp.
The straight line. Charge needs a straight line and a clear view, and whatever is on the way — an entity or a trap — stops it short of melee. An opponent who stays behind a corner forces you to walk — and walking means arriving with 4 MP less and no damage.
Traps and charges. You always advance towards the same tile, predictably, and you have no way to jump over. The Shade and the Artificer charge you for every approach.
A single protective spell. Stoneskin covers one opponent’s turn in four. The other three, all you have is Rage’s resistance: none at full health, 15% at half health.
What beats the variants
Area spells. They hurt the whole pack at once, and a killed beast takes its damage bonus with it.
The cooldown of the calls. A killed beast restarts the whole cooldown of its call: losing both beasts means playing several turns with a half-empty kit.
No closing in alone.Call of the boar replaces Charge: the Brute no longer reaches melee on her own, and Wild whip hits weakly with no beast next to the target.
Who you face, and how
Against the Arcanist, the Brute is the favourite if they close early: their 980 health absorbs two turns at range, and once in melee the enemy’s Focus pays nothing any more. Against the Shade, the problem is not hitting them but following them — keep Roar to punish them the moment they reappear 5 tiles away.
Against the Warrior, you hit harder but they cover themselves in armour: Mace smash, which lowers their resistance, is worth more once they have raised a Bulwark. Against the Clockmaker and the Artificer, never stay lined up with what they have placed, and accept spending a turn destroying an Automaton or a charge rather than chasing the hero.
With or against the variants, your bearings change. Against a Warrior under Anchor, nothing moves them, or anything adjacent to them: your beasts can surround them, but a beast next to them can no longer swap places with you. Against a variant Arcanist, kill the Healer bunny first, and do not stay bunched up with your beasts under Soothing chant. Against the Clockmaker’s rifts, beware of Collapse: it hits everything standing around a rift, the pack included. Against the Artificer’s turrets, send a beast at the healing turret and keep Wild whip for the hero.
Frequently asked questions
How do you play the Brute in Solwaris?
The Brute is played by closing the distance as early as possible with Charge: 4 AP, 7 tiles in a straight line, no cooldown. Once in melee they chain Mace smash, which strips 12% resistance from the target for 2 turns, then Stomp. Their 980 health lets them absorb the two turns of approach that the other classes do not survive.
How much HP does the Brute have?
The Brute has 980 health, the biggest pool in the game, with 12 action points and 6 movement points. Their Rage turns every point lost into damage and resistance: +11% damage and +3% resistance per 10% slice of missing health, up to +99% and +27%. A Brute at half health therefore hits 55% harder, with 15% resistance.
How does the Brute’s Rage work?
For every 10% slice of health lost, Rage gives +11% damage dealt and +3% damage resistance, that is +99% and +27% at most, at 10% HP or less. It heals nothing: it makes the Brute more dangerous and harder to finish off as it goes down. It is the only passive in the game that rewards having been hit.
What is the Brute’s weakness?
AP removal: with 20% resistance, this is the most vulnerable class in the game on that front, and the Clockmaker’s Hourglass costs them whole turns. Their Charge also needs a straight line and a clear view, which an opponent who plays the angles denies them. And Stoneskin only covers one opponent’s turn in four.
Is the Brute a good class to start with?
Yes, it is the most forgiving class for learning Solwaris. Its 980 health forgives placement mistakes, and its eight spells do exactly what they say, with no chain to keep alive and no hidden resource to count.
How do you play the Brute’s beasts?
Summon early: with the Pack leader passive, every living beast raises your damage and the pack’s, and that bonus grows on each of your turns. Two beasts at most at a time, which you play on their own turn. Protect them: a killed beast takes its bonus with it and restarts the whole cooldown of its call.
The Brute forgives beginner mistakes better than any other class: it is the best one for learning the game.