
The boss fight: the Matriarch
A melee queen who never leaves your heroes alone. She leaps into the group, claws, spits acid and lays eggs that hatch into spawnlings. Her nest is a crater above an acid lake, and its geysers make no difference between you and her.
In short
- Where — in the menu, the PvE selector, then the free boss or the weekly boss, solo, in a duo or in a trio.
- Her — 10,000 HP, 30% permanent resistance, 5 MP and a 5-tile Leap: she comes into melee.
- The brood — her eggs hatch into spawnlings; around them, the nest mires (2 MP fewer on the next turn).
- The Acid Spit — a pool that poisons anyone who steps into it or crosses it, for 3 turns.
- The geysers — they bubble for a turn, then erupt on everything standing there, her included.
- Limit — 50 turns at most: it’s the damage dealt that counts for the leaderboard.
The Matriarch
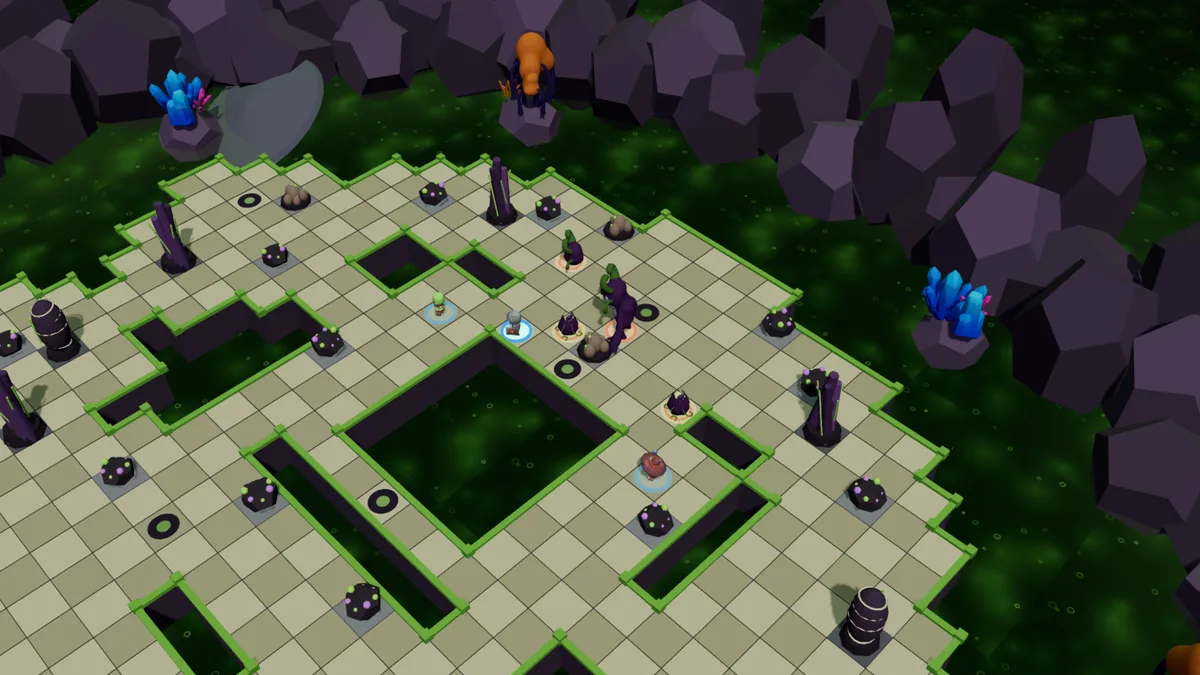
She starts in her laying chamber, at the top of the nest, with 2 eggs already laid. She has 10,000 HP, whether you’re solo, a duo or a trio, and 30% permanent resistance: her chitin. Only her eggs and spawnlings get sturdier as the group grows. She has no ranged damage spell: she comes to get you.
| Fighter | HP solo | HP duo | HP trio | AP | MP | Role |
|---|---|---|---|---|---|---|
| Matriarch | 10 000 | 10 000 | 10 000 | 14 | 5 | Boss |
| Egg | 60 | 70 | 80 | 0 | 0 | Summon |
| Spawnling | 110 | 140 | 170 | 6 | 4 | Summon |
His spells
| Spell | AP | Range | Per turn | Effect |
|---|---|---|---|---|
| Claw | 4 | 1 | 2 | 100 to 125 melee damage. Twice per turn, never twice on the same target. |
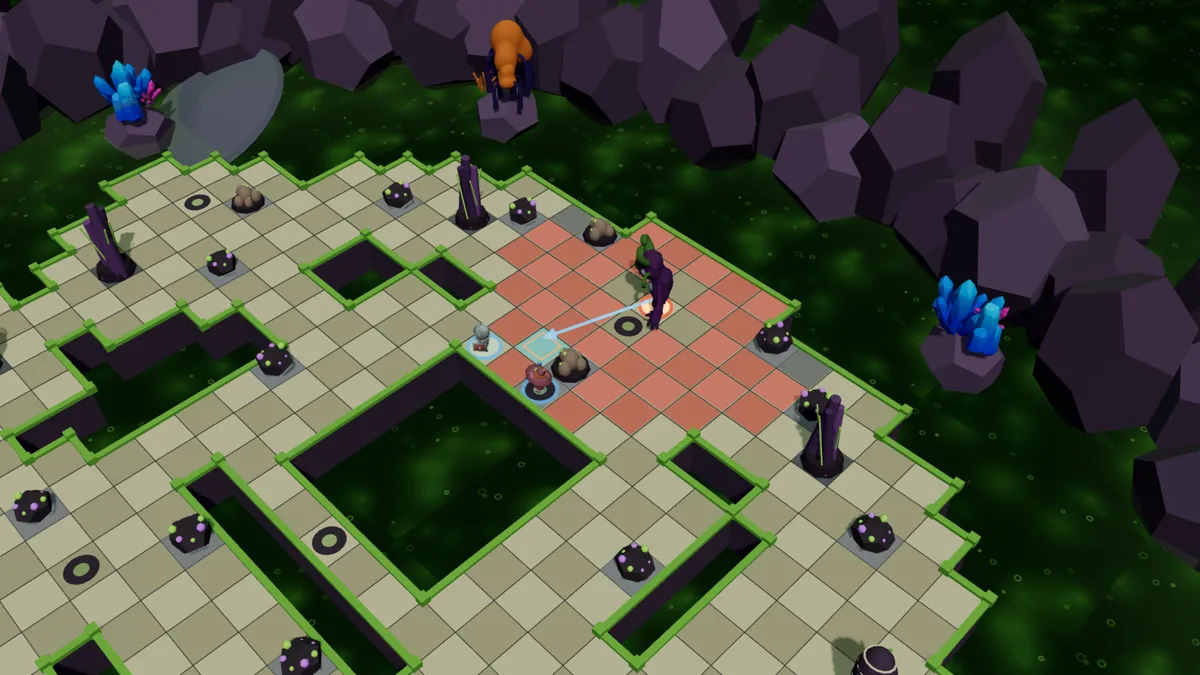
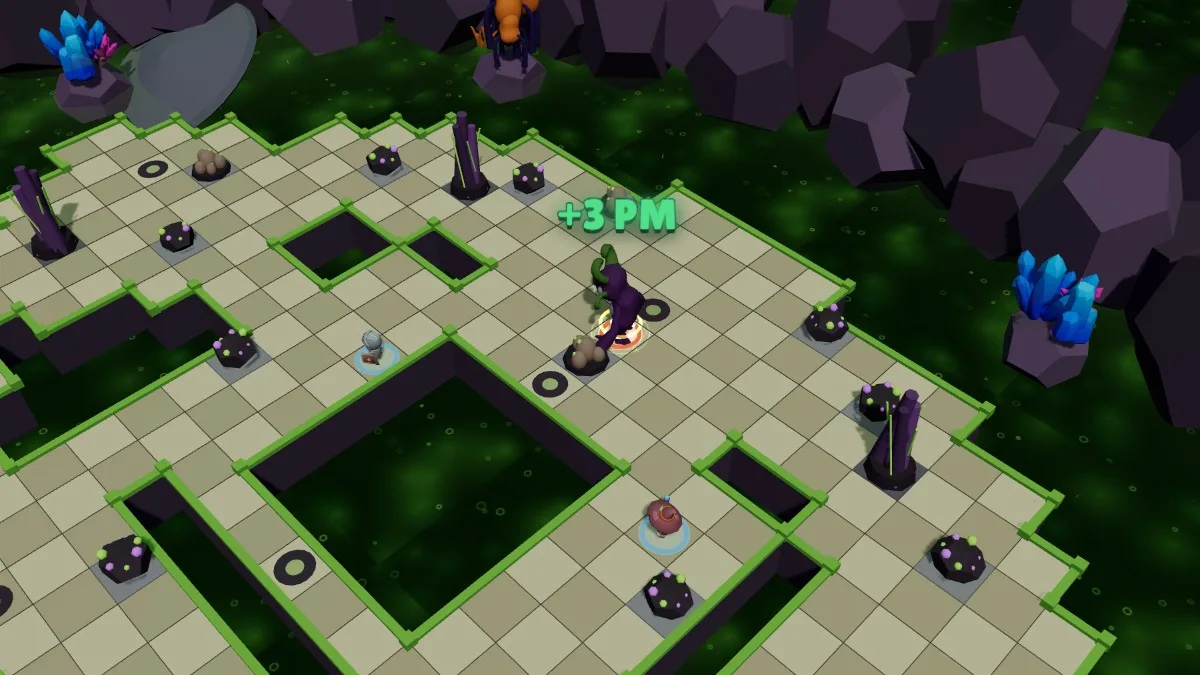
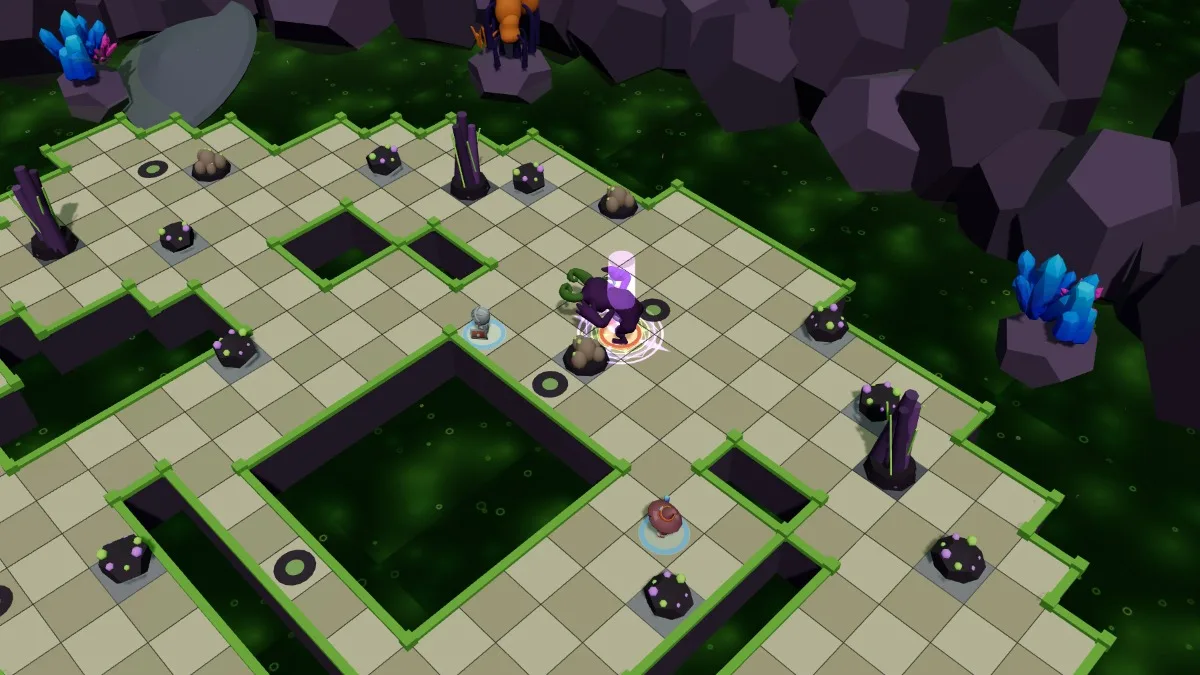
| Leap | 3 | 2 – 5 | 1 | She leaps onto a free tile in sight, up to 5 tiles away, without following a path. On landing, her enemies on the 8 tiles around her take 35 to 50 damage and are pushed back 2 tiles (12 collision damage per missing tile if they hit an obstacle). Every other turn (every turn below 66% of her HP). |
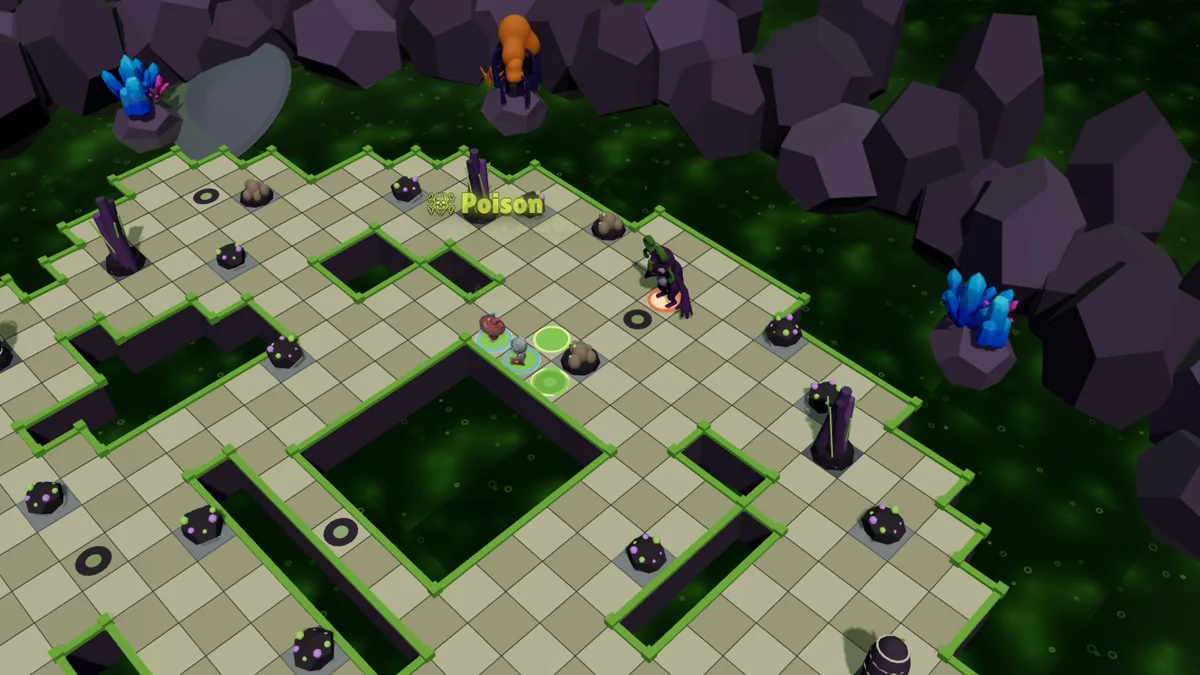
| Acid Spit | 3 | 2 – 6 | 1 | Spits a cross-shaped acid pool (5 tiles), up to 6 tiles away, in line of sight. It stays for 3 of the Matriarch’s turns: any hero or hero’s summon standing in it on impact, walking into or through it, or ending up in it, pushed or teleported, is poisoned — 22 to 28 damage at the start of their next 3 turns. Her spawnlings have nothing to fear in it. Every other turn. |
| Rush | 2 | self | 1 | +3 MP right away. Every other turn. |
| Moult | 3 | self | 1 | Her shell hardens: +35% resistance until her next turn. Every third turn. |
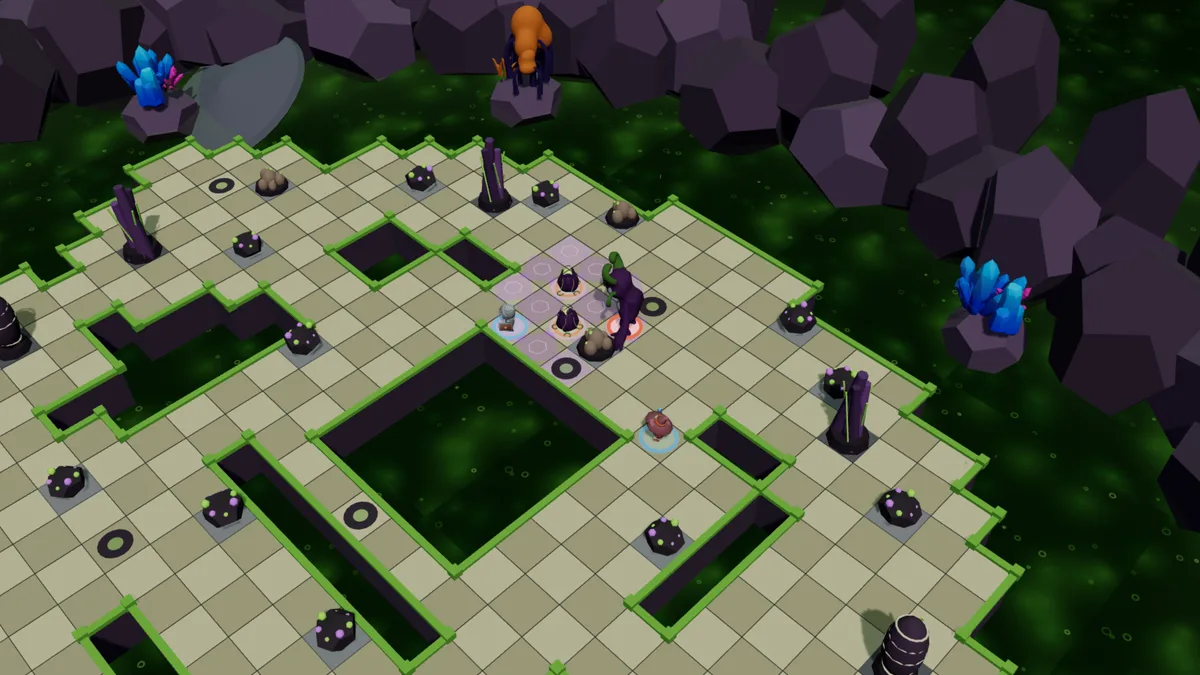
| Brood | 3 | self | 1 | Lays eggs on free tiles within 2 tiles of her (2, then 3 at later stages). They hatch into spawnlings at the start of her 2nd next turn (her next turn at the last stage). The 8 tiles around an egg form the NEST: a hero who ends their turn there loses 2 MP on the next one. Never more than 6 eggs at a time. Every other turn. |
| Devour | 2 | 1 | 1 | She devours an adjacent spawnling and recovers 300 HP (450 at the last stage). Every other turn. |
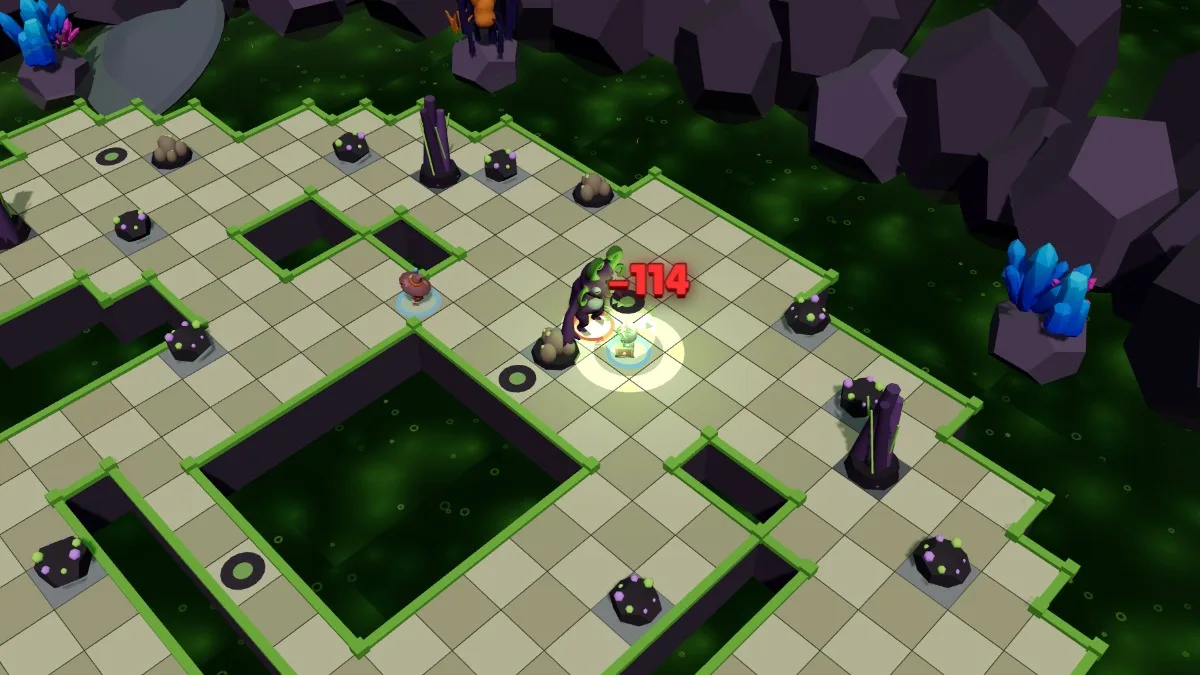
- Claw — her only real attack. Two per turn, but never two on the same hero: alone against her, you only take one.
- Leap — she jumps onto a free tile in sight without following a path: holes don’t stop her. On landing, every hero on the 8 tiles around her is hurt and pushed back 2 tiles.
- Rush and Moult — her two set-ups: 3 more MP to catch you, or 35% more resistance until her next turn. During Moult, save your big hits.
- Brood — 2 eggs (3 in later stages) on free tiles within 2 tiles of her, as close as possible to your heroes.
- Devour — when wounded, she eats a spawnling next to her and recovers 300 HP: that much damage wiped from your leaderboard score, which counts the HP she has lost at the end of the fight.
Her eggs and spawnlings
| Spell | AP | Range | Per turn | Effect |
|---|---|---|---|---|
| Bite | 3 | 1 | 2 | 26 to 34 melee damage, and a Parasite. Three Parasites on a hero: they are immobilised (0 MP) on their next turn. A hero who goes a whole turn without being bitten loses their Parasites. Near their mother (2 tiles), spawnlings hit 30% harder: her pheromones. |
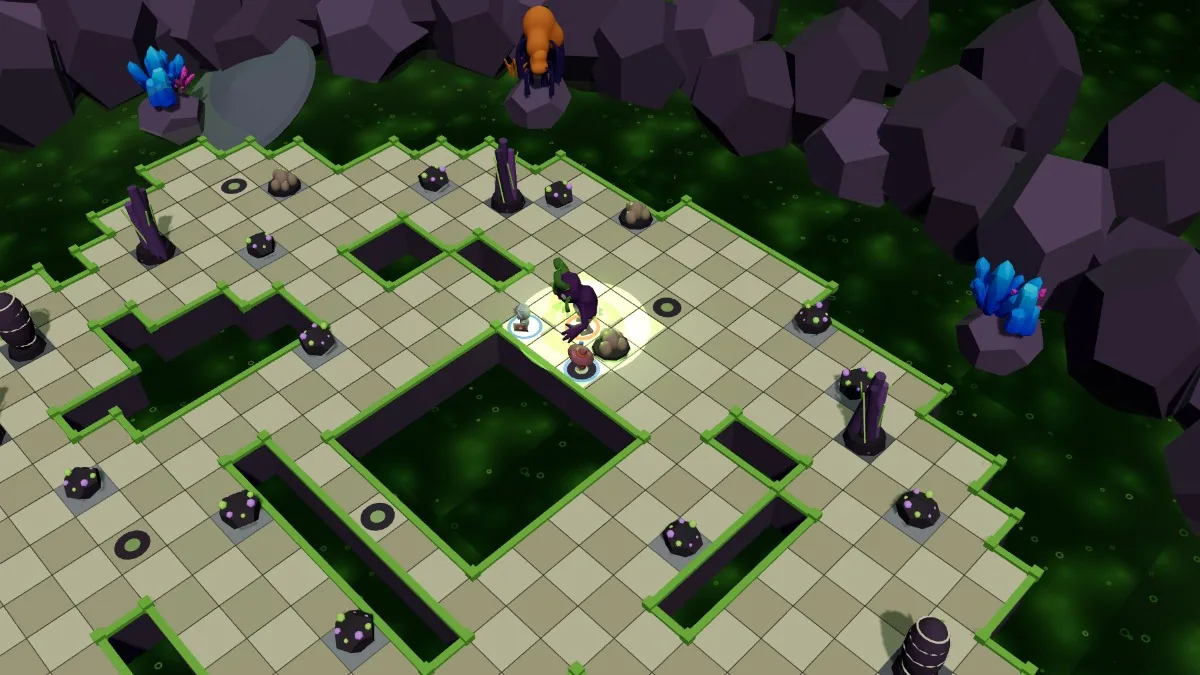
- The eggs don’t move, don’t act and have only 60 to 80 HP. They hatch at the start of her second turn after being laid: one spawnling each. Their glow pulses faster the turn before hatching. Never more than 6 eggs at a time.
- The nest — the 8 tiles around an egg, veiled in purple. A hero who ends their turn there is mired: 2 fewer MP on their next turn. Break the egg, and the nest disappears.
- The spawnlings have 110 to 170 HP and 4 MP. Their Bite plants a Parasite: at the 3rd, the hero is immobilised (0 MP) on their next turn; a hero who goes a whole turn without being bitten loses their Parasites. Within 2 tiles of their mother, her pheromones make them hit 30% harder. Never more than 6 spawnlings at a time: a ripe egg waits for a free slot.
- If she falls, her eggs and spawnlings fall with her.
Acid Spit
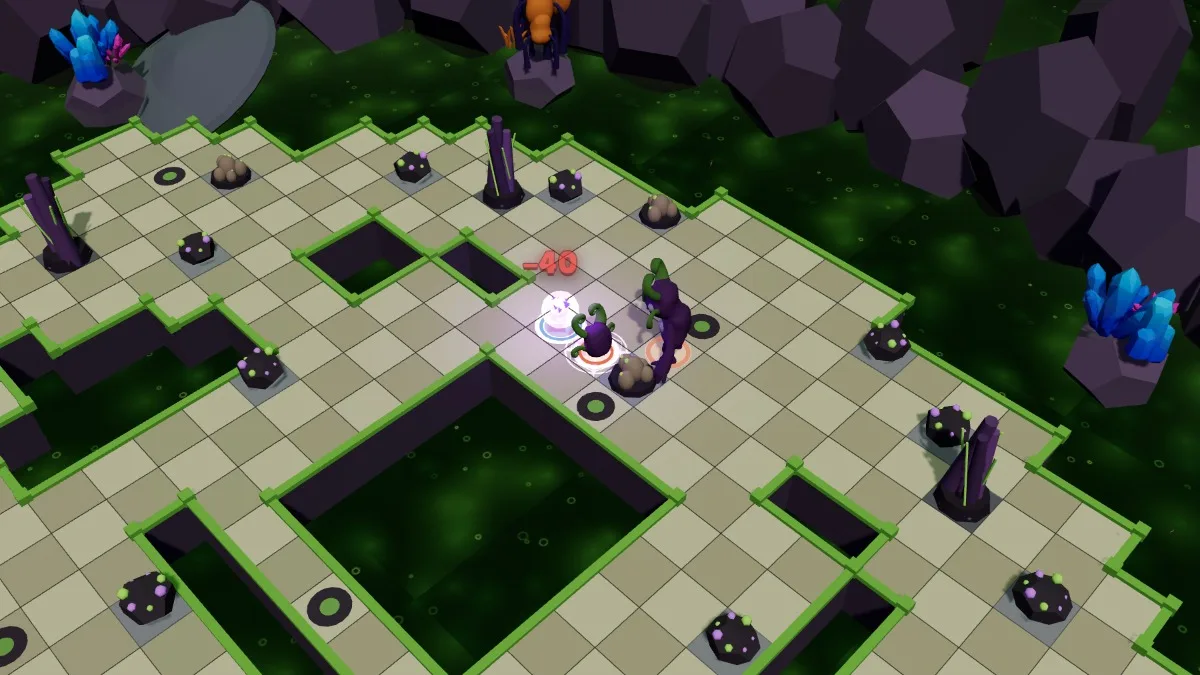
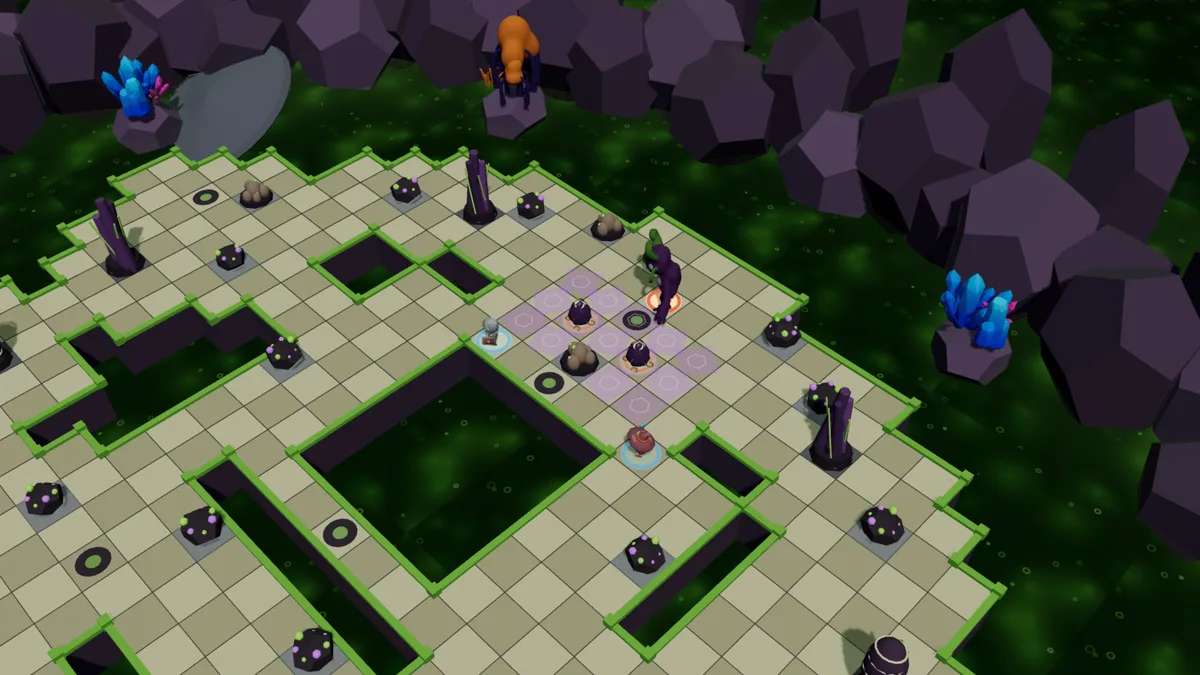
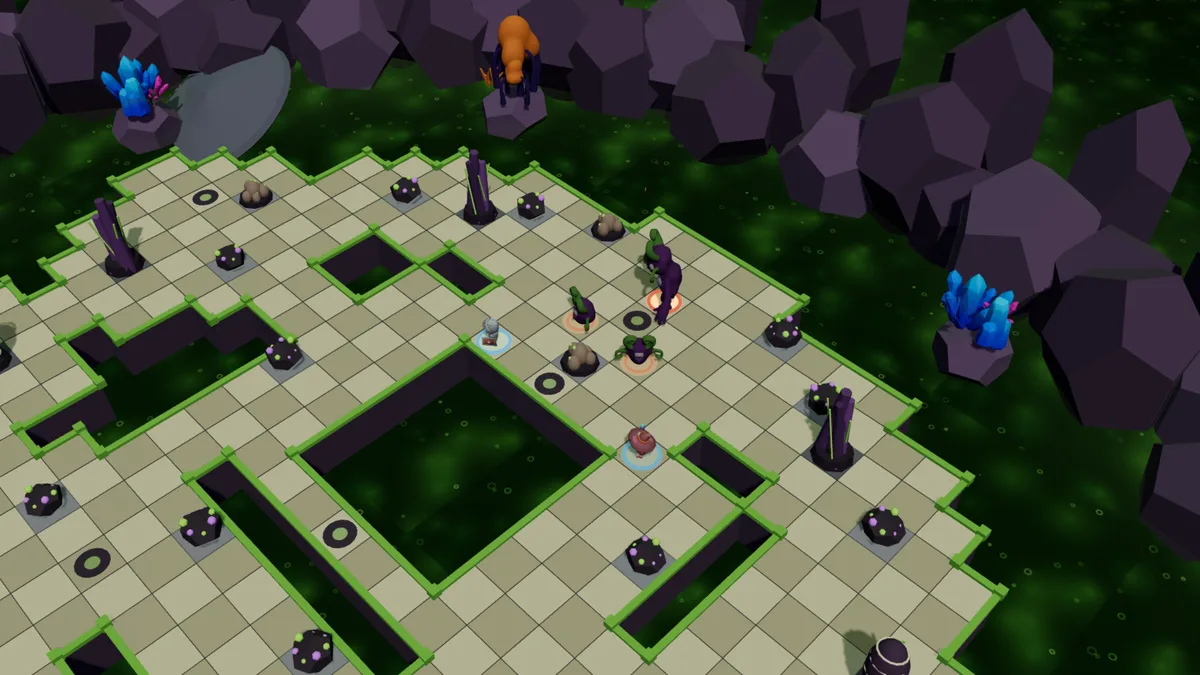
She spits a cross-shaped acid pool: the targeted tile and its four neighbours. It stays for 3 turns of the Matriarch, and shrinks on screen with each turn that passes. Any hero — or hero’s summon — standing in it when it lands, walking into or through it, or ending up in it, pushed or teleported, is poisoned: 22 to 28 damage at the start of each of their next three turns. Only one acid poison at a time: going back in refreshes it, it doesn’t stack. The pool doesn’t stop your movement. Being pushed across it without stopping in it does not poison. Her spawnlings have nothing to fear in it.
The acid geysers
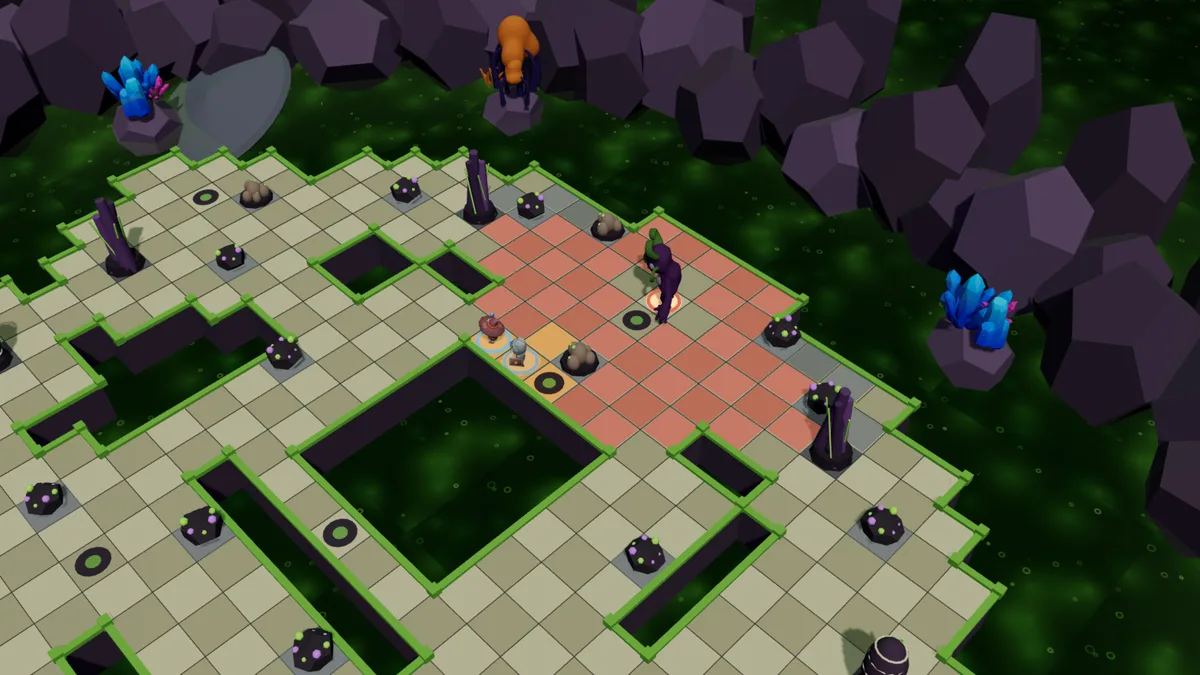
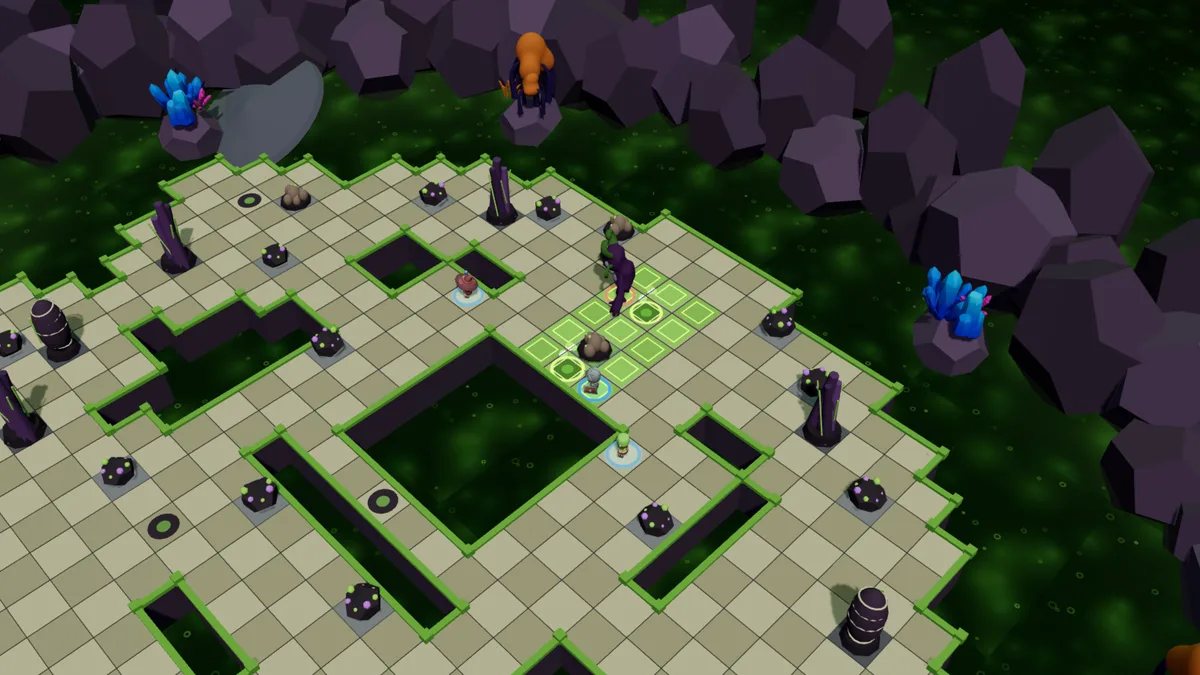
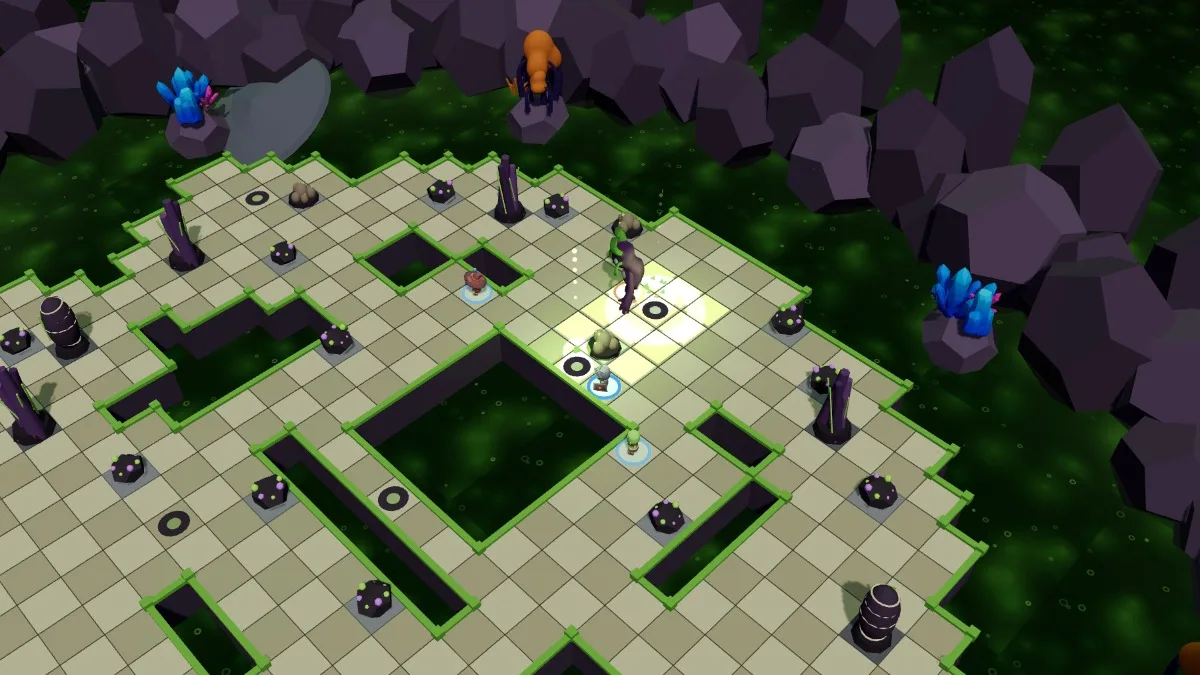
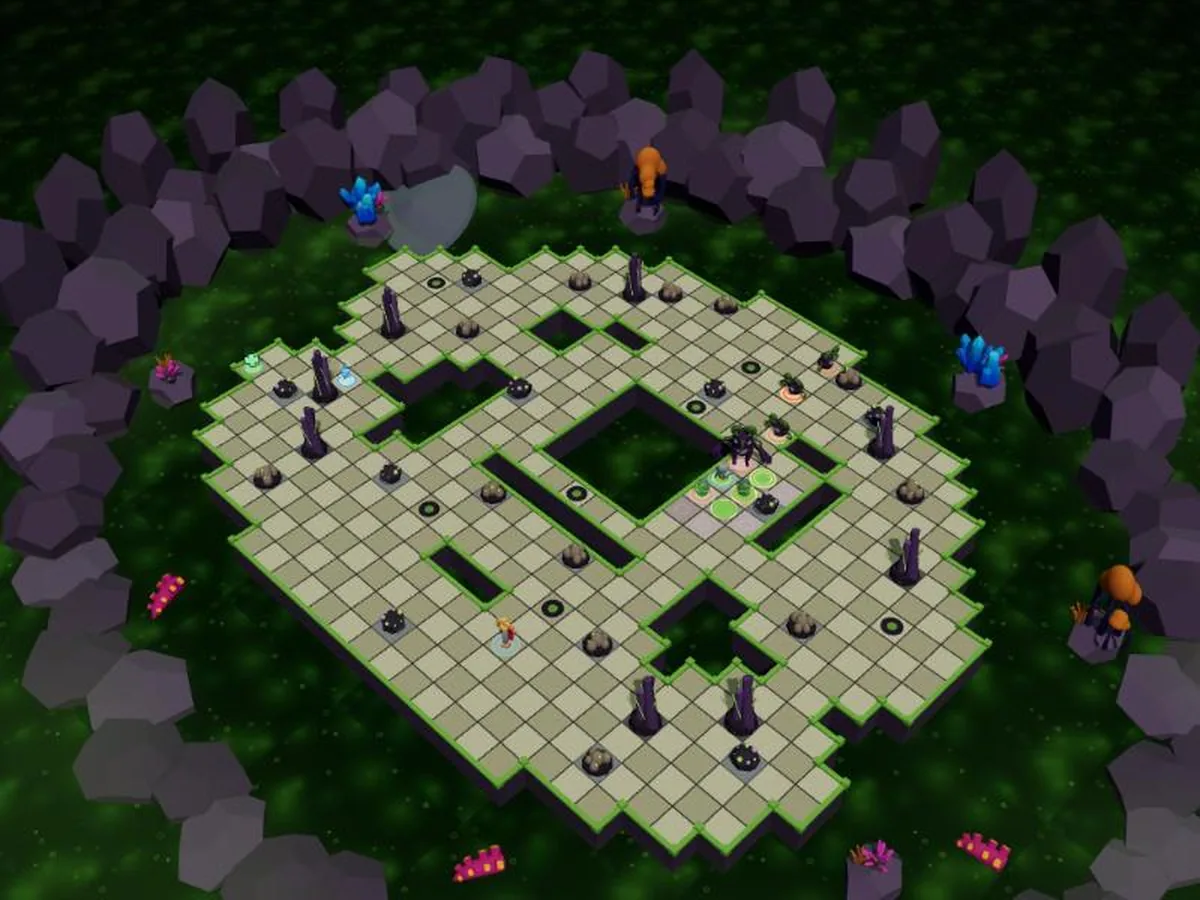
7 acid vents hold the nest’s passages. From her second turn, then every other turn, 2 of them (3 later on) start to bubble: their nine tiles pulse green. On the Matriarch’s next turn, they erupt: 140 to 170 damage to everything standing there — your heroes, her eggs, her spawnlings, and herself, whom the acid eats into more (×1.5). The damage she takes counts towards your leaderboard score.
Her stages
Below 66% then below 33% of her HP, she reaches a new stage, and she roars: all your heroes are pushed back 2 tiles. At the last one, she gains 2 MP on each of her turns, Devour restores 450 HP, and up to 8 spawnlings can surround her.
| Tier | HP left | What changes |
|---|---|---|
| The Brood | 66 to 100% | 2 eggs per Brood, hatching on her 2nd turn after laying, Leap every other turn, 2 geysers every 2 turns, Devour restores 300 HP |
| Frenzy | 33 to 66% | 3 eggs per Brood; Leap every turn; 3 geysers |
| Starving Queen | below 33% | 3 eggs per Brood; hatching on her very next turn; Leap every turn; +2 MP every turn; Devour restores 450 HP; up to 8 spawnlings; 3 geysers on each of her turns |
The Nest
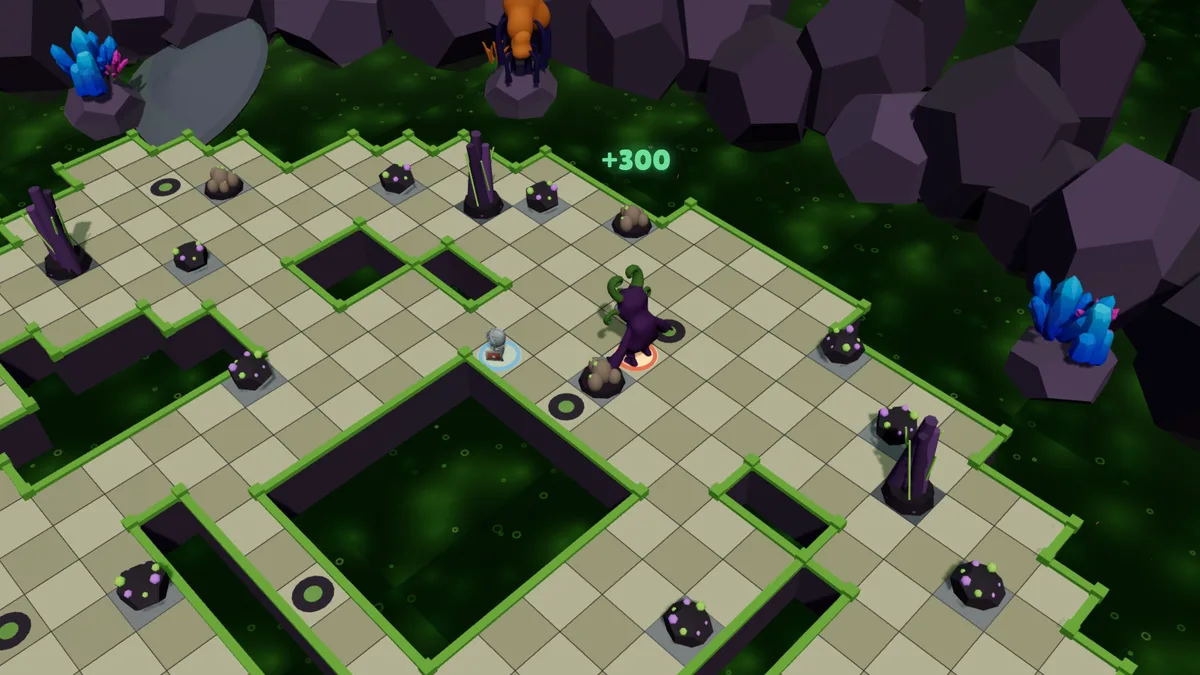
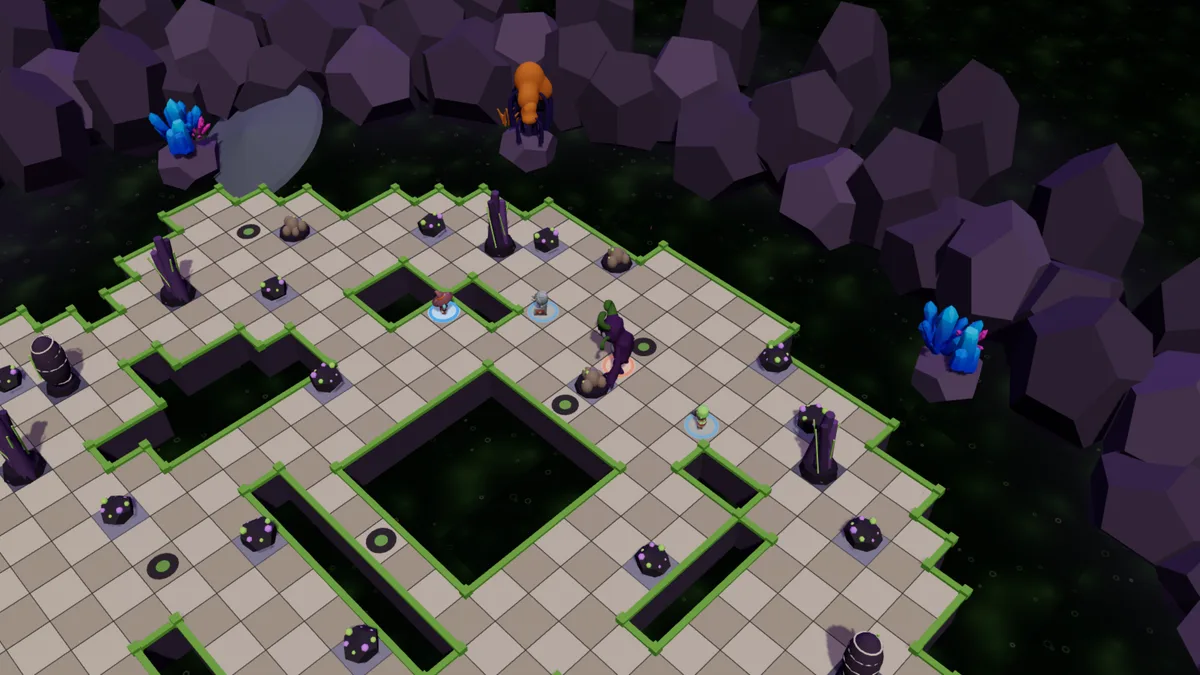
A hive crater above an acid lake. At the top, the open brood chamber; in the centre, an acid pit circled by a ring, only one tile wide in the south; to the west and east, two islets linked by bridges; at the bottom, the ledge where your heroes start, pierced by a pool. The void doesn’t block line of sight: she leaps over the pit while you have to walk around it.
How to beat her
- Break the eggs before they hatch: a few hits are enough, and the nest disappears with them.
- Don’t stay bunched up: her Leap hits everything next to her, and her Spit covers a five-tile cross.
- Don’t end your turn in the nest: 2 fewer MP is often the turn she catches you.
- Lead her into the geysers: push her, swap places with her, or wait for her where she will have to stop to claw you. The acid eats into her more than into you.
- Kill the spawnlings near her: they are her pheromones, her healing, and the Parasites that immobilise you.
Solo, duo, trio
- Solo — her eggs have only 60 HP and her spawnlings 110: a single spell is often enough to break an egg. And her Claw never hits the same hero twice in a turn: alone, you only take one. Keep moving, and lure her towards the bubbling geysers.
- Duo — each of her two Claws finds its target. Share the work: one breaks the eggs and keeps the spawnlings away from her, the other keeps her busy and leads her towards the geysers.
- Trio — eggs at 80 HP, spawnlings at 170: the brood becomes a real threat. Spread out against the Leap and the Spit, and always keep one hero free for the eggs.
Tips by class
- Warrior — two variants serve you here: Cuirass softens her Claws, and Anchor (in place of Warrior’s leap) keeps you in place — neither her landing nor her roar moves you. Taunt, cast in a straight line, pulls her to you — pick a tile at the edge of a bubbling geyser.
- Brute — Quake pulls everything in its cross towards the centre: enough to drag her into a geyser. Stomp breaks the eggs around you; Stoneskin absorbs her Claws on the turn she leaps on you.
- Arcanist — Blast and Comet break several eggs at once. Blink gets you out of the nest without spending any MP, and your Elemental’s breath pushes her back 2 tiles.
- Shade — Fear makes her flee in a straight line: aim at a geyser tile behind her. Lay your traps on her spawnlings’ path, and strike her with the Dagger while the Venom eats at her.
- Clockmaker — Reversal throws her to the other side of you: stand between her and a geyser. Rewind sends her back to the tile she occupied before her last move.
- Artificer — Shove pushes her 3 tiles, straight into a bubbling geyser. Your charges explode 2 tiles around: placed near her eggs, they break several at once.
Common mistakes
- Letting the eggs hatch: every egg you ignore becomes a spawnling that bites, plants Parasites and feeds its mother.
- Ending your turn in the nest: the purple veil around the eggs costs 2 MP on your next turn.
- Crossing a pool: just passing through is enough to be poisoned for three turns.
- Staying on a bubbling geyser: it erupts on the Matriarch’s next turn, on everything standing there.
- Ignoring the Parasites: at the third one, your hero can’t move for a whole turn.
- Hitting her during Moult: 35% more resistance for one turn. Break an egg instead, and save your big hits for the next turn.
The weekly boss
The Matriarch is the weekly boss from Monday 12 October 2026: the free boss and its paid version are then played against her. The rewards — leaderboard, prize pool and loot — are detailed on the Loot page.
Frequently asked questions
Does the Matriarch attack from range?
Not with damage: her Claw is melee. But her Leap carries her up to 5 tiles, and her Acid Spit lays a pool up to 6 tiles away that poisons anyone who steps in.
What happens if you let an egg hatch?
It becomes a spawnling: 110 to 170 HP, a Bite that places Parasites. Three Parasites, and the hero can’t move on their next turn. And a spawnling next to her is a 300 HP heal for her.
Do the geysers hurt the Matriarch?
Yes. They hit everything in their area, and the acid eats into her more than into you. That damage counts towards your leaderboard score: luring or pushing her in is one of the best moves of the fight.
How do I avoid the acid pool’s poison?
Stay out of it: the poison hits anyone standing in it on impact, or walking into or through it. It lasts three turns and doesn’t stack. The pool disappears after three of the Matriarch’s turns.
Does damage to eggs and spawnlings count towards the leaderboard?
No: only damage to the Matriarch counts, out of her 10,000 HP. Her eggs and spawnlings earn nothing, but letting them live costs a lot.
Can the Matriarch be pushed?
Yes. Pushes, pulls and position swaps move her like any other fighter. It’s the best way to send her into a geyser that’s about to erupt.