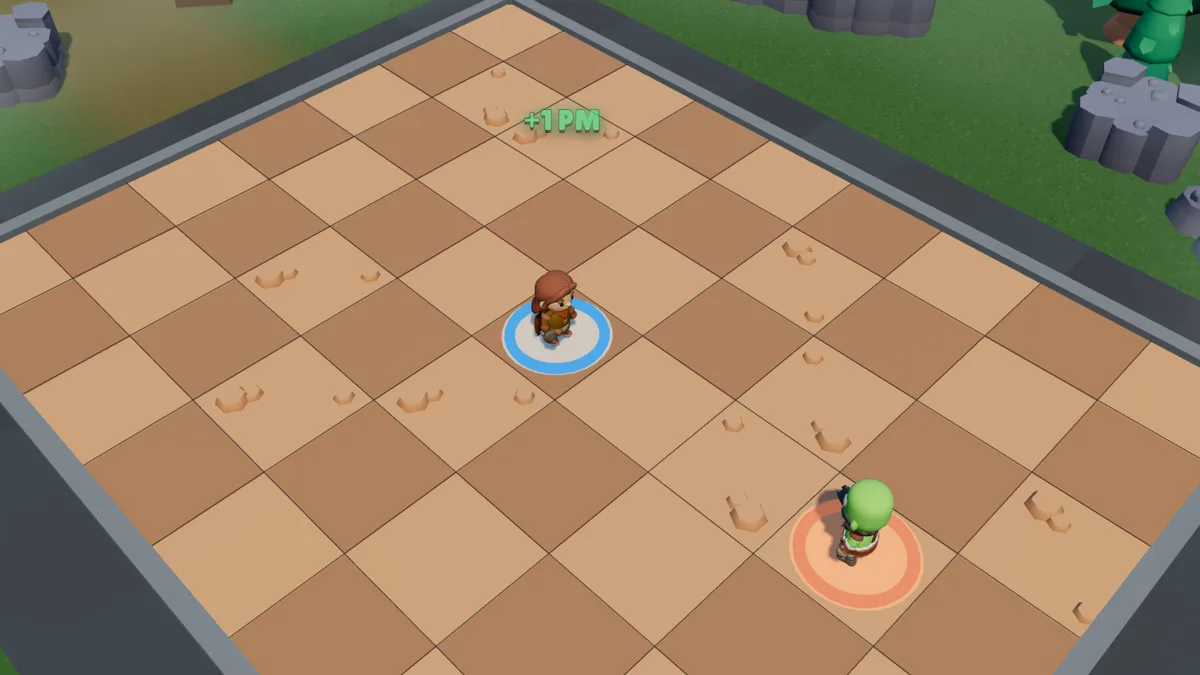
The Artificer does not try to hit their opponent: they try to make sure their opponent is in the wrong place at the wrong time. They place charges, move them, align them, and light them. All their attack spells are really placement spells.
In short
Role — the Artificer is the bombs and area class of Solwaris: they place charges, move them, align them, then light them.
Stats — the Artificer has 700 health, 12 AP and 6 MP, with 30% resistance to AP removal and 35% on MP.
Charges — an Explosive charge costs 2 AP, is placed once per turn, has 70 health and explodes 2 tiles all round for 25 to 36 damage; every charge already placed makes the next one 1 AP dearer, and three at most hold on the map.
Passive — Steady hand adds 15% damage to the charges, whose explosions never hurt the Artificer; on each of their turns they gain a notch, up to five: +7, +16, +31, +53, then +86 flat damage.
Firing line — two aligned charges, at most 10 tiles apart, create a firing line between them that burns anyone who enters it or starts their turn in it, the Artificer included.
Weakness — anything that deals damage can destroy their charges (70 health): area spells, traps, poison, collisions. A destroyed charge vanishes without exploding: the turns spent placing it are lost.
700health
12action points
6movement points
30%resistance to AP removal
35%resistance to MP removal
The passive: Steady hand
Steady hand
Your charges deal 15% more damage and never hurt you when they explode. Every turn, each one arms by a notch — five at most — and gains flat damage: +7, +16, +31, +53, then +86. Only the 15% comes from the passive: the arming and the immunity to your own explosions stay if you take the Engineer passive.
The firing line that forms between two aligned charges, on the other hand, burns you like anyone else.
The notch progression is the real engine of the class. A charge placed and lit in the same turn deals 25 to 36 points, raised by 15%. The same charge left in place for five turns adds 86 fixed points on top. The whole difficulty is surviving long enough for your charges to age — and making sure your opponent does not destroy them in the meantime.
Immunity to your own blasts is what allows you plays no other class can make: standing in the middle of your three charges and lighting everything.
The Artificer’s eight spells
Explosive charge
2 AP · range 1 to 6 · free tile · 1 placement per turn · no cooldown
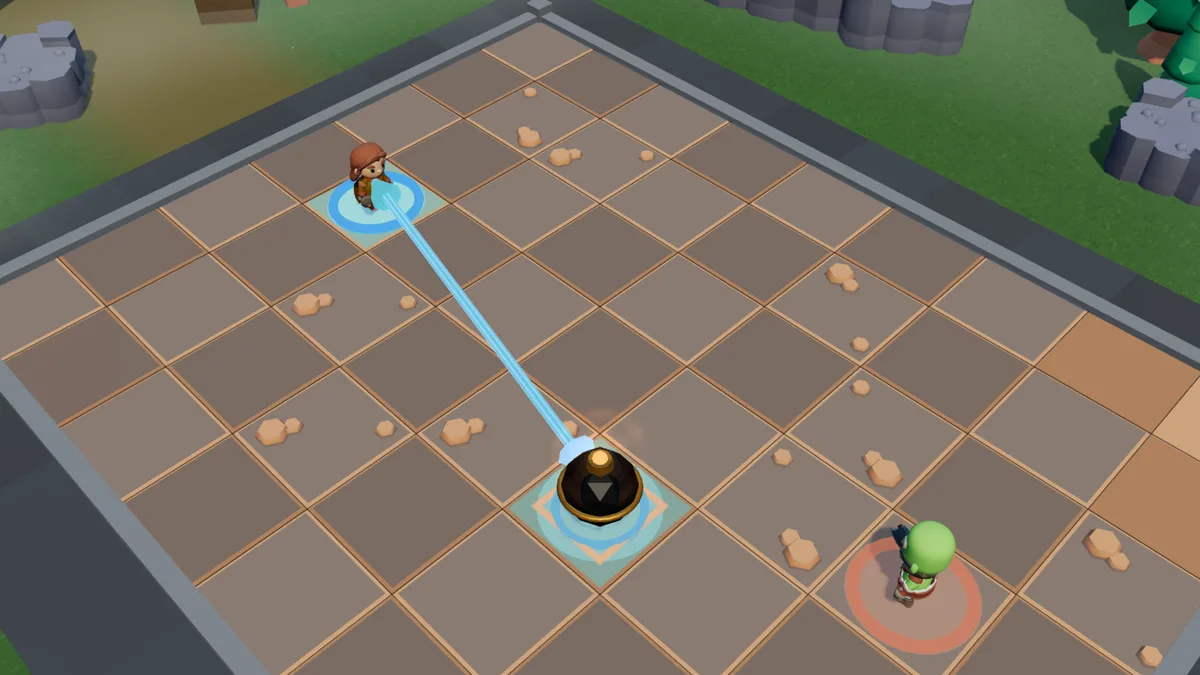
A charge with 70 health that blocks its tile and explodes 2 tiles all round for 25 to 36, plus the bonus from its notches, when you light it. Destroyed, it vanishes without exploding. One placement per turn. Every charge already placed makes the next one 1 AP dearer: the first costs 2, the second 3, the third 4 — nine AP for three charges, over three turns. Three at most on the map.
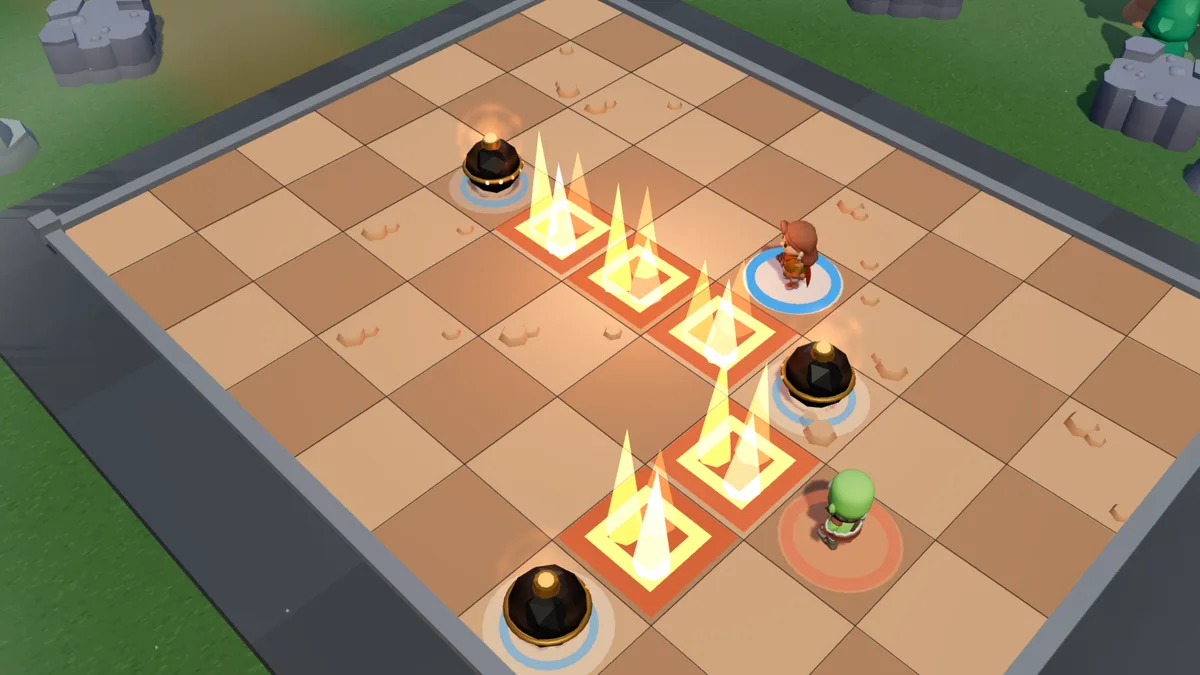
Two aligned charges, at most 10 tiles apart, create a firing line between them, which burns anyone who enters it or starts their turn in it, you included: 35% of the damage of each linked charge, only once per game turn — each fighter’s turn.
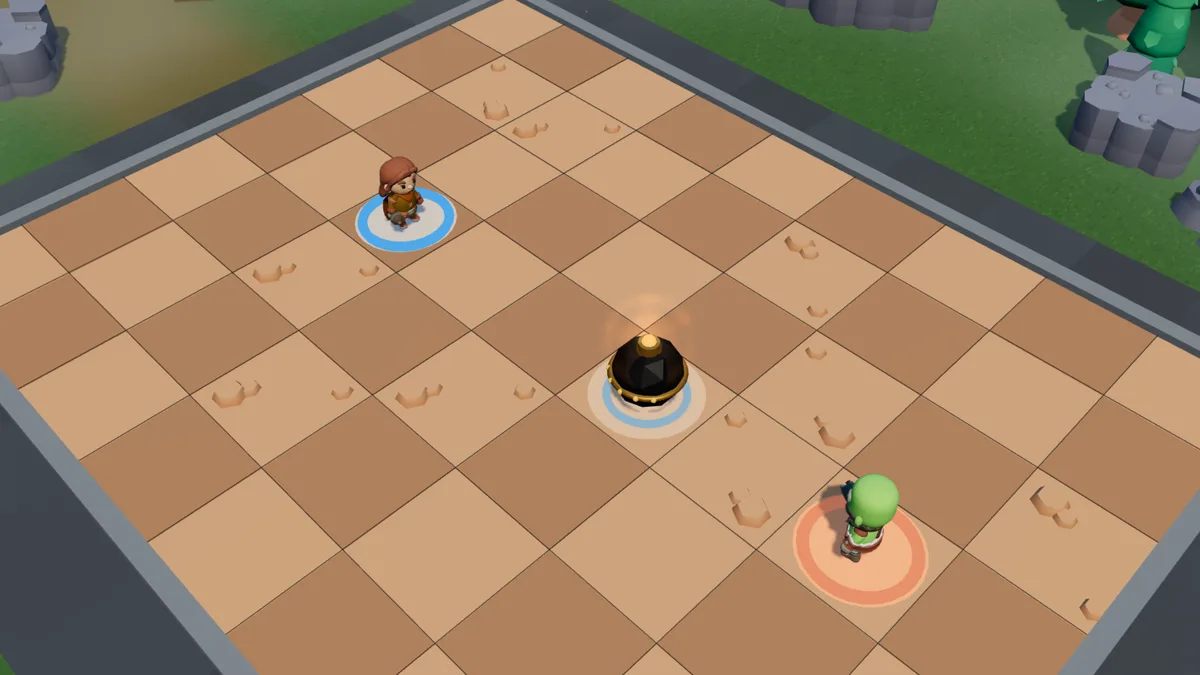
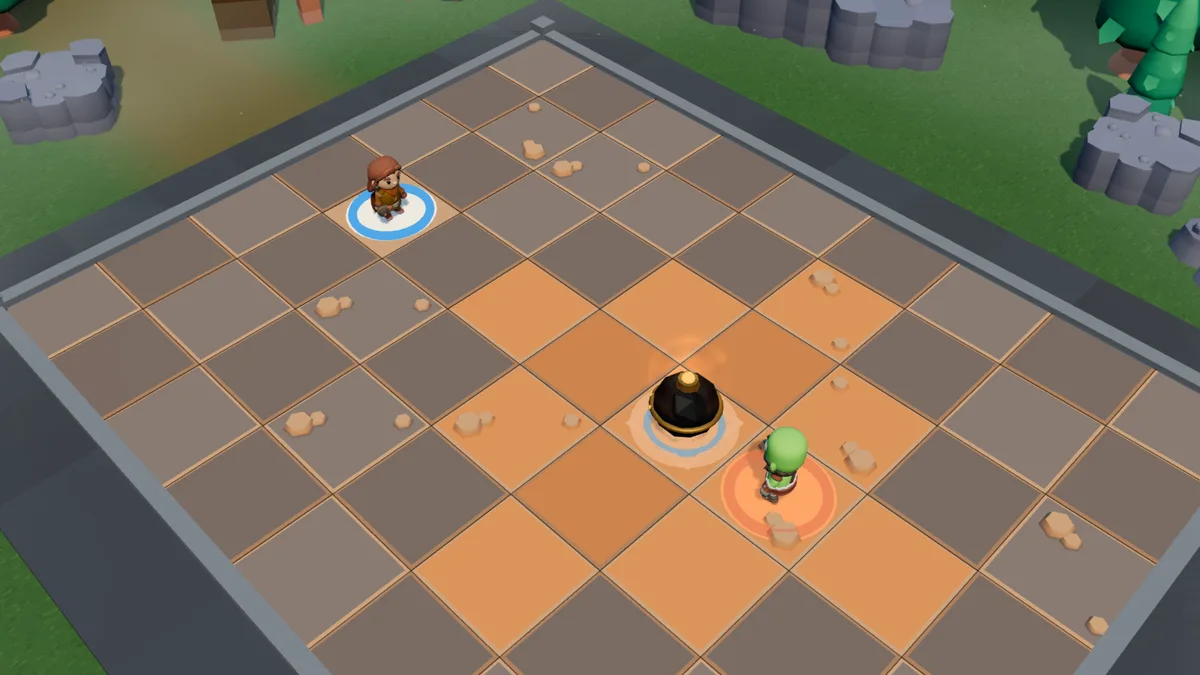
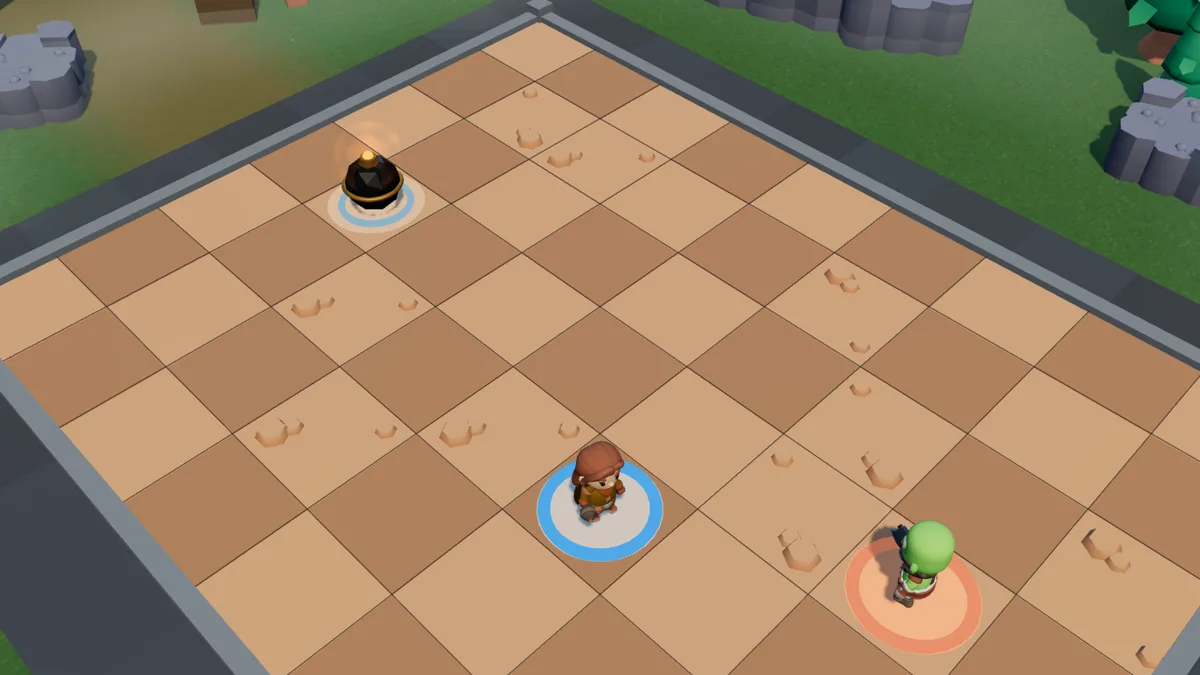
Range 1 to 6: a free tile.The charge is placed; lined up with another, it draws a firing line.
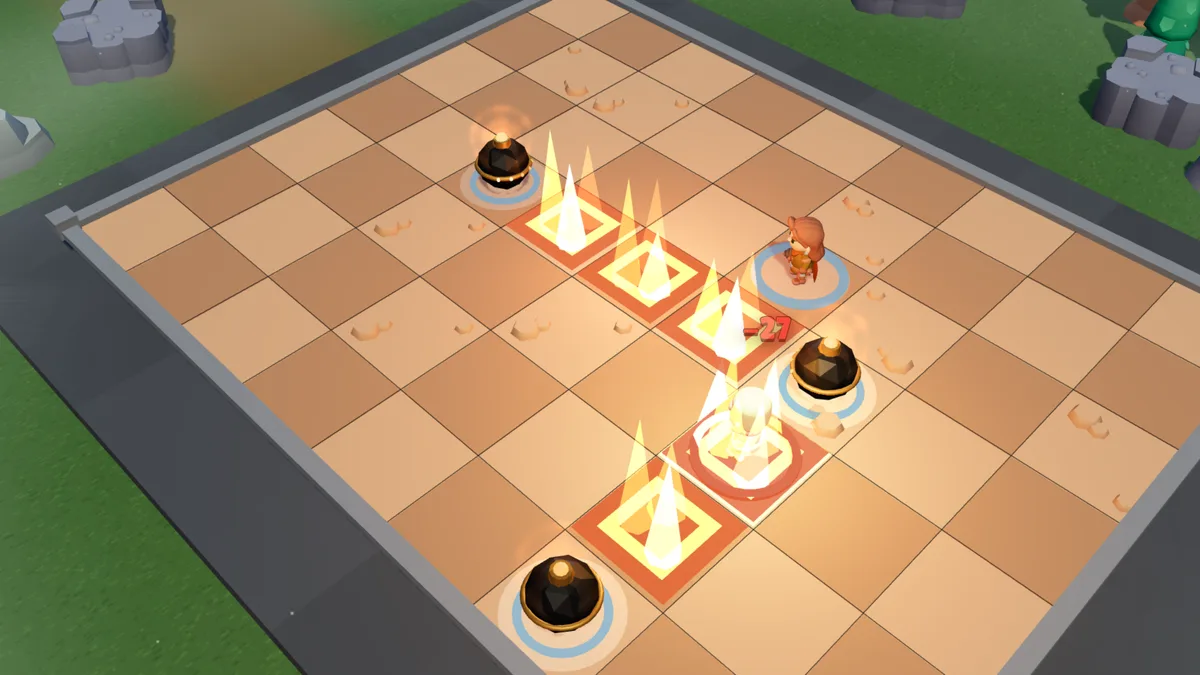
Three charges in an L: two firing lines, a single series.The Brute enters the column: they burn three times, once per charge in the series — 44 damage.
Grapeshot
3 AP · range 1 to 5 · 2 casts per turn · no cooldown
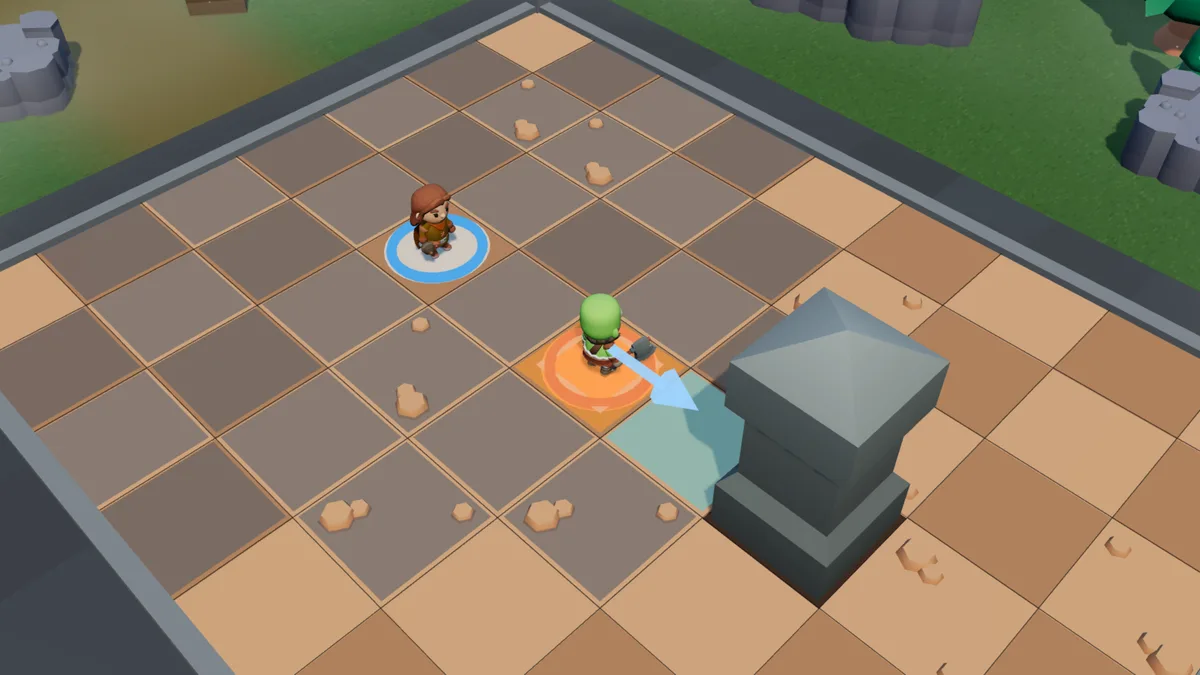
21 to 31 damage and the enemy is pushed one tile away from you. Your only direct attack — and even then, it is mostly there to push: into a firing line, next to a charge, or against a wall, where the blocked push adds 22 collision damage — and whatever they crash into, another entity or your own charge, takes half of that.
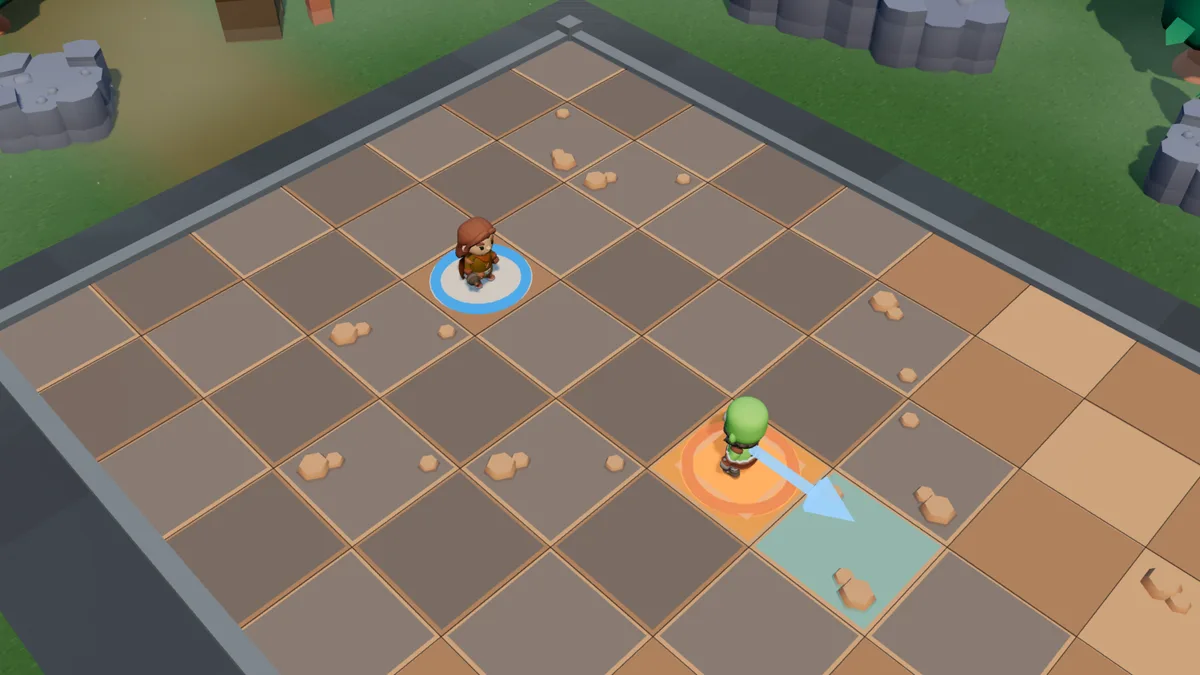
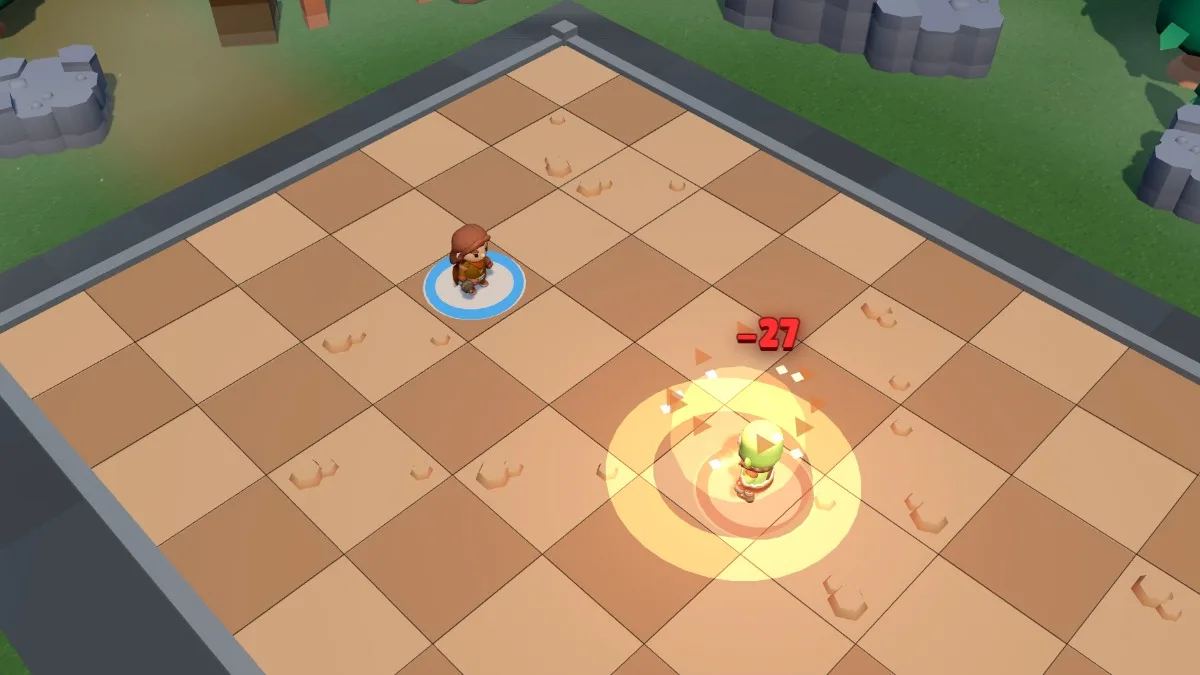
Range 1 to 5, on an enemy.27 damage, and the target is pushed back one tile.
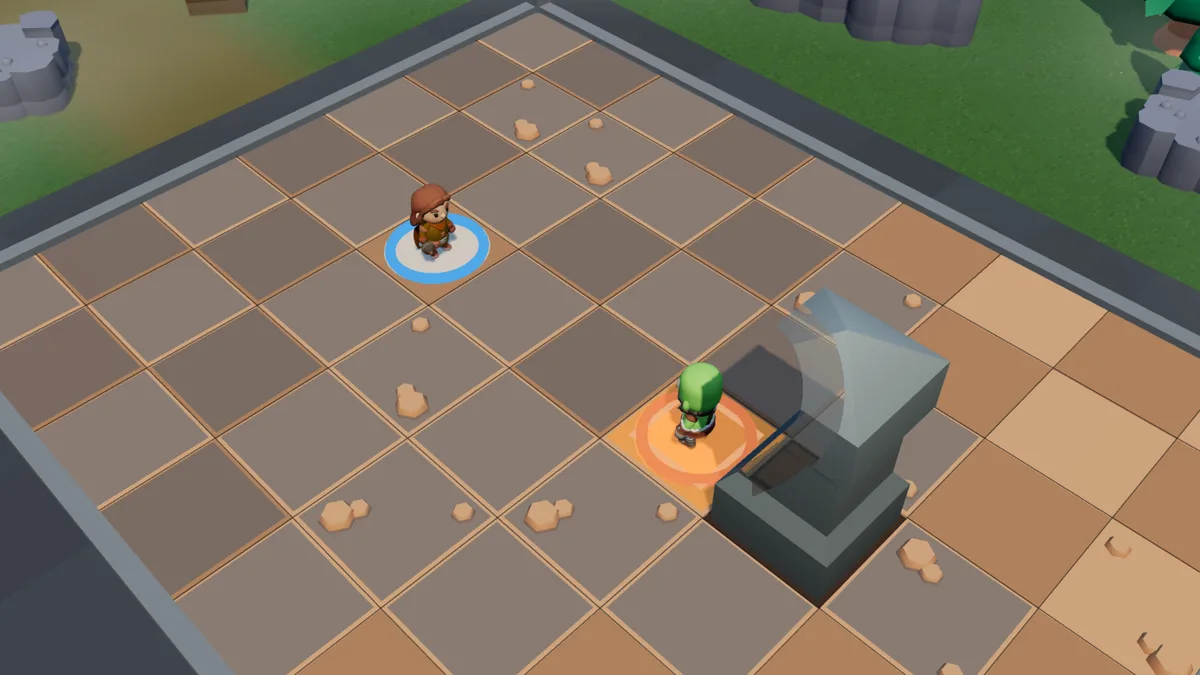
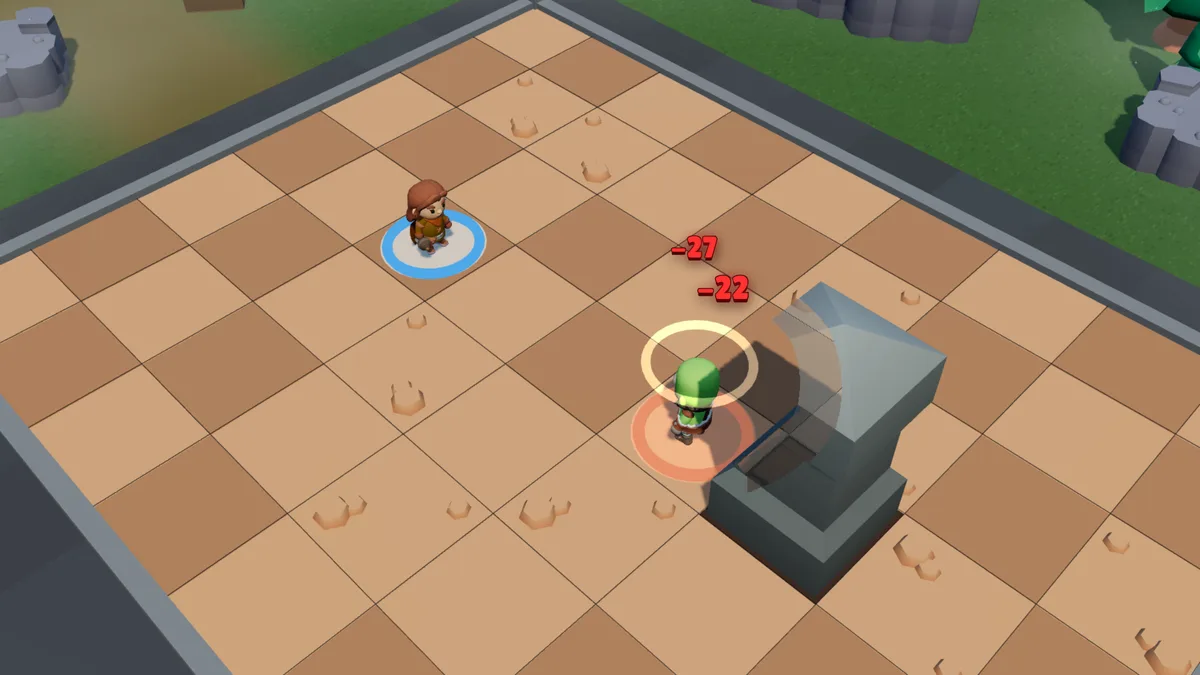
Against a wall — the blocked push hits almost as hard as the shot.
The Brute with their back to a wall: Grapeshot cannot push them back.27 damage from the shot, then 22 from the collision: 49 for 3 AP.
Ignition
2 AP · range 20 · no line of sight · 1 cast per turn · no cooldown
Blows up the targeted charge, up to 20 tiles away, even behind a wall. The explosion spreads: your charges caught in the blast, or linked to it by a firing line, go off in turn. A single Ignition can therefore set off all three — it is the spell that turns ten turns of preparation into one turn of conclusion.
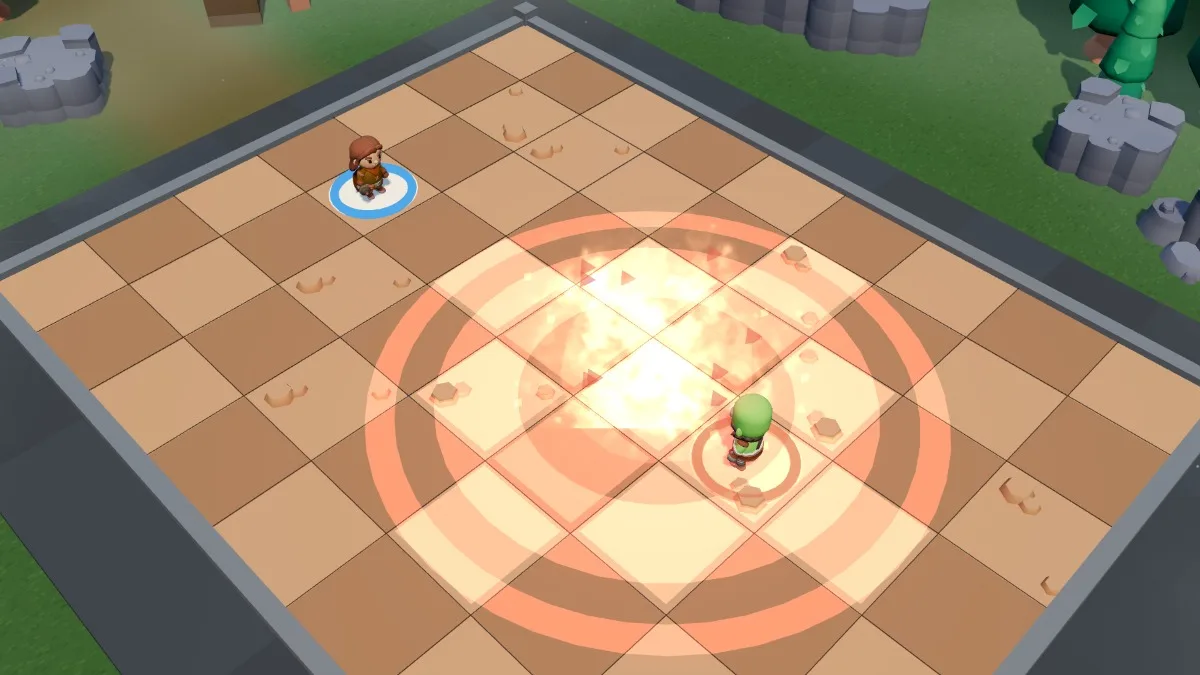
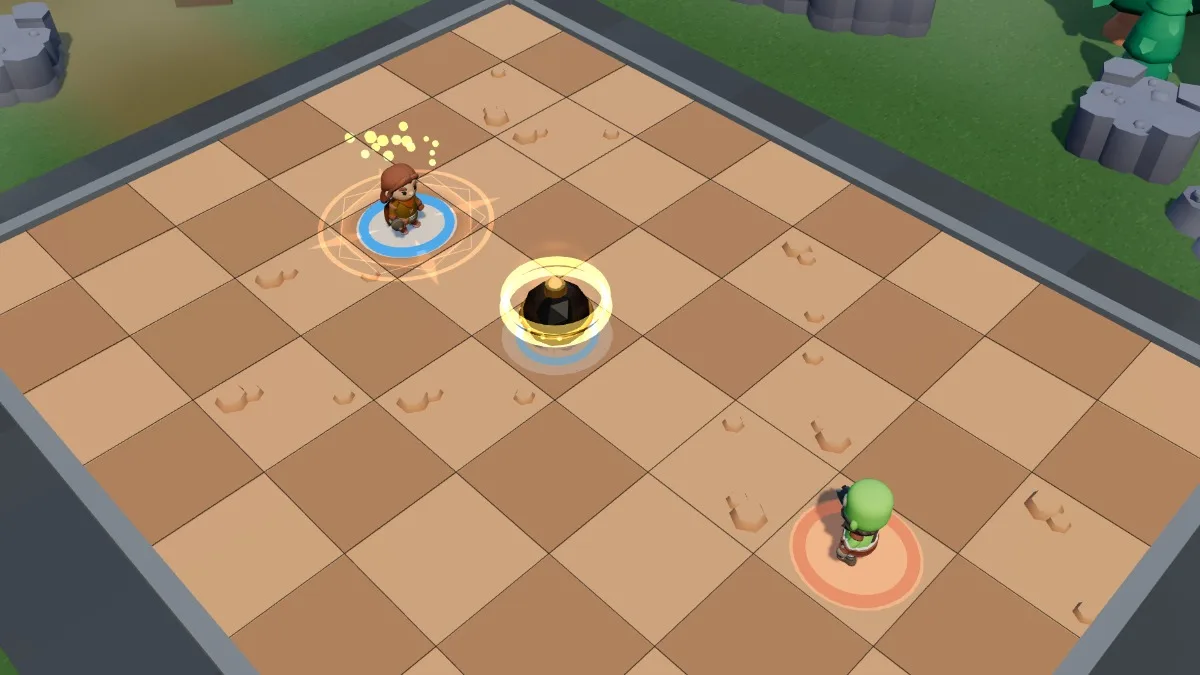
Up to 20 tiles, no line of sight needed: target one of your charges.The charge explodes: 36 damage to the Brute, right next to it.
Shove
2 AP · range 1 to 4 · 2 casts per turn · no cooldown
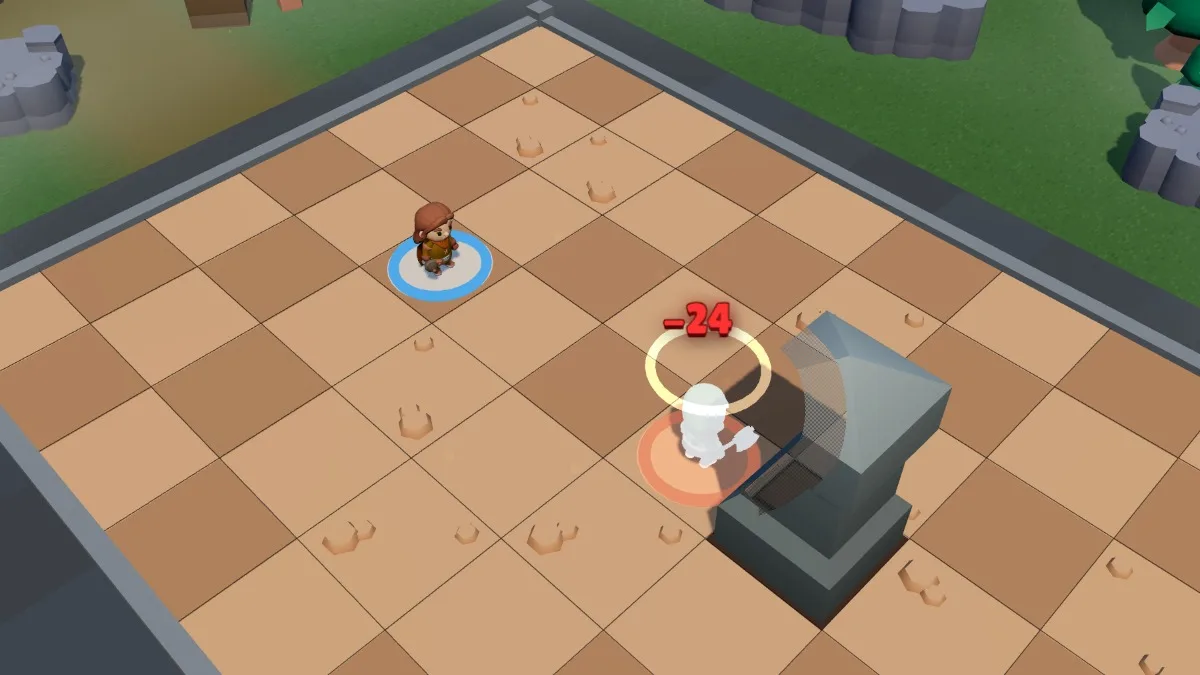
Pushes an entity 3 tiles away from you: one of your charges, a summon, or your opponent themselves. If it hits a wall or someone, it takes 12 collision damage per missing tile, and the entity struck takes half. Two AP to move a charge three tiles is cheaper than placing a new one.
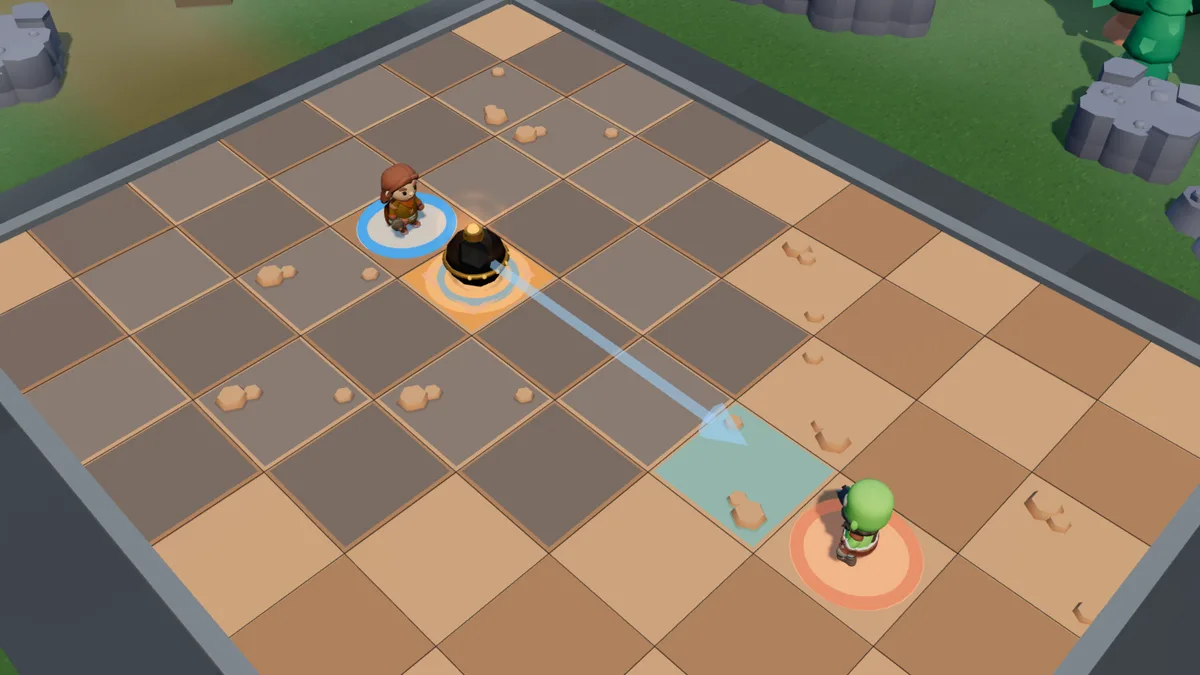
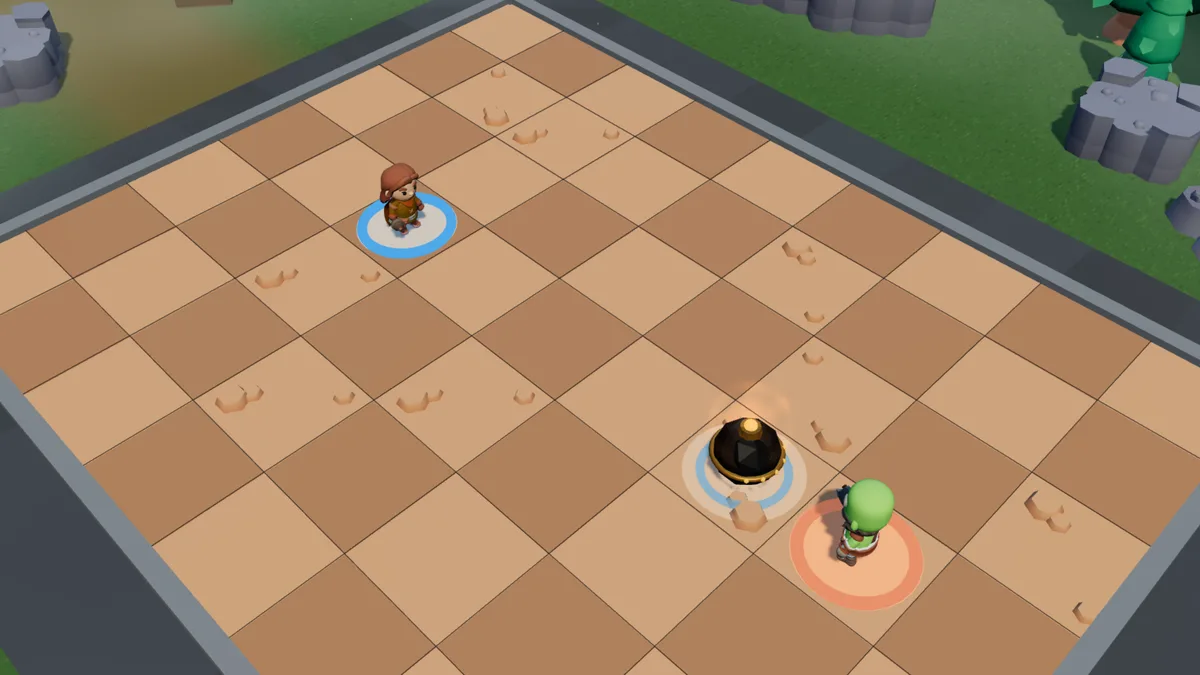
Range 1 to 4, on an entity.The charge is pushed 3 tiles away from you — your opponent too, if targeted.
Against a wall — 12 damage for each tile the push could not travel.
The Brute two tiles from a wall: the Shove pushes them 3.They move only one tile and hit the wall: 24 damage. Against an entity, that entity takes half.
Gather
3 AP · range 0 to 6 · cross of 6 tiles · 2 casts per turn · no cooldown
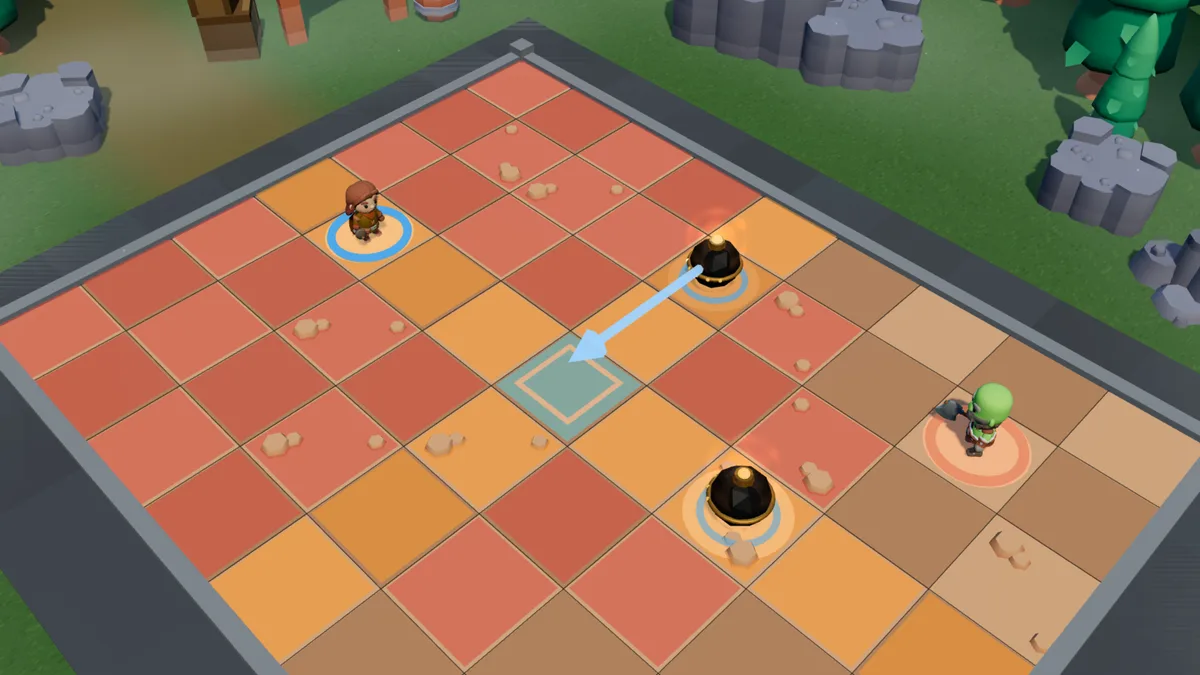
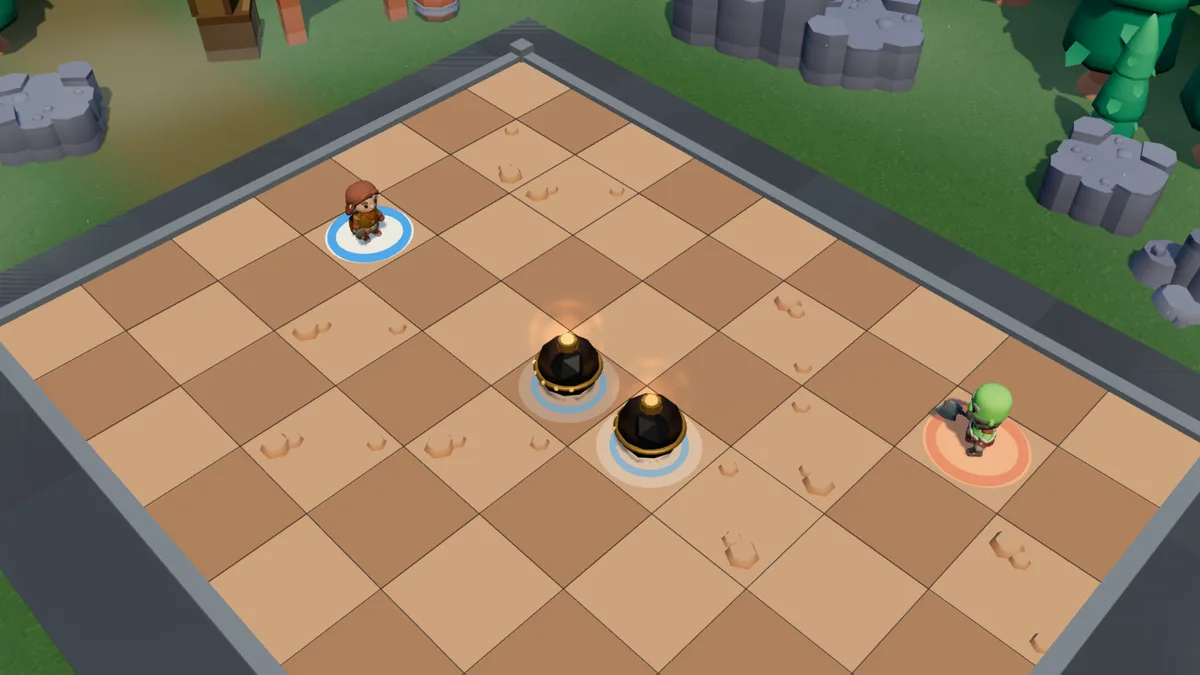
Target a tile, even an empty one: all your charges on its row or column, within 6 tiles, slide towards it until they reach it or hit an obstacle. Neither you nor your opponent moves. Three AP to regroup a field of scattered charges around the tile your opponent is standing on.
The row and the column of the target tile, within 6 tiles.Your charges on its row and column slide towards it.
Relay
2 AP · range 1 to 8 · 1 cast per turn · no cooldown
Swap places with one of your charges, in line of sight. It is your longest and cheapest move: every charge you place is also an escape hatch eight tiles away. Placing a charge behind you early in the match is often better than placing it under your opponent.
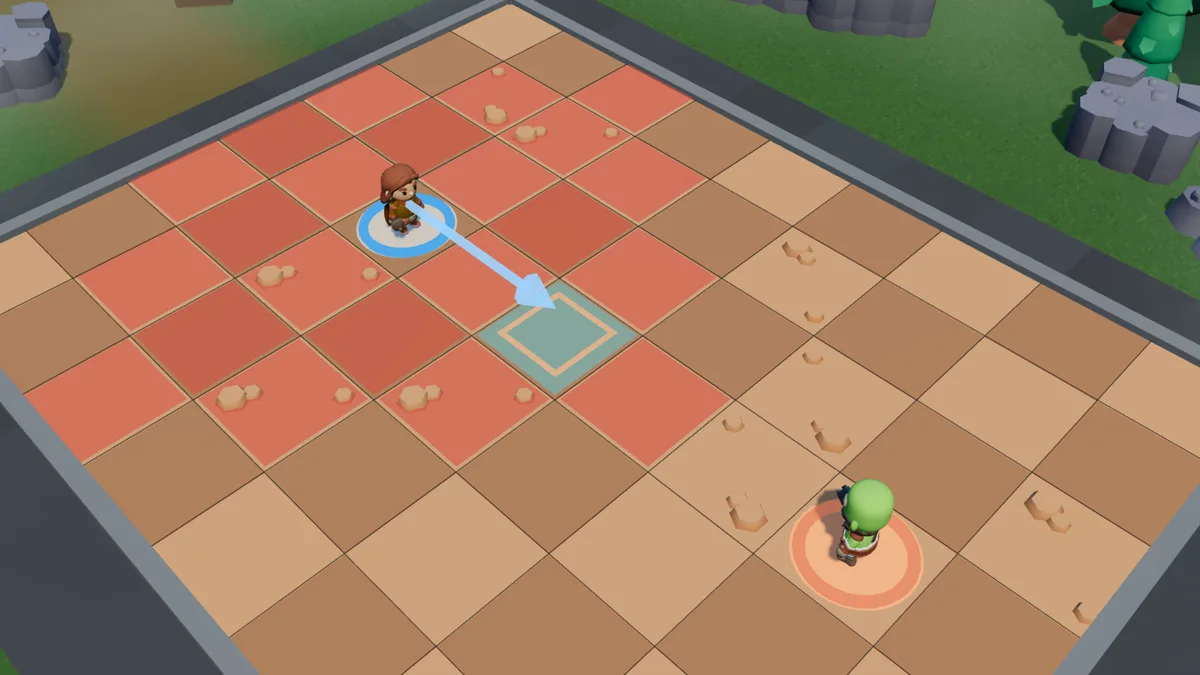
In sight, up to 8 tiles: one of your charges.You trade places with the charge.
Fine powder
3 AP · on self · 3-turn cooldown
For 2 turns, your charges already placed deal 40% more damage and gain 50 armour. A charge placed after the spell gets nothing: the powder fell before it was there. No effect on you, and the spell cannot be cast if you have no charge on the field — place first, boost second. The 50 armour counts as much as the 40%: it takes a charge from 70 to 120 effective health.
+40% damage and 50 armour for your charges, for 2 turns.
Roll
2 AP · range 1 to 3 · free tile in sight · 1-turn cooldown
You roll to a free tile in sight, 3 tiles at most, and get 1 MP back. The short-range retreat, when Relay has no well-placed charge — or when you need to get out of a firing line you have just created.
Range 1 to 3: a free tile in sight.You roll to the tile, and gain 1 MP.
The variants
Each spell slot has a second version, and so does the passive: before the fight, in the grimoire, you choose one version per slot. The Artificer’s variants place turrets — an assault one, a healing one — which play by themselves, on their own turn, with two spells each (the second at level 3 for the assault turret, from level 2 for the healing turret; each one 2 times per turn on 2 different targets), and stay until destroyed. The choice is locked when the fight starts, and the opponent sees it. All are available, in every mode.
Bombs and turrets combine
Spells designed for charges also work on turrets: Ignition blows up a turret (2 tiles around, like a charge, harder at each level), and the explosion spreads to charges and turrets caught in the blast; Relay swaps your place with a charge or a turret; Gather pulls charges and turrets; Shove pushes a turret; Fine powder boosts charges and turrets already placed (on a turret, for a single round of shots). Steady hand also boosts a turret’s explosion. A destroyed turret explodes too, but alone: it sets off neither your charges nor your other turret. The other way round, Upgrade arms a charge by one notch, and Gangway takes you to a charge or a turret — or brings it to you.
Engineer (passive variant)
Replaces Steady hand.
Your turrets have 30% more HP and, as long as they are alive, their shots deal 40% more damage. Your firing lines between charges also burn 25% harder.
Turret levels
You do not control your turrets: on their turn, the game plays them by a fixed rule, and their turn passes at once. Each of their spells is cast 2 times per turn, on 2 different targets. The assault turret shoots the nearest enemies in range, then, at level 3, casts Overload on the allies nearest an enemy. The healing turret shoots its heals at wounded allies in range, the most wounded first; from level 2, it also puts, every turn, its Armour plating on the allies nearest an enemy.
Assault turret — level 1: 110 HP, shot 18 to 26 at 5 tiles; level 2: 143 HP, shot 44 to 60 at 6 tiles; level 3: 176 HP, shot 76 to 104 at 7 tiles, which also removes 1 MP (dodgeable), and a second spell, Overload: +20% damage to a targeted ally, yourself included, until the end of their next turn. Detonated or destroyed, it explodes 2 tiles around: 14 to 20 at level 1, 34 to 48 at level 2, 58 to 82 at level 3 (Steady hand adds 15%); the Ignition targeting preview shows them.
Healing turret — a heal shot from range, in sight, from 1 to 6 tiles at every level: level 1: 90 HP, heal 15 to 20; level 2: 117 HP, heal 25 to 33; level 3: 144 HP, heal 42 to 56, and a second spell, Armour plating: 25 armour from level 2, 42 at level 3, for 2 turns, every turn, to a targeted ally, yourself included. Detonated or destroyed, it explodes 2 tiles around: 16 to 22 at level 1, 27 to 37 at level 2, 46 to 63 at level 3.
Assault turret
3 AP · range 1 to 5 · free tile · 2-turn cooldown
Replaces Explosive charge.
Places a turret that plays by itself, on its own turn: it shoots the 2 nearest enemies in sight, once each (and, at level 3, empowers allies). It stays until destroyed; only one at a time: cast again, the spell moves it here and it loses one level (never below level 1) and recovers 50% of its max HP. 2-turn cooldown. Level 1: 110 HP, shot 18 to 26 at 5 tiles; level 2: 143 HP, shot 44 to 60 at 6 tiles; level 3: 176 HP, shot 76 to 104 at 7 tiles, which also removes 1 MP (dodgeable), and Overload: +20% damage to an ally. Detonated or destroyed, it explodes 2 tiles around, like a charge: 14 to 20, 34 to 48, then 58 to 82 depending on its level.
Tip. Place it early and under cover: it fires on its own every turn, and every Upgrade makes it more dangerous. Its catch: moving it costs it a level, and it takes the slot of Explosive charge — no more charges to place.
Grapple
3 AP · range 1 to 5 · 3 by 3 square · 2 per turn
Replaces Grapeshot.
A grapple on a tile in sight: in the 3 by 3 square around it, enemies take 18 to 26 damage, then everything in it except you — enemies, allies, charges, turrets — is pulled one tile towards the centre (the nearest first; whatever is at the centre stays put, an occupied tile stops the pull). Can target an empty tile. Nothing anchored moves.
Tip. It gathers everything in the square: enemies bunched up for an explosion, or a turret brought back one tile. It can aim at an empty tile. Its catch: it pulls instead of pushing — do not bring the enemy onto you by accident.
Command volley
2 AP · range 1 to 6 · with an assault turret in play · 1-turn cooldown
Replaces Ignition.
You mark an enemy in your sight, up to 6 tiles from you: your assault turret strikes it, wherever the turret stands. Every other turn. The higher its level, the more terrible the blow — level 1: 18 to 26 damage; level 2: 50 to 65; level 3: 95 to 120 on the targeted enemy, and half of that to the enemies next to it. With no assault turret on the field, there is nothing to command.
Tip. Your biggest hit, provided the assault turret has been levelled up: at the first level it counts for little, at the last it decides a match. Its catch: with no assault turret in play there is nothing to command — and you no longer have Ignition to blow up your machines yourself.
Rivet
3 AP · range 1 to 3 · 1 per turn
Replaces Shove.
Wounds an enemy (21 to 31) and pushes it 1 tile, once per turn. If it hits a wall or an entity, it is riveted: it loses 1 MP on its next turn — dodgeable, depending on its resistance to AP/MP removal — and takes the usual collision damage.
Tip. Damage and a small push: against a wall or another entity, the target loses movement as well. Always look for the obstacle behind them. Its catch: it only pushes one tile, where Shove moved things much farther.
Upgrade
2 AP · range 1 to 8 · a charge or a turret · no line of sight · 1 per turn
Replaces Fine powder.
One of your turrets moves up to the next level (3 at most) — or one of your charges gains an arming notch. Never on a turret placed or moved this turn. Assault turret — level 1: 110 HP, shot 18 to 26 at 5 tiles; level 2: 143 HP, shot 44 to 60 at 6 tiles; level 3: 176 HP, shot 76 to 104 at 7 tiles, which also removes 1 MP (dodgeable), and Overload: +20% damage to an ally. Detonated or destroyed, it explodes 2 tiles around, like a charge: 14 to 20, 34 to 48, then 58 to 82 depending on its level. Healing turret — level 1: 90 HP, heal 15 to 20; level 2: 117 HP, heal 25 to 33; level 3: 144 HP, heal 42 to 56, and Armour plating, every turn from level 2: 25 armour to an ally, 42 at level 3. Its heals reach 1 to 6 tiles, at every level. Detonated or destroyed, it explodes 2 tiles around, like a charge: 16 to 22, 27 to 37, then 46 to 63 depending on its level.
Tip. The heart of the plan: once per turn, on the assault turret first — each level boosts its shots, its range and Command volley. It also arms a charge by one notch. Its catch: a levelled turret is a target; do not leave it in the open.
Gangway
2 AP · range 1 to 8 · in line with a charge or a turret · no line of sight · 1 per turn
Replaces Relay.
In a straight line with one of your turrets or charges, even behind a wall: target it (or the tile next to it, on your side), up to 8 tiles away, and you join it; target the tile next to you, in its direction, and it joins you instead, from however far away. The arrival tile must be free. No damage. Nothing anchored moves — except you, under your own Diving bell.
Tip. One way you join your machine, the other way you bring it to you: to flee towards a turret, or reposition it without costing it a level. Its catch: you need a straight line to it and a free arrival tile — Relay swaps from any angle, but only in sight.
Healing turret
3 AP · range 1 to 5 · free tile · 3-turn cooldown
Replaces Gather.
Places a turret that plays by itself, on its own turn: it heals the 2 most wounded allies in sight, yourself included, once each (and, from level 2, plates allies with armour). It stays until destroyed; only one at a time: cast again, the spell moves it here and it loses one level (never below level 1) and recovers 50% of its max HP. 3-turn cooldown. Level 1: 90 HP, heal 15 to 20; level 2: 117 HP, heal 25 to 33; level 3: 144 HP, heal 42 to 56, and Armour plating, every turn from level 2: 25 armour to an ally, 42 at level 3. Its heals reach 1 to 6 tiles, at every level. Detonated or destroyed, it explodes 2 tiles around, like a charge: 16 to 22, 27 to 37, then 46 to 63 depending on its level.
Tip. It heals on its own, the most wounded first, you included: place it behind you, within range, out of the enemy’s sight. Its catch: it only heals what it can see, and you no longer have Gather to regroup your machines.
Diving bell
4 AP · on self · 3-turn cooldown
Replaces Roll.
For 2 turns: 15% damage resistance, 30 armour, and you are anchored — nobody but you can move you. In return, you will have 2 fewer MP on your next turn.
Tip. To ride out a bad moment without being moved: against anything that pushes, pulls or swaps. Cast it before the enemy turn, once you know where you want to stay. Its catch: it is expensive, slows you next turn, and without Roll you have no quick way out.
Playing the variants
The variants trade charges for two turrets — one assault, one healing — that play on their own, on their turn. The plan is slow and steady: place, level up, protect. The original spells you keep work on turrets too.
Levelling the turret, over three turns
First turn — Assault turret (3 AP) — under cover. No Upgrade this turn: a turret that has just been placed cannot level up.
Second turn — Upgrade (2 AP) — the next level; only one per turn.
Third turn — Upgrade (2 AP) — the last level.
Right after — Command volley (2 AP) — at the last level it is the biggest hit in the kit, and it also strikes enemies next to the target.
During those three turns the turret fires by itself, and each time you have enough left to keep the opponent at bay. Do not move it without a reason: every move costs it a level.
Gather and strike (8 AP)
Grapple (3 AP) — on the group: everything in the square tightens towards the centre.
Rivet (3 AP) — damage and a one-tile push — against a wall or an entity, the target loses movement.
Command volley (2 AP) — on the enemy with the most neighbours.
Command volley only fires every other turn, and only if the assault turret is in play.
Three combos
The setup, over two turns
First turn — Explosive charge (2 AP) on your opponent’s path, then Fine powder (3 AP): this charge — and only this one, the ones placed afterwards get nothing — gains 40% damage and 50 armour for 2 turns.
Second turn — Explosive charge (3 AP) on the same line as the first, on the other side of the path: a firing line forms between them.
Third turn — Explosive charge (4 AP), the third, placed back from the action: it is your landing spot for the Relay, which only works once per turn.
One charge per turn: the ground is prepared slowly, but every charge placed early has time to arm — it gains a notch every turn. Meanwhile, the remaining AP go into keeping your opponent at a distance.
Place, then light (7 AP)
Shove (2 AP): your opponent goes 3 tiles — towards the firing line, or against a wall for 12 collision damage per missing tile.
Grapeshot (3 AP): the damage, plus a one-tile push — and if the push is blocked, 22 collision damage, almost as much as the shot.
Ignition (2 AP) on the charge nearest to them: the blast spreads to the others along the firing line.
The order is the spell: you push first, you light second. A charge lit too early is a wasted charge — and a notch lost.
Gathering a scattered field (5 AP)
Gather (3 AP) on your opponent’s tile: all your charges aligned with it slide towards them.
Ignition (2 AP) on one of them.
Gather moves neither you nor your opponent: it moves only your charges. That is what makes it the most underrated spell in the class — five AP to bring together and set off a minefield you placed three turns earlier.
Combos that work
These lines are the ones that come up most often, and pay off most, across several thousand training matches played by the game’s automatic opponents at their best level. For each one: the spells in order, what you need, what you get out of it, the most common follow-up, and when to do without it. A sequence missing from this list is not necessarily a bad one.
Volley, rivet, two grapples (11 AP)
Command volley (2 AP)
Rivet (3 AP)
Grapple (3 AP)
Grapple (3 AP)
Conditions. An assault turret in play, the enemy in sight and close: Rivet has a short range. The higher the turret’s level, the harder Command volley hits.
Result. The turret strikes on command, Rivet pushes them — against a wall, a machine or the edge of the map, they are pinned and lose MP — and the two Grapple casts hurt them while bringing them back where you want.
The line. I play Command volley, Rivet, then Grapple twice; they answer by going after the turret, or by getting next to me; then, with the volley on cooldown, I have Rivet, Grapple twice and Upgrade.
When not to play it. With no assault turret on the field: the volley has nothing to command. Against a wounded Brute, who asks for nothing better than to be brought back into melee: Grapple does her a favour.
The turn without the volley (11 AP)
Rivet (3 AP)
Grapple (3 AP)
Grapple (3 AP)
Upgrade (2 AP)
Conditions.Command volley only fires every other turn: this is the line for the other turn. You need a turret within range of Upgrade.
Result. The same hits, and a turret that gains a level: the next volley will hit harder.
The line. I play Rivet, Grapple twice, then Upgrade; they answer by shooting at me from afar, or by coming into melee; then I have the previous line, with Command volley back.
When not to play it. When the turret is already at the last level: keep those AP for a Gangway, and reposition yourself.
Place, shoot, shove (10 AP)
Explosive charge (2 AP)
Grapeshot (3 AP)
Grapeshot (3 AP)
Shove (2 AP)
Conditions. The enemy within range of Grapeshot. Place the charge on the side your shots push them towards. Each charge already placed makes the next one more expensive.
Result. Two shots that push them back one tile each, then Shove throws them: against a wall, a charge or the edge of the map, each missing tile costs them collision damage. The charge, meanwhile, arms for later.
The line. I play Explosive charge, Grapeshot twice, then Shove; they answer by coming back — Charge and Mace smash for a Brute — or by destroying the charge, which then disappears without exploding; then I have the same line with a second charge, lined up with the first to draw a firing line.
When not to play it. On open ground, far from any wall and from the edge: Shove only pushes them away. And do not push them out of range of your own charges.
The sapper’s relay (10 AP)
Explosive charge (2 AP)
Relay (2 AP)
Grapeshot (3 AP)
Grapeshot (3 AP)
Conditions. The enemy is right next to you. Place the charge far from them, then take its place with Relay: the charge ends up where you were, against them.
Result. You leave melee without spending MP, a charge stays beside them, and your two Grapeshot shots are fired from afar.
The line. I play Explosive charge, Relay, then Grapeshot twice; they answer by chasing me — Warrior’s leap then Lunge twice — or by hitting the charge; then I have Relay and Ignition if the charge has had time to arm, or a second charge to place.
When not to play it. When your shots would push them out of the charge’s blast: check the preview before shooting. And a charge placed this turn has no notch yet: its explosion is still weak.
Bringing the charges in (12 AP)
Grapeshot (3 AP)
Grapeshot (3 AP)
Gather (3 AP)
Gather (3 AP)
Conditions. Charges already placed, on the row or column of a tile close to the enemy. All your AP go into it.
Result. Two shots that move them, then your charges slide up to them: next turn, Ignition finds the charges armed and well placed.
The line. I play Grapeshot twice, then Gather twice; they answer by moving away from the charges, or by healing their losses if they are an Arcanist; then I have Ignition, and enough left to shoot again.
When not to play it. When your charges have just been placed: they have almost no bonus, wait for them to arm. And if the opponent can destroy them before your turn, the charges disappear without exploding.
Their weaknesses
What beats an Artificer
Anything that deals damage. Your charges have 70 health. A Comet, a Stomp, a Quake, a Shade trap or a poison can destroy them — and a destroyed charge vanishes without exploding: that many turns of setup lost. Don’t push a charge into a mined area: it sets off traps like anyone else.
Immediate aggression. Your class needs two or three setup turns. A Brute that charges on turn one does not grant them to you.
Your own firing lines. Your explosions do not hurt you; your firing lines do. It is easy to lock yourself between two aligned charges.
An opponent who does not come. All your pushes are short-range: Shove 4 tiles, Grapeshot 5. Against an Arcanist who stays at 9 tiles you have to advance — and for this class, advancing means giving up the ground you prepared.
What beats the variants
Only one turret of each kind. The whole plan rests on two machines: a destroyed turret takes its levels with it, and the one you place again starts back at the first.
Moving costs a level. Placing a turret again lowers it: an opponent who switches sides of the map forces you to choose between range and power.
No turret, nothing to command.Command volley needs an assault turret in play, and without Ignition you can no longer blow up your machines yourself.
Who you face, and how
Against the Warrior and the Brute, play your charges as walls: they block tiles. A charging Brute stops against them instead of reaching melee, and a Taunt only pulls you as far as the charge. A Leap cannot land on a charge’s tile.
Against the Arcanist, Relay is your only way to rebuild distance quickly: place a charge ahead, in sight, then swap. Against the Shade, your blasts hit tiles and not targets — it is one of the best answers to invisibility in the game. Against the Clockmaker, careful: Pivot rotates your charges like everything else, and an alignment shifted by one tile no longer makes a firing line.
With turrets come other reflexes. Against the Warrior, a Barrier blocks your turrets’ sight: reposition yourself with Gangway rather than placing them again. Against the Brute, the beasts come for your machines: Grapple bunches them up under the explosion of a falling turret. Against the Clockmaker, their spells go through their rifts and reach a turret you thought was safe; Diving bell keeps you in place against Call of the void and Breaker. Against a healing Arcanist, a Command volley at the last level hits harder than their biggest heal.
Frequently asked questions
How do you play the Artificer in Solwaris?
The Artificer is played by setting up the ground before striking: place the charges, align them to create a firing line, push your opponent into it with Shove or Grapeshot, then light it. Ignition costs 2 AP and spreads to the charges caught in the blast or linked by a firing line. Letting a charge age is better than lighting it right away, because every turn adds a notch of fixed damage to it.
How much HP does the Artificer have?
The Artificer has 700 health, 12 action points and 6 movement points, with 30% resistance to AP removal and 35% on MP. Their charges have 70 health each — 120 while Fine powder covers them.
How many charges can the Artificer place?
Three at most on the map. The first costs 2 AP, the second 3 and the third 4, since every charge already placed makes the next one 1 AP dearer: nine AP for all three. They are placed once per turn, at 6 tiles at most, and the spell has no cooldown.
How does the Artificer’s firing line work?
Two aligned charges, at most 10 tiles apart, create a firing line between them, which burns anyone who enters it or starts their turn in it. The Artificer has nothing to fear from their own explosions, but the firing line burns them like anyone else: it is easy to lock yourself between two aligned charges. An explosion also spreads along that line, so a single Ignition can set off all three charges.
What is the Artificer’s weakness?
Area spells and immediate aggression. Their charges have 70 health, which a Comet, a Stomp or a Quake quickly wears down — and a destroyed charge disappears without exploding, along with the turns spent placing it. On top of that, the class needs two or three turns of setup that a Brute charging on turn one won’t give them.
How do the Artificer’s turrets work?
A turret plays on its own, on its turn: the assault turret fires at the nearest enemies in range, the healing turret heals the most wounded allies. Only one of each kind at a time; Upgrade levels them up. Detonated or destroyed, a turret explodes like a charge; destroyed by the opponent, it explodes alone, without setting off your other machines.
The Artificer rewards preparation: their best turns are the ones they set up three turns earlier.