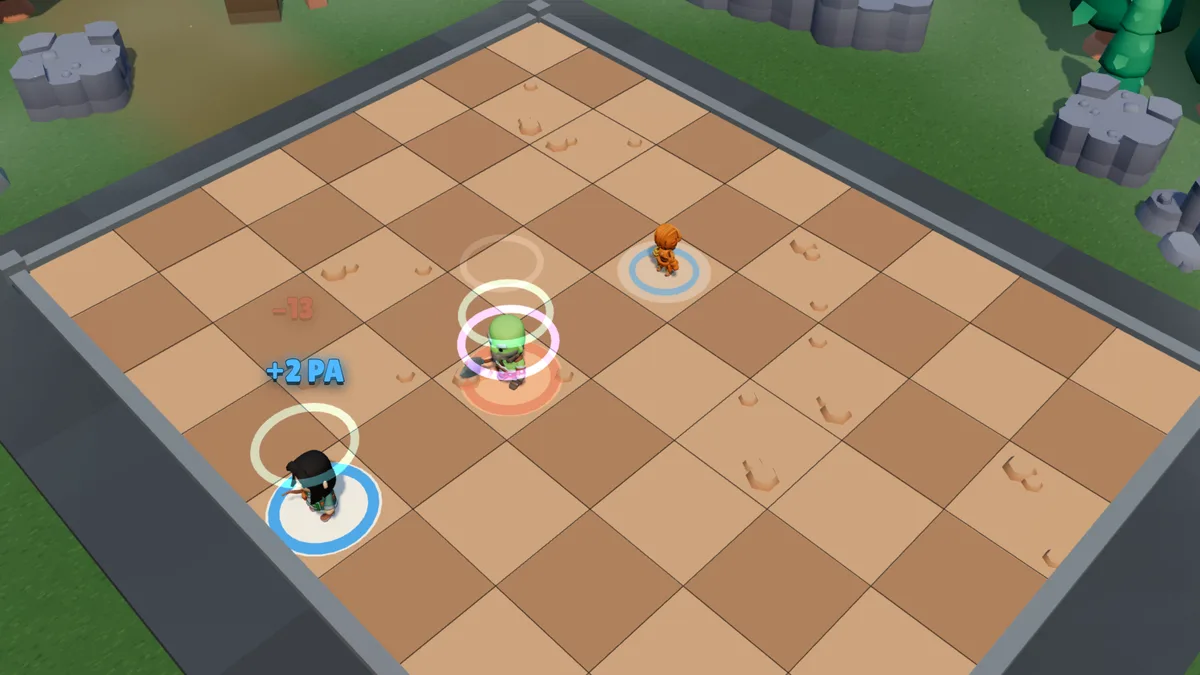
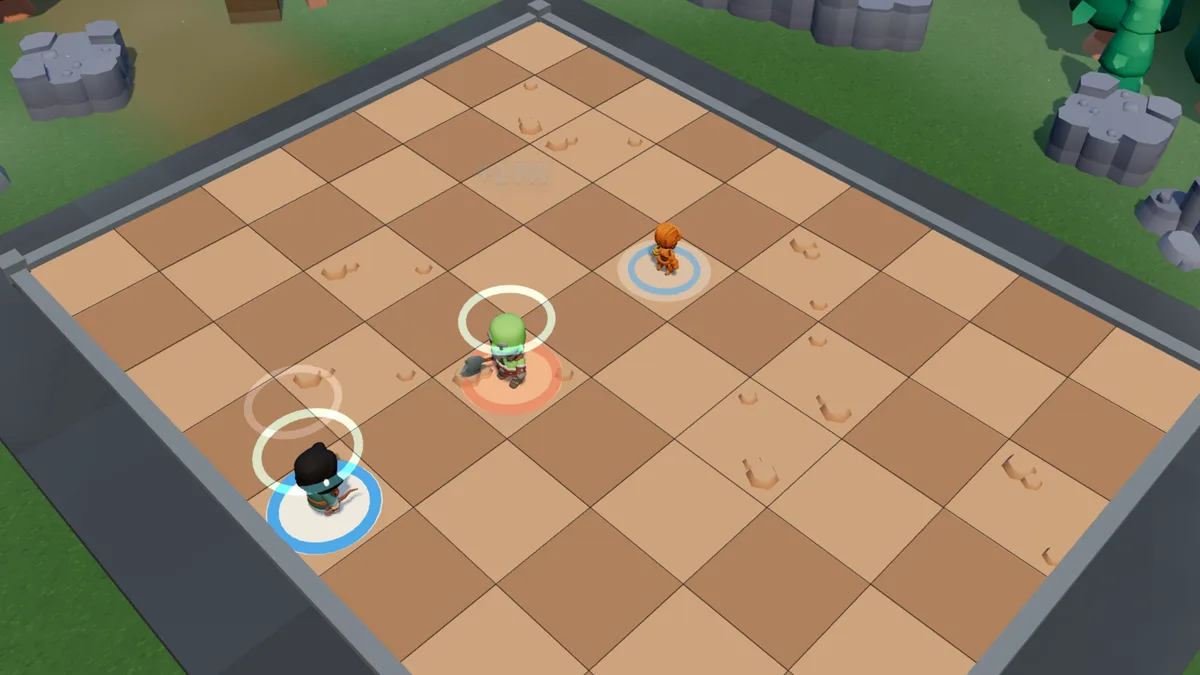
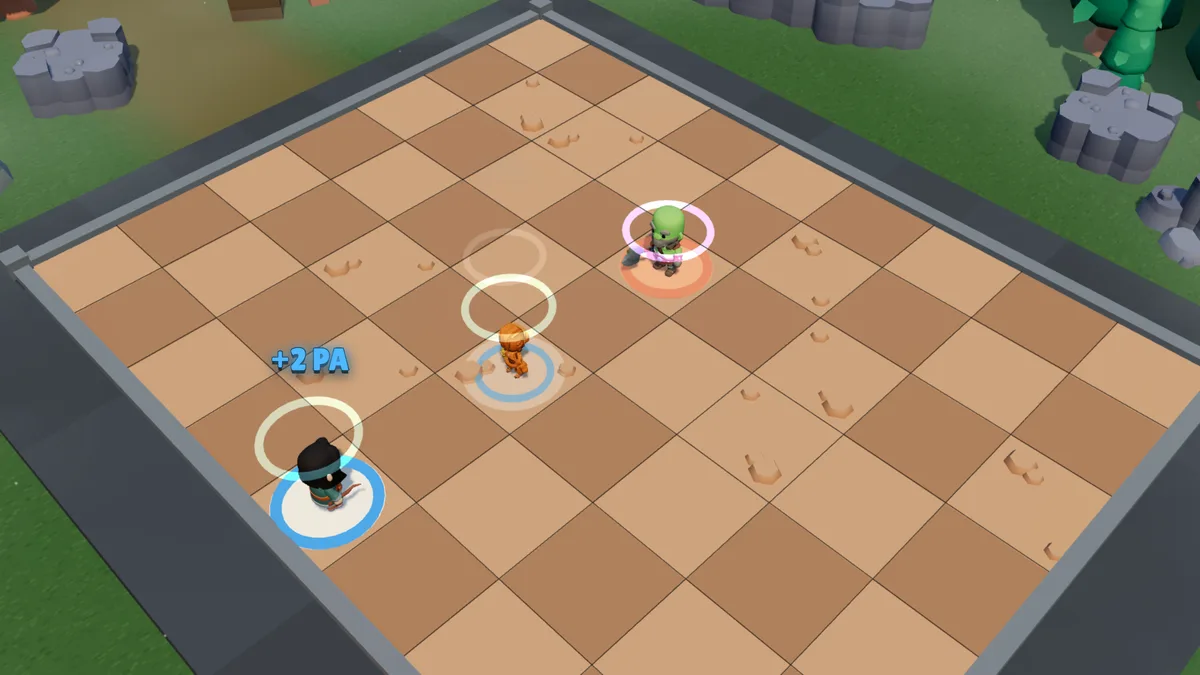
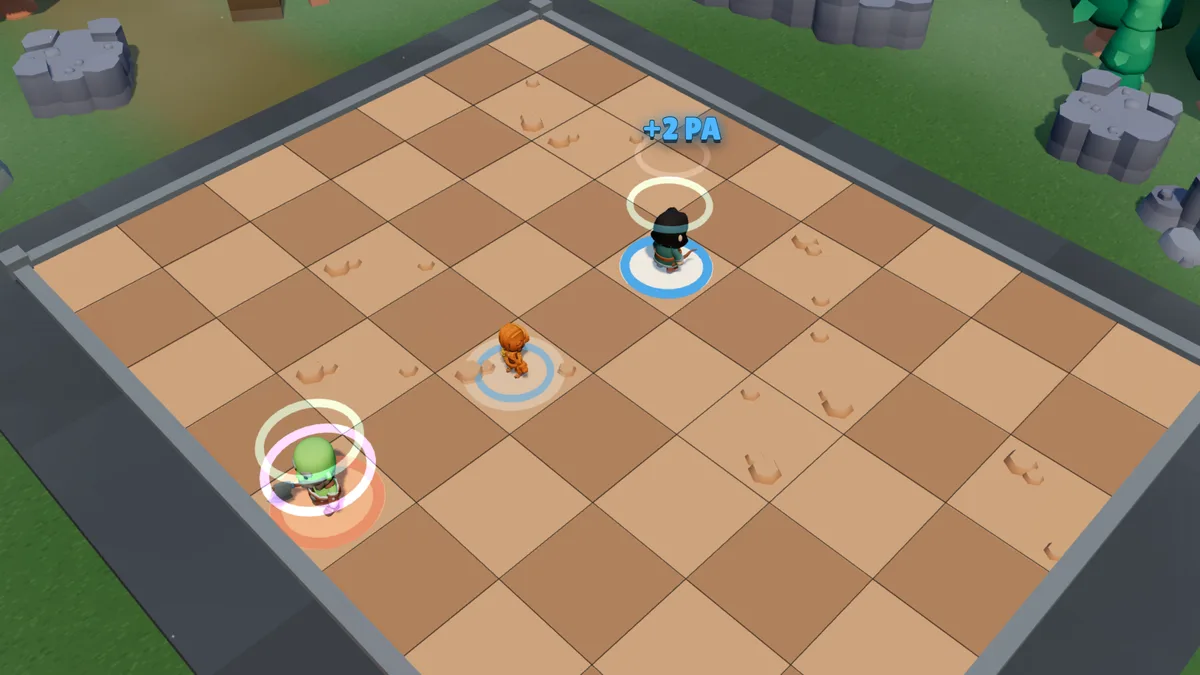
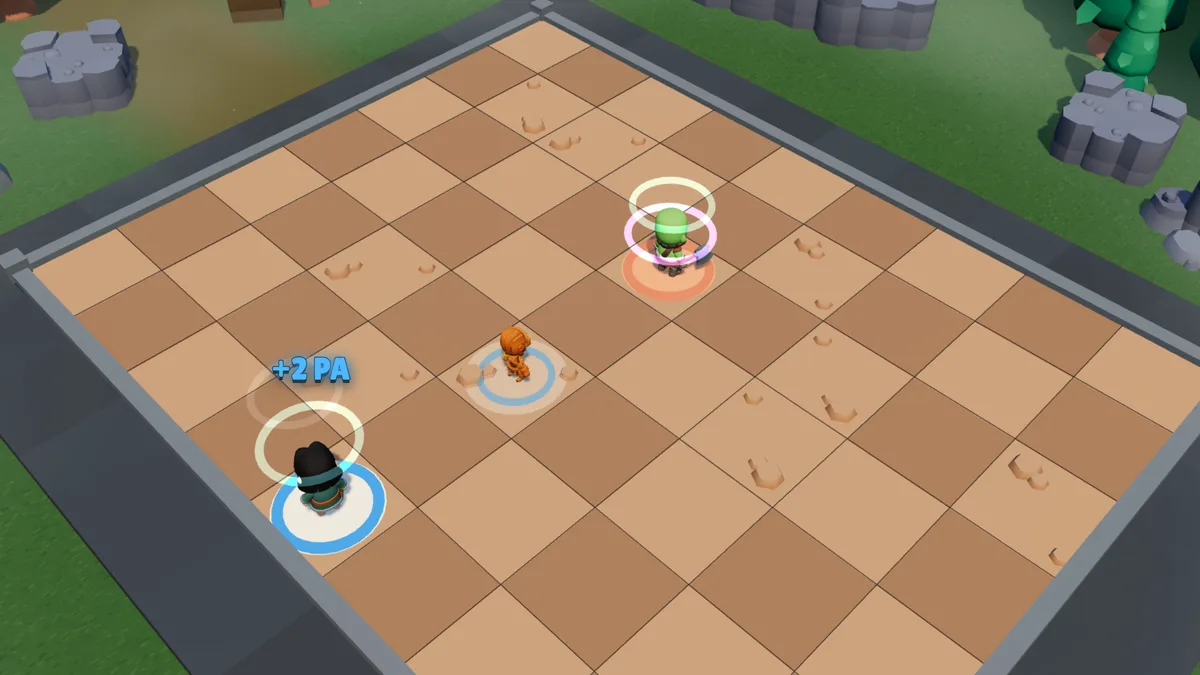
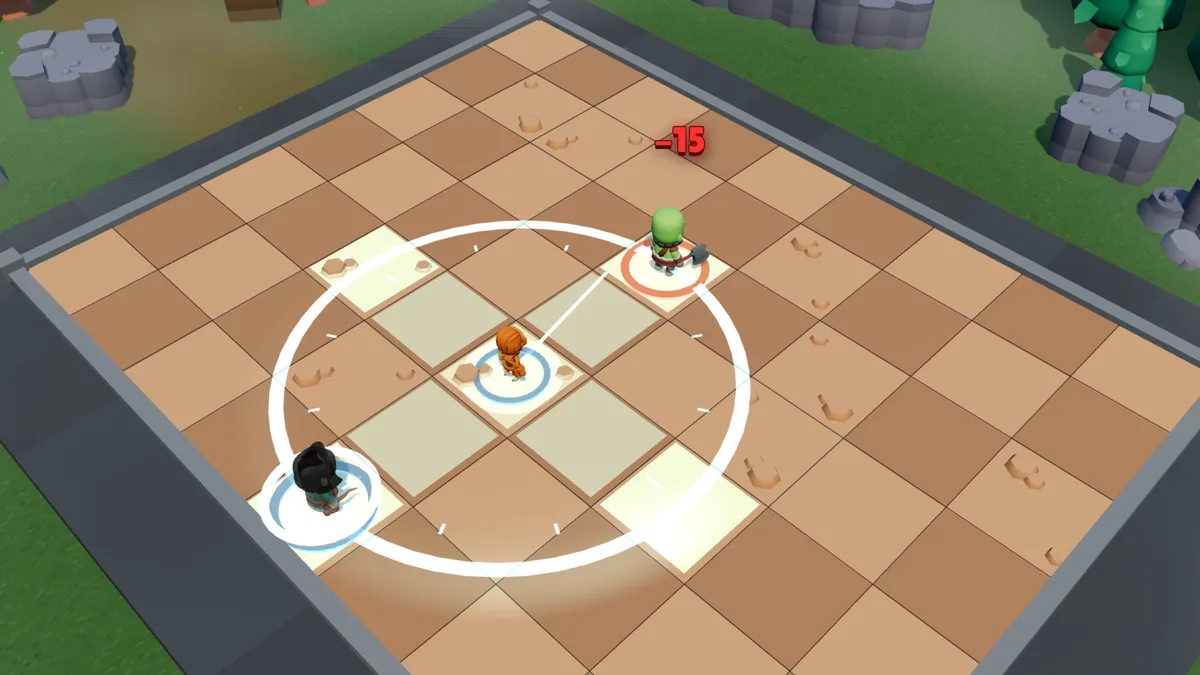
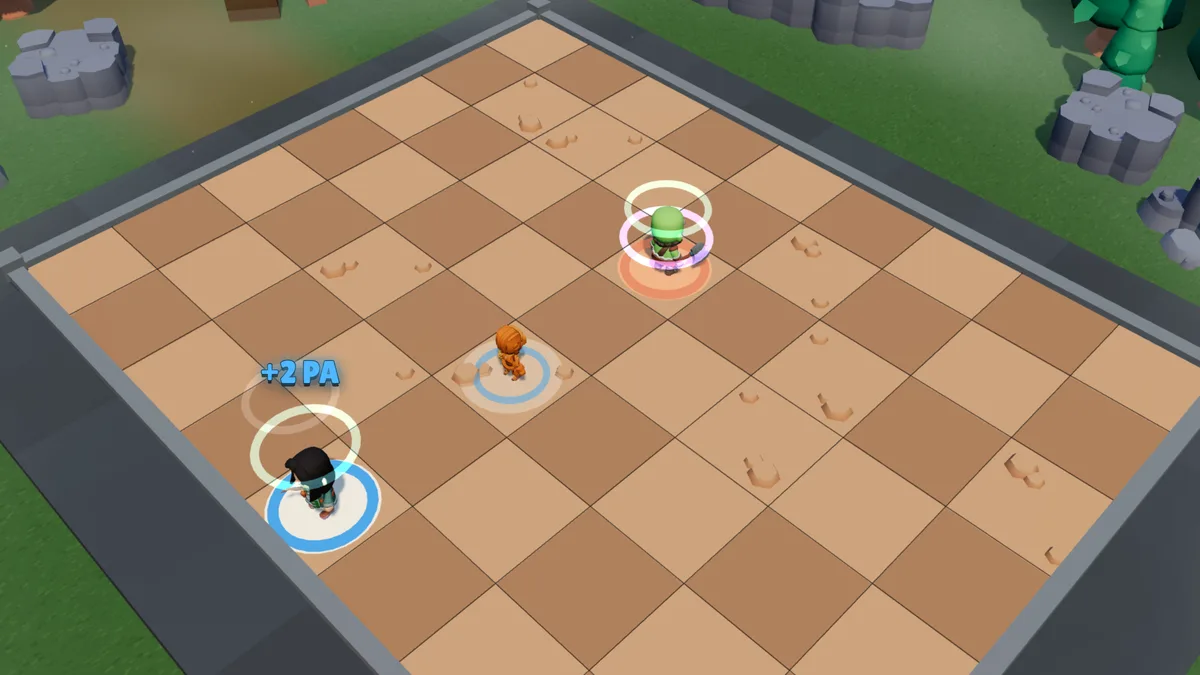
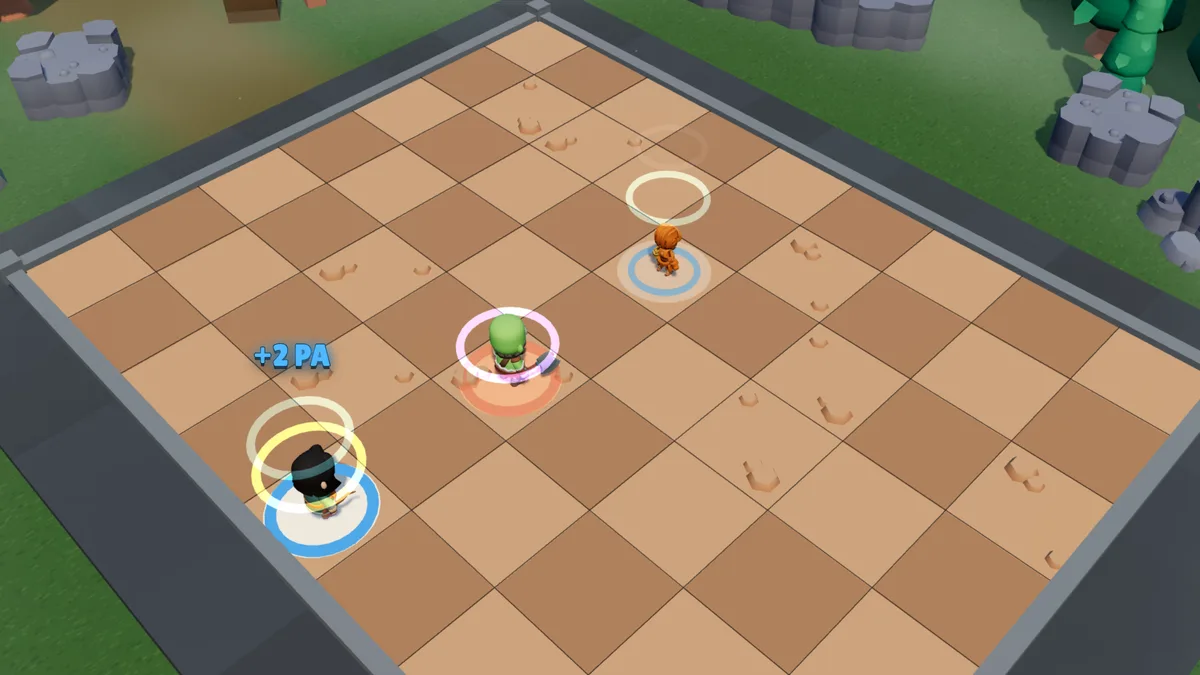
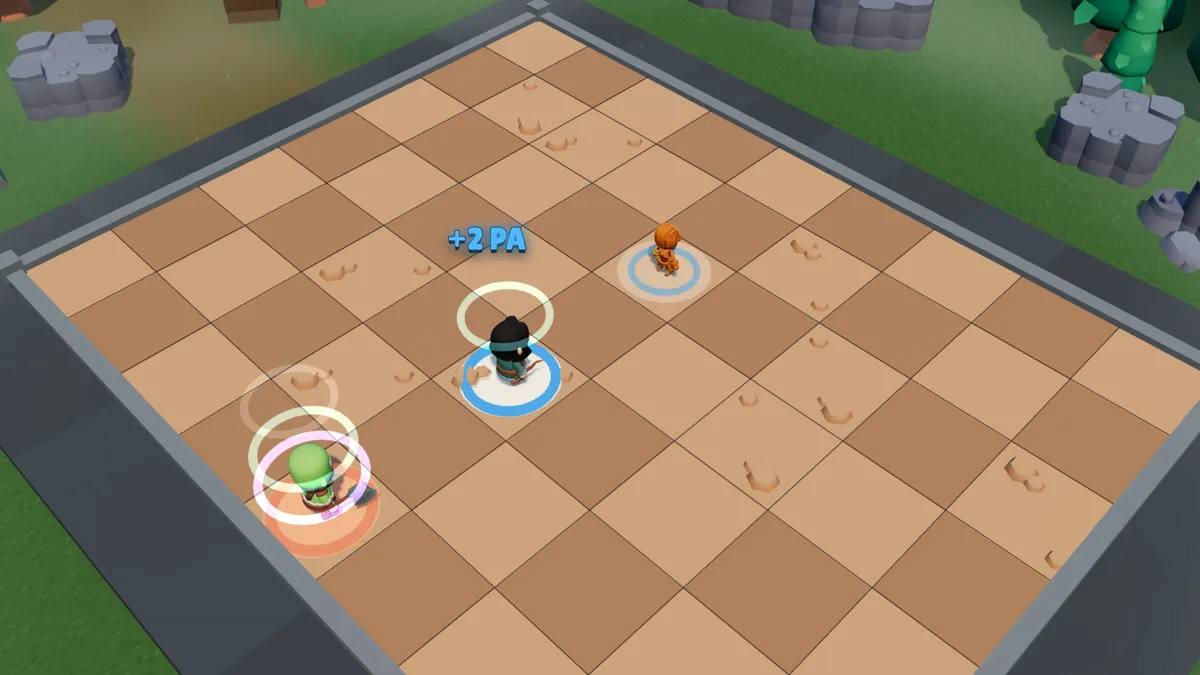
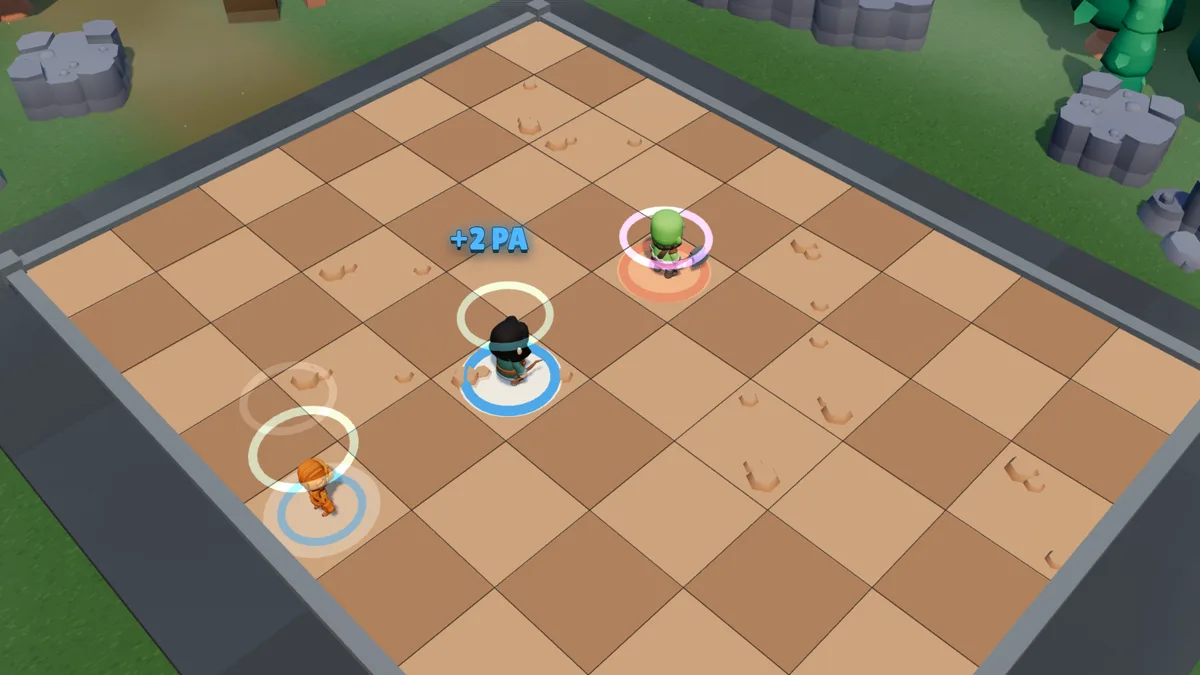
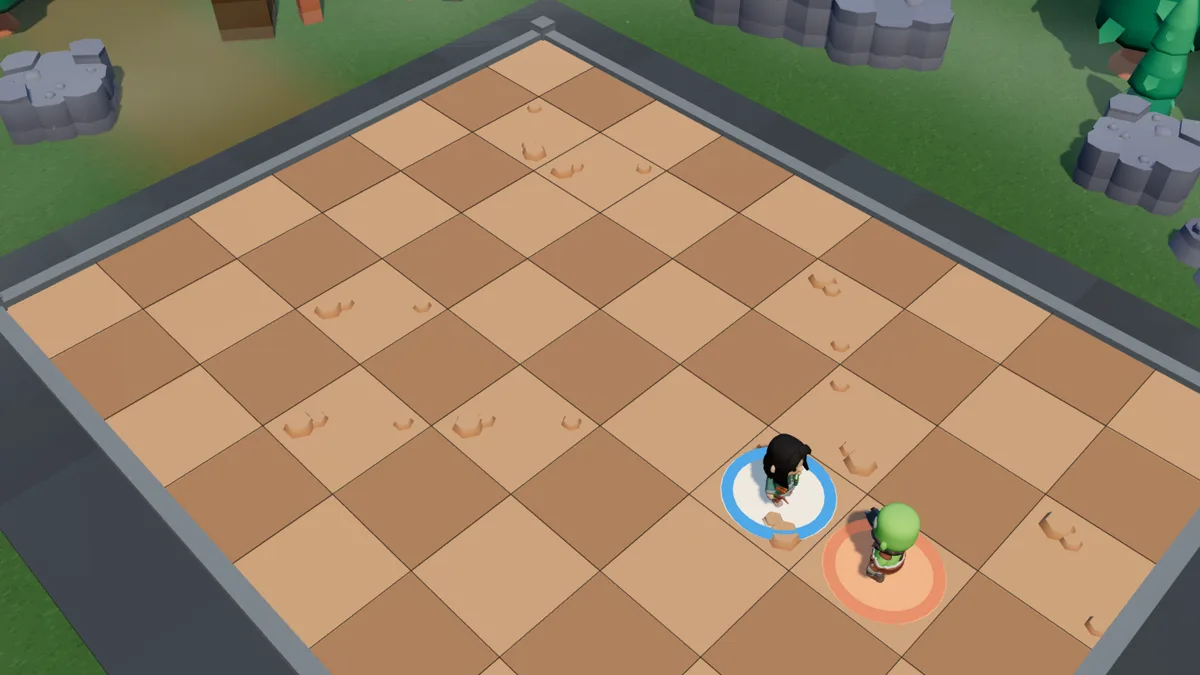
The Clockmaker hits softer than anyone. They do not win by dealing damage, they win by folding space: every time one of their spells swaps two entities, they get action points back and arm a Time charge on their target. It is the hardest class in the game, and the one that climbs highest when the chain holds.
In short
Role — the Clockmaker is the control and swap class of Solwaris: they win by swapping entities around, not by dealing damage.
Stats — the Clockmaker has 720 health, 12 AP and 5 MP — the lowest in the game — with 45% resistance to AP removal.
Passive — every Clockmaker spell that swaps two entities gives them 2 AP back, once per spell per turn, and recharges Reflection.
Time charge — a swapped enemy takes a delayed charge of 0 damage, which grows with every new swap, one step per spell per turn — 4, 10, 18, 28, 42, 61, 86, 120, 167 — and goes off at the start of their turn, as soon as they have taken no swap since their previous turn.
Movement — Reflection costs 2 AP, reaches 5 tiles with no line of sight, has no cast limit per turn, and its one-turn cooldown is reset by any swap.
Weakness — the Warrior’s Anchor, for 3 AP, makes him impossible to move until his next turn, him and everything next to him, and shuts down the Clockmaker’s whole passive.
720health
12action points
5movement points
45%resistance to AP removal
25%resistance to MP removal
Five movement points, the lowest in the game. It is not a punishment: the Clockmaker does not walk, they teleport. Reflection costs 2 AP and has practically no usage limit — it is their real means of travel, and it goes through walls.
The passive: Swap
Swap
Every time one of your spells swaps two entities, you get 2 AP back (once per spell per turn) and Reflection recharges.
A swapped enemy also takes a Time charge: 0 damage to start with, but every new swap makes it grow, one step per spell per turn — 4, 10, 18, 28, 42, 61, 86, 120, 167… the growth eases off markedly from the tenth swap, and the charge caps at 25 steps — and pushes its explosion back a turn. It goes off at the start of the target’s first turn where it has taken no swap since its previous turn.
Read that last sentence twice: it is the whole class. The charge only hurts if you stop swapping, and it only grows if you keep going. The Clockmaker therefore spends the match stacking swaps, none of which does any visible damage, until the turn they cannot any more — and then the opponent takes all at once what has been accumulated.
Stillness — a Clockmaker who ends their turn without spending a single MP recovers 8% of their max HP, i.e. 58 HP. Their swaps cost no MP: they can trade places, push back and strike without moving, and heal at the same time. It’s a trade-off: giving up repositioning in exchange for survival.
The 2 AP given back change the arithmetic of the turn. Three different spells that swap in the same turn make 6 AP recovered: a well-played Clockmaker regularly spends more than 12 AP a turn.
The game plan
Far away, and for a long time
Play as far away as you can. 720 health, no armour: every hit you avoid counts. When your opponent closes in, Rewind and Winder send them back where they came from, and every swap that pushes them away from you buys a turn of respite.
Charge, don’t hit. The Clockmaker’s power is their Time charge, never their raw damage. It is in your interest to make the match last: every extra turn is another step.
Plan your turns ahead. Place your Automatons where a well-placed Pivot will carry you far, and move by swapping rather than on foot: each swap gives you 2 AP back, while you only have 5 MP. The best turn is the one that takes you away while spending the fewest AP and MP.
The Clockmaker’s eight spells
Pivot
4 AP · range 0 to 6 · cross of 2 tiles · 2 casts per turn · no cooldown
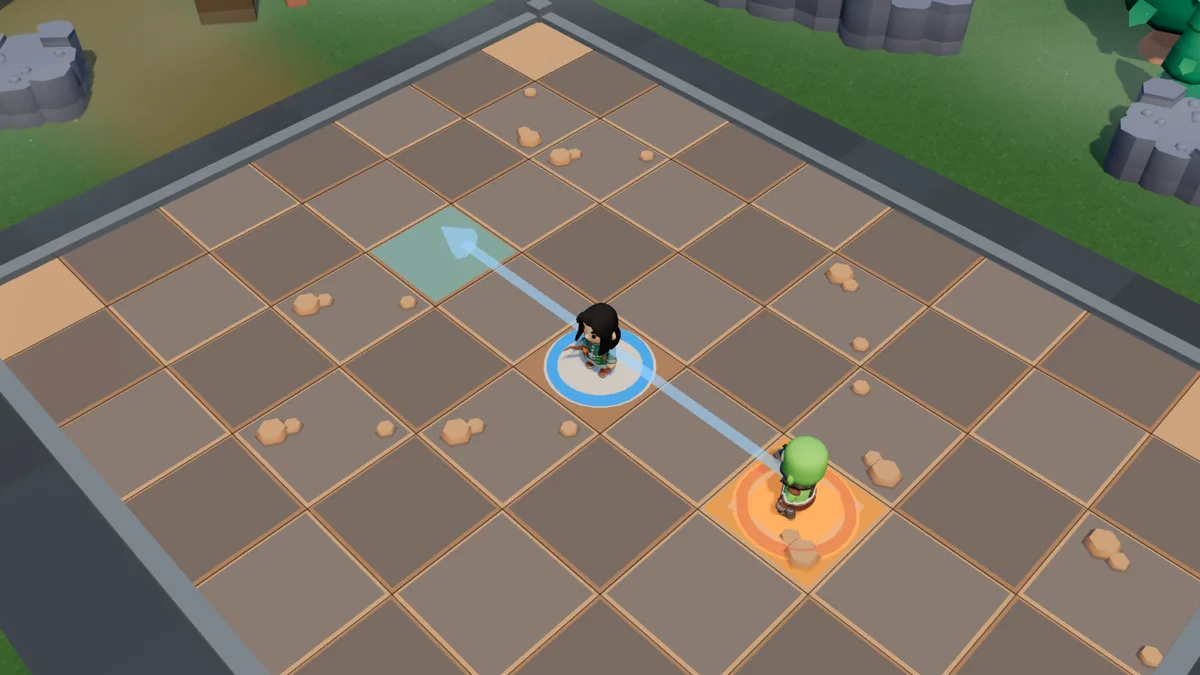
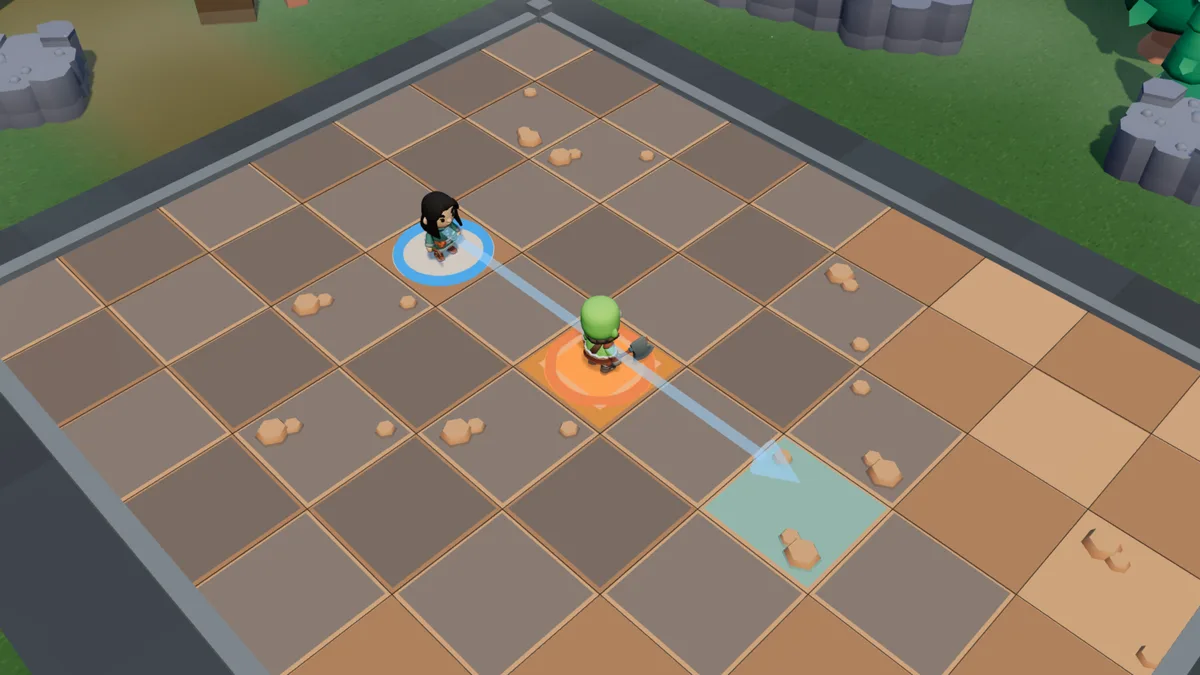
10 to 15 damage. In a cross of 2 tiles around the target point, every entity moves to the opposite arm, on the other side of the centre. Two entities facing each other trade places: swap. Only enemies take the damage — your Automatons pass through unharmed. Aim at the centre between you and your target, not at the target.
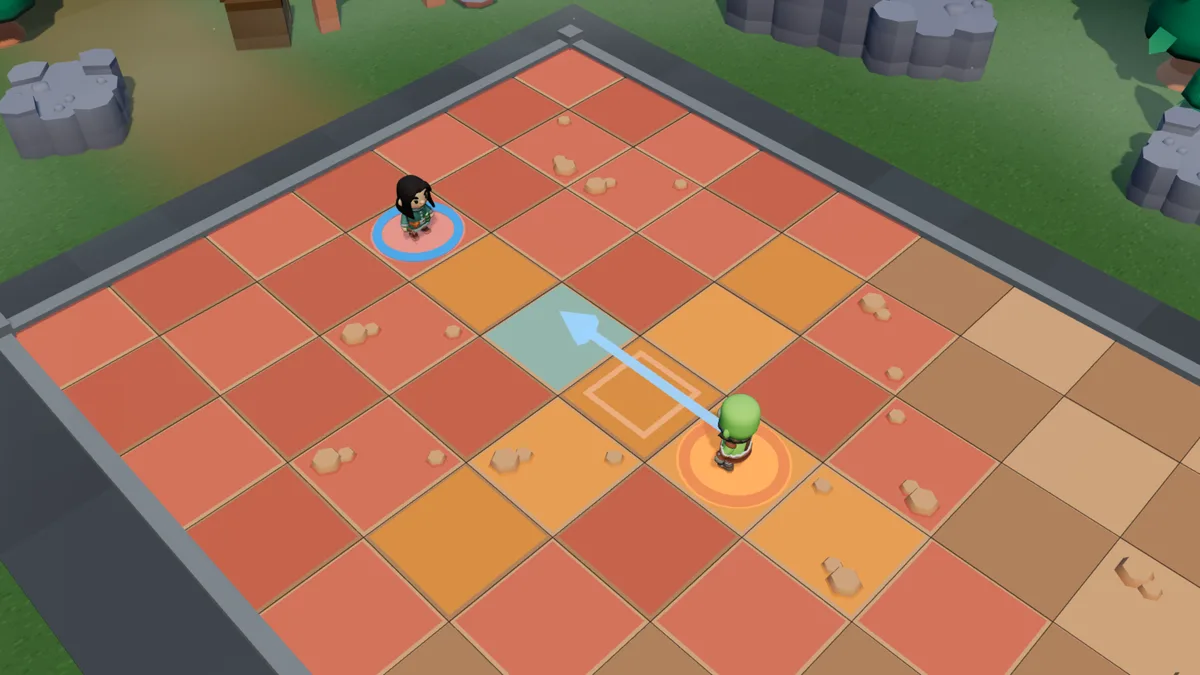
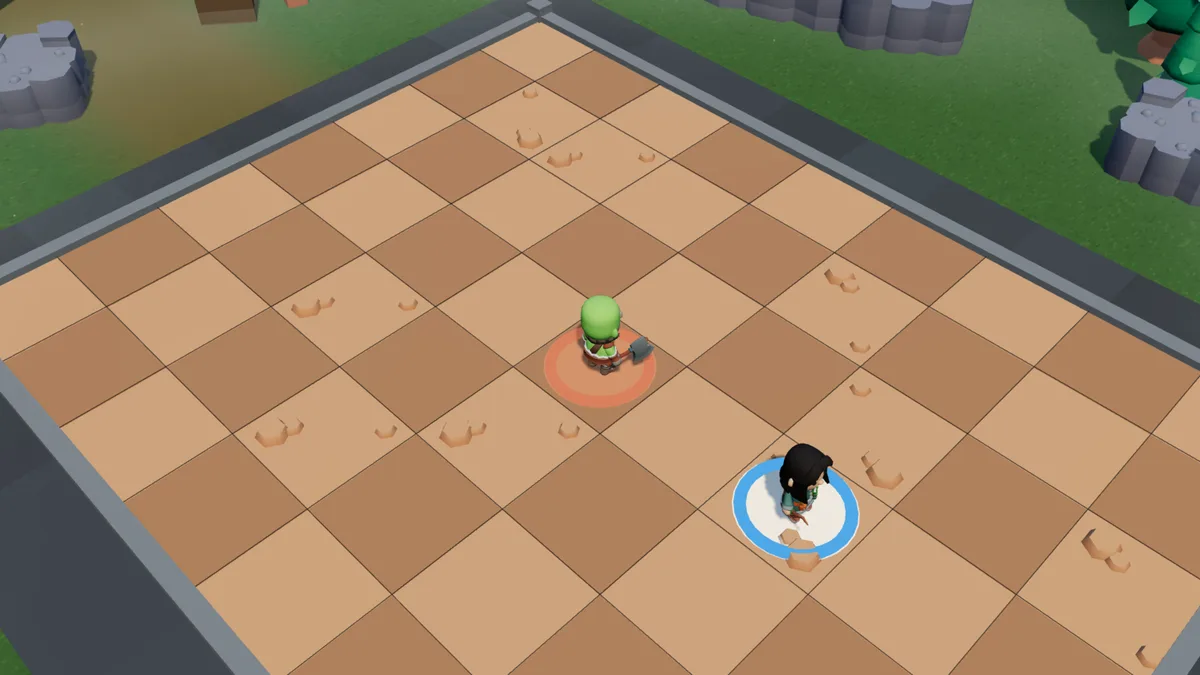
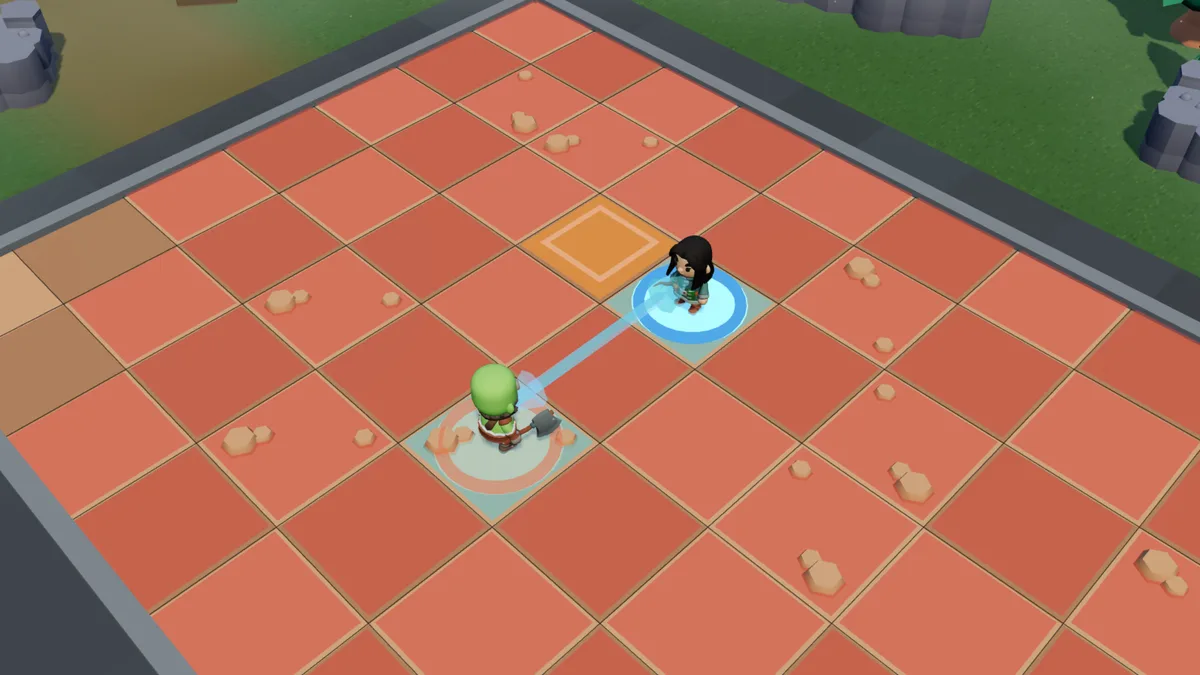
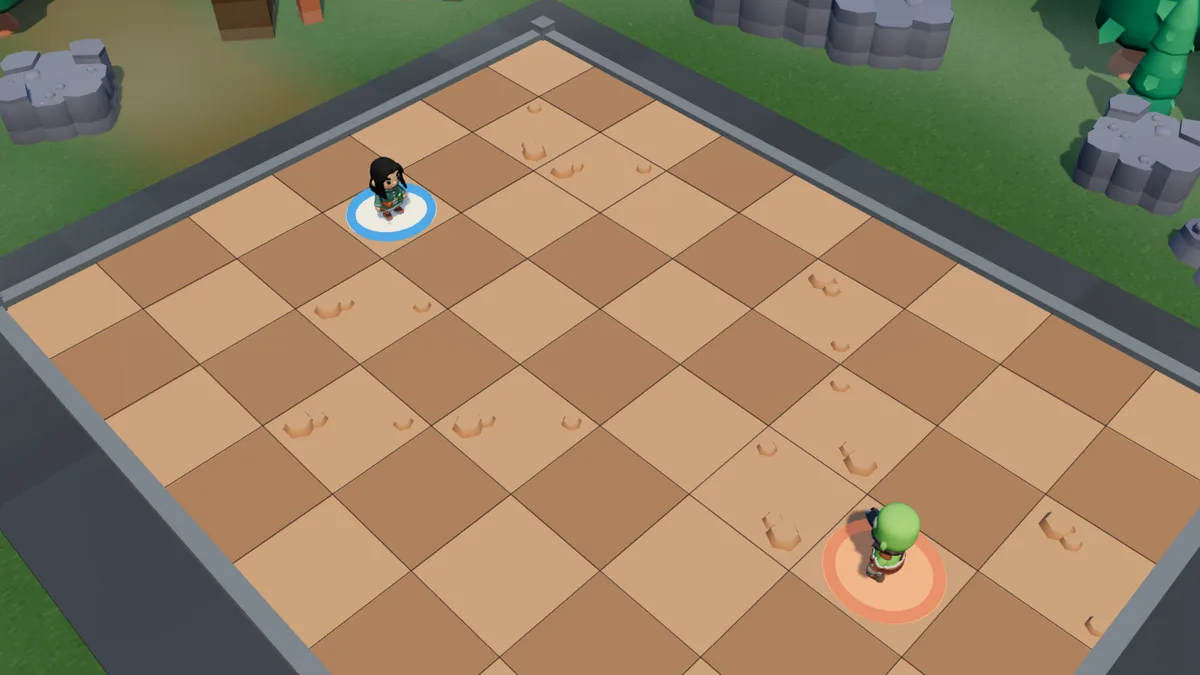
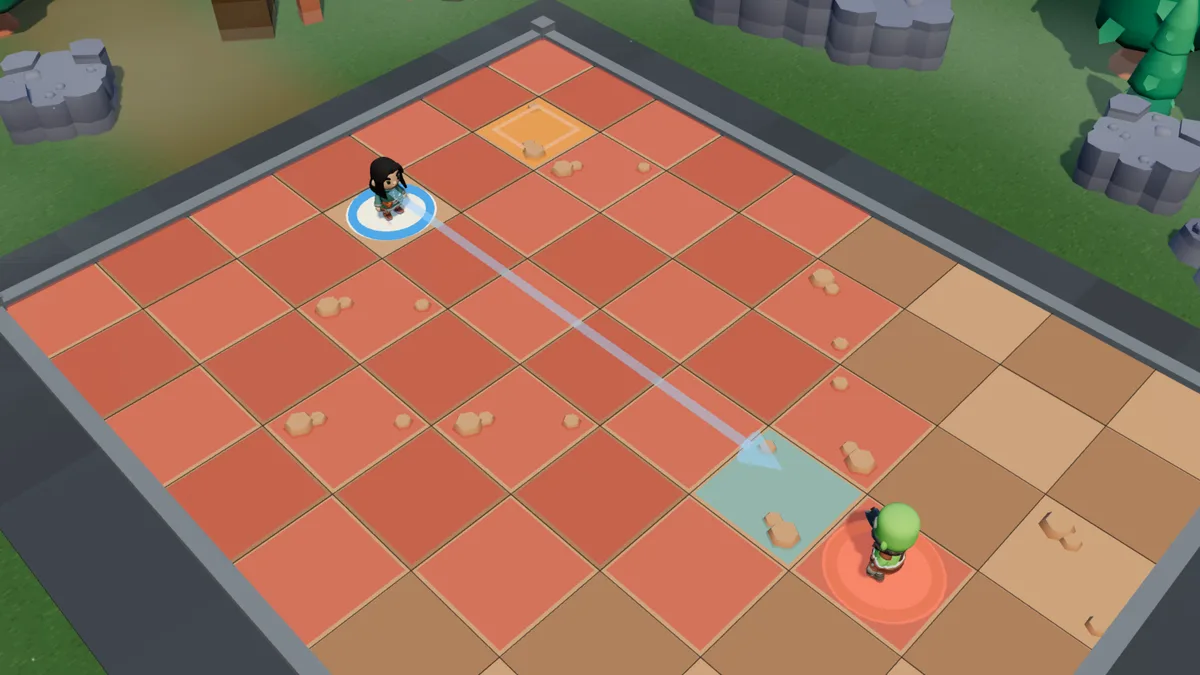
Cross of 2 tiles around the target point, up to 6 tiles away.Each entity moves to the opposite arm: the Brute crosses the centre, 13 damage.
Rewind
4 AP · range 1 to 6 · 2 casts per turn · no cooldown
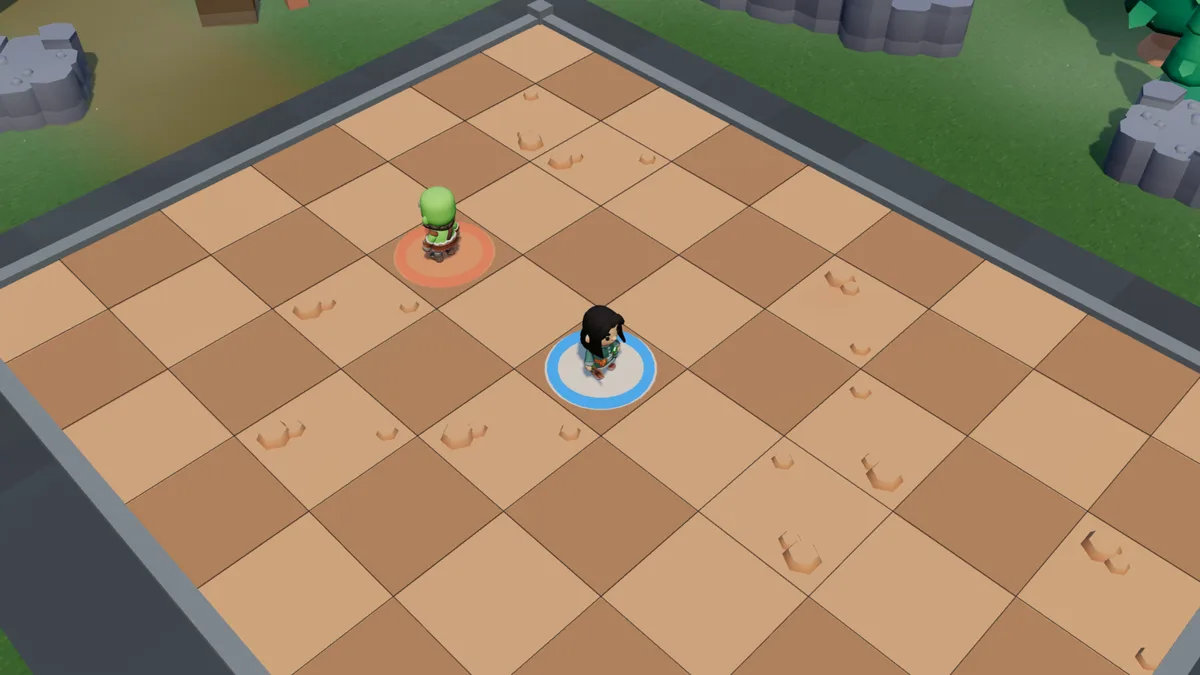
22 to 30 damage — your strongest spell — then the target goes back to the tile it occupied before its last move, and you too return to your previous tile. If the return tile is occupied, it is a trade: swap. Cast on an empty tile or on an Automaton it deals no damage: only the return happens.
Range 1 to 6: the Brute has just moved one tile forward.27 damage, and they go back to the tile they came from.
Reversal
4 AP · range 1 to 6 · 2 casts per turn · no cooldown
21 to 29 damage, then the target is thrown to the other side of you, at the same distance. If someone occupies the destination tile, the two trade places: swap. On an Automaton it moves it without hurting it — that is how you reposition a foothold six tiles away for 4 AP.
Range 1 to 6, on any entity.26 damage, and the Brute is thrown to the other side of you, at the same distance.
Hourglass
4 AP · range 1 to 6 · 2 casts per turn · no cooldown
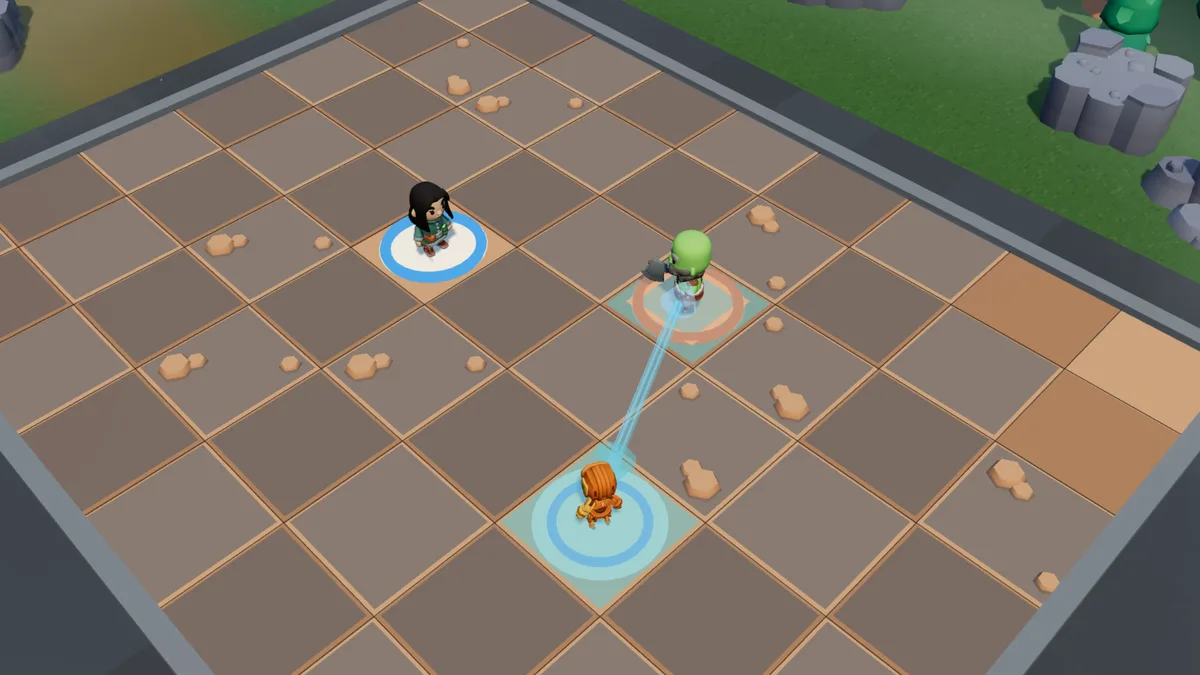
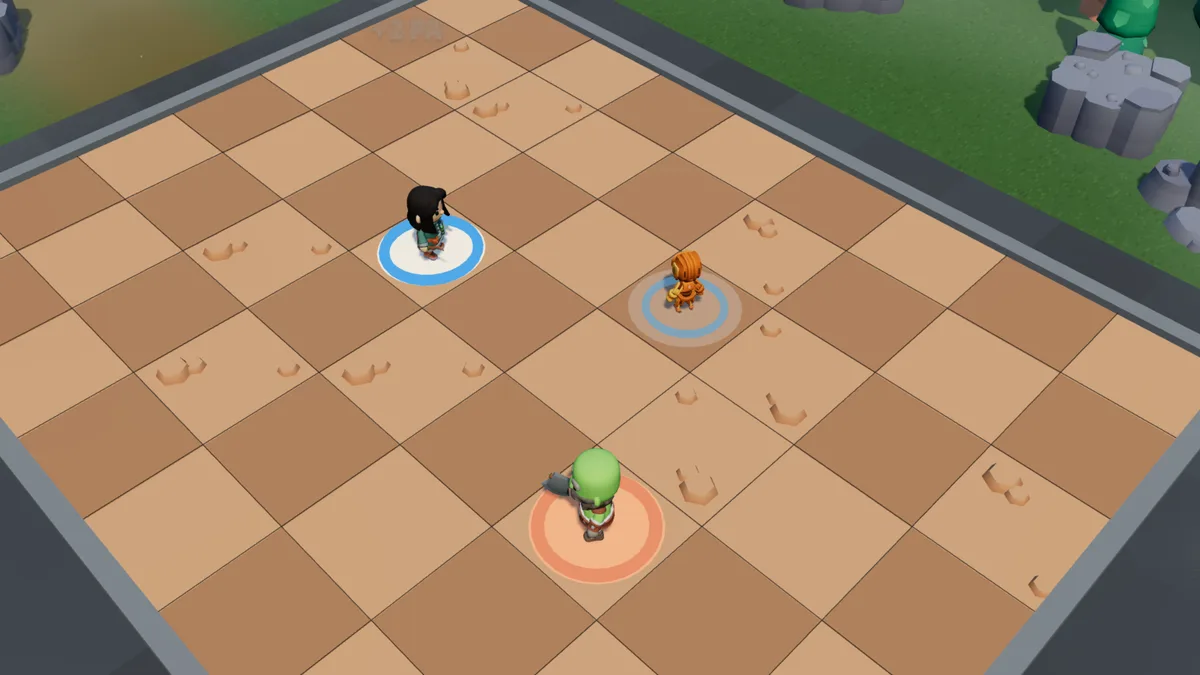
11 to 16 damage, the target loses 1 to 2 AP for its next 2 turns (it can resist), then it trades places with your Automaton nearest to it: a swap. With no Automaton on the map there is no trade — so no swap and no 2 AP back. The AP removal, though, is always attempted.
Range 1 to 6; an Automaton on the field to swap.14 damage, fewer AP, and the Brute trades places with the Automaton: swap, +2 AP.
Reflection
2 AP · range 1 to 5 · no line of sight · no limit per turn · 1-turn cooldown
Aim at an entity: you reappear on the other side of it, at the same distance. If the destination tile is occupied, you trade places with its occupant: swap. Its one-turn cooldown is reset by any swap — by chaining, you recast it indefinitely within the same turn. It is the heart of the class engine.
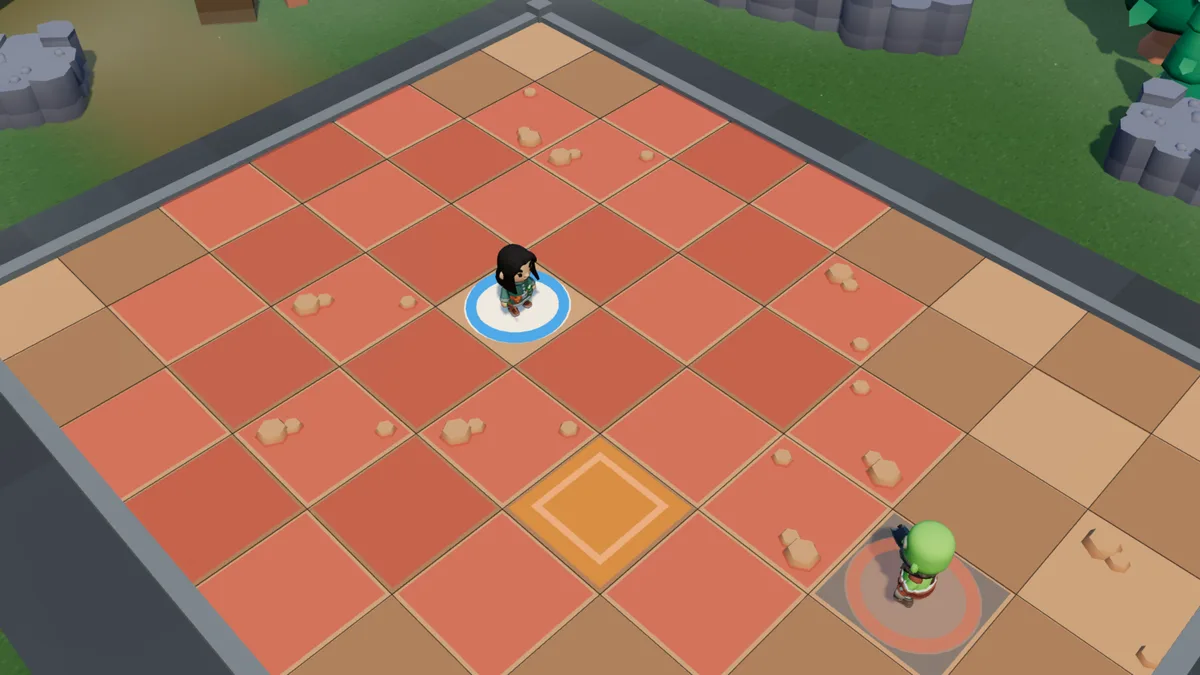
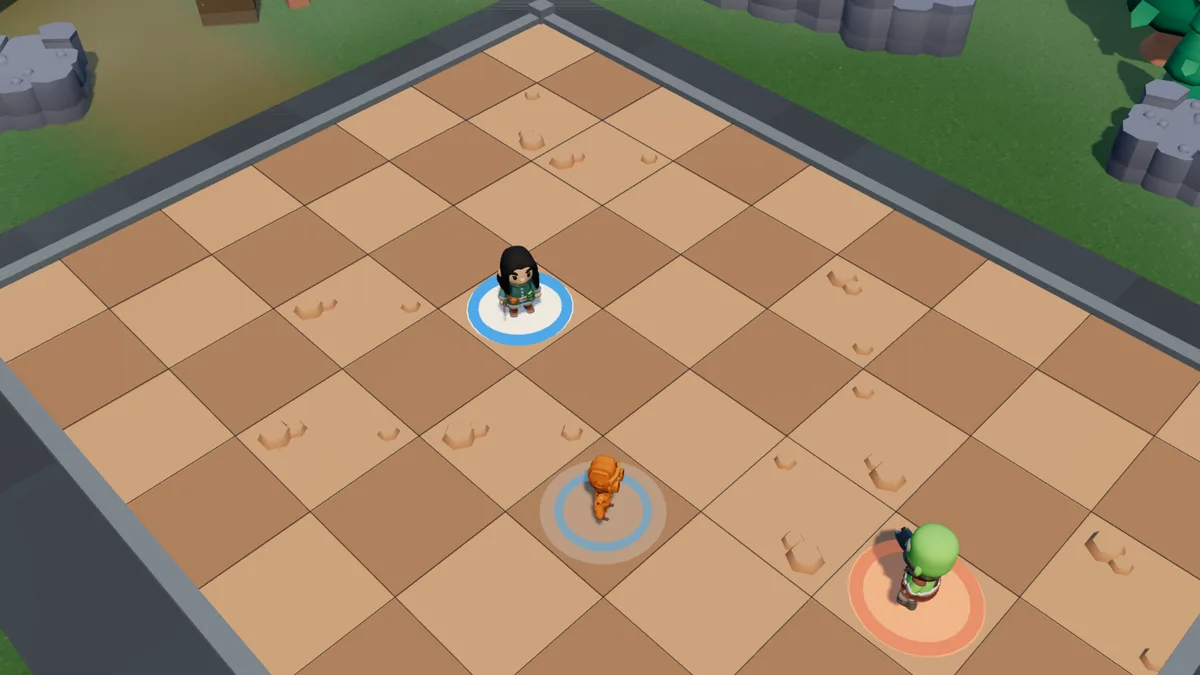
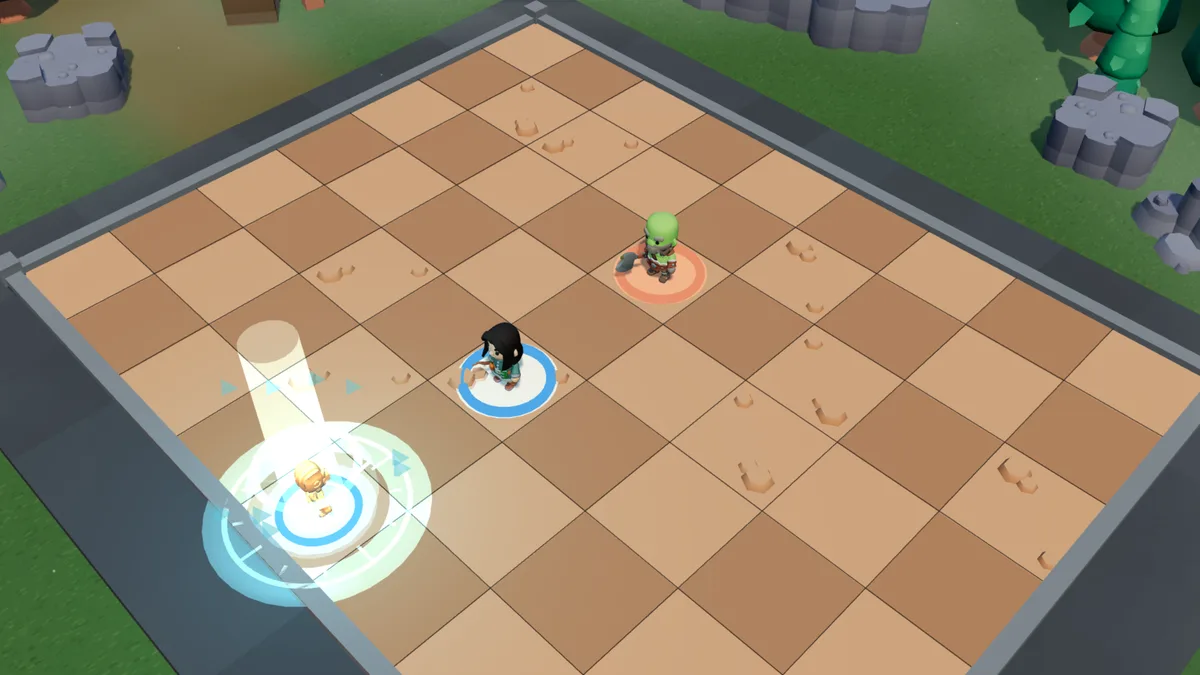
Range 1 to 5, no line of sight: target an entity.You reappear on the other side of it, at the same distance.
Recall
3 AP · the whole map · 2-turn cooldown
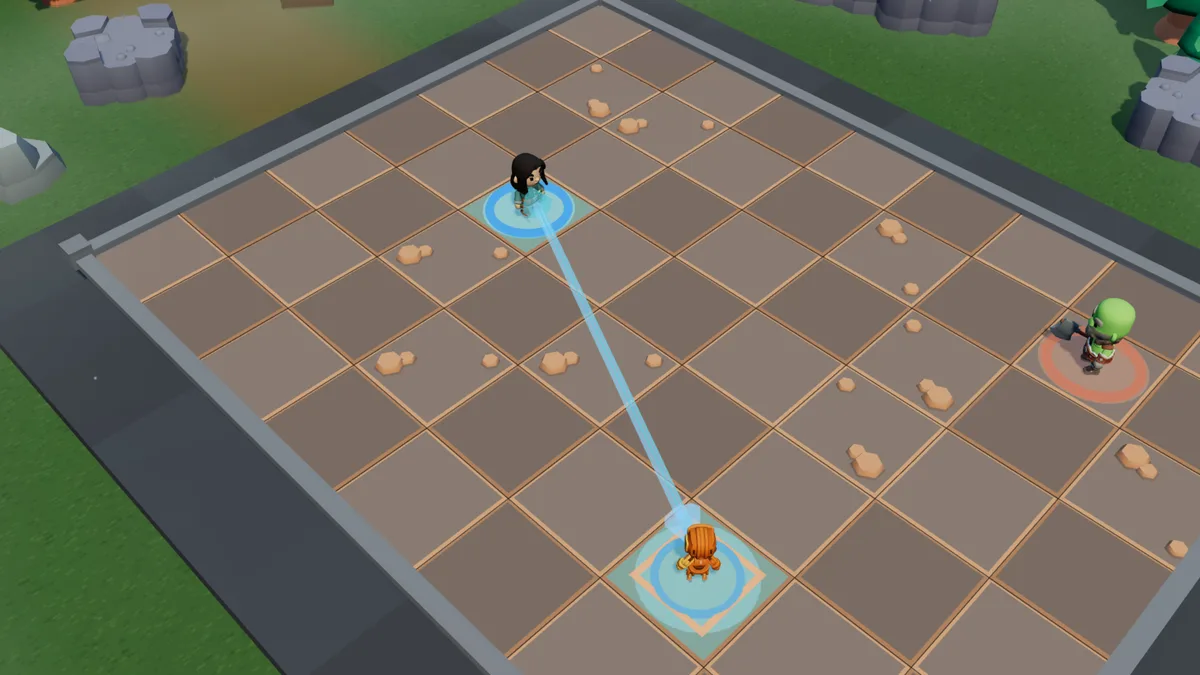
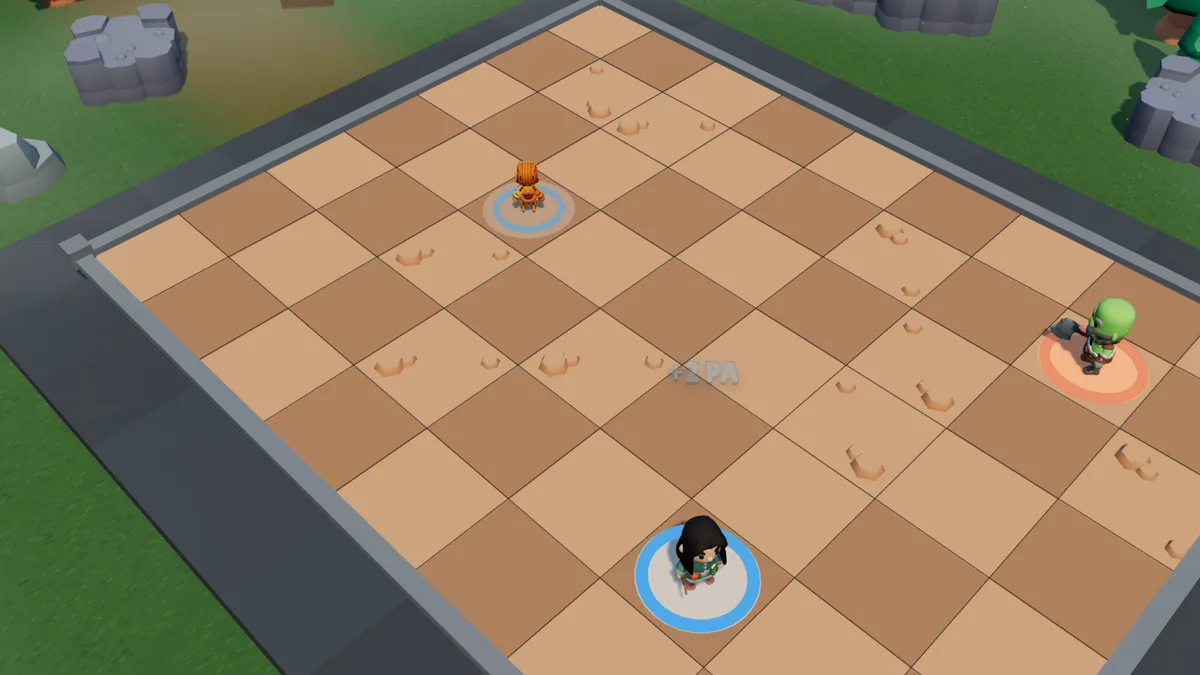
Swap places with one of your Automatons, wherever it is. It is a guaranteed swap: 2 AP back, Reflection recharged, net cost 1 AP. It is also your only way to cross the arena in one spell — place an Automaton far away and you have an escape hatch for six turns.
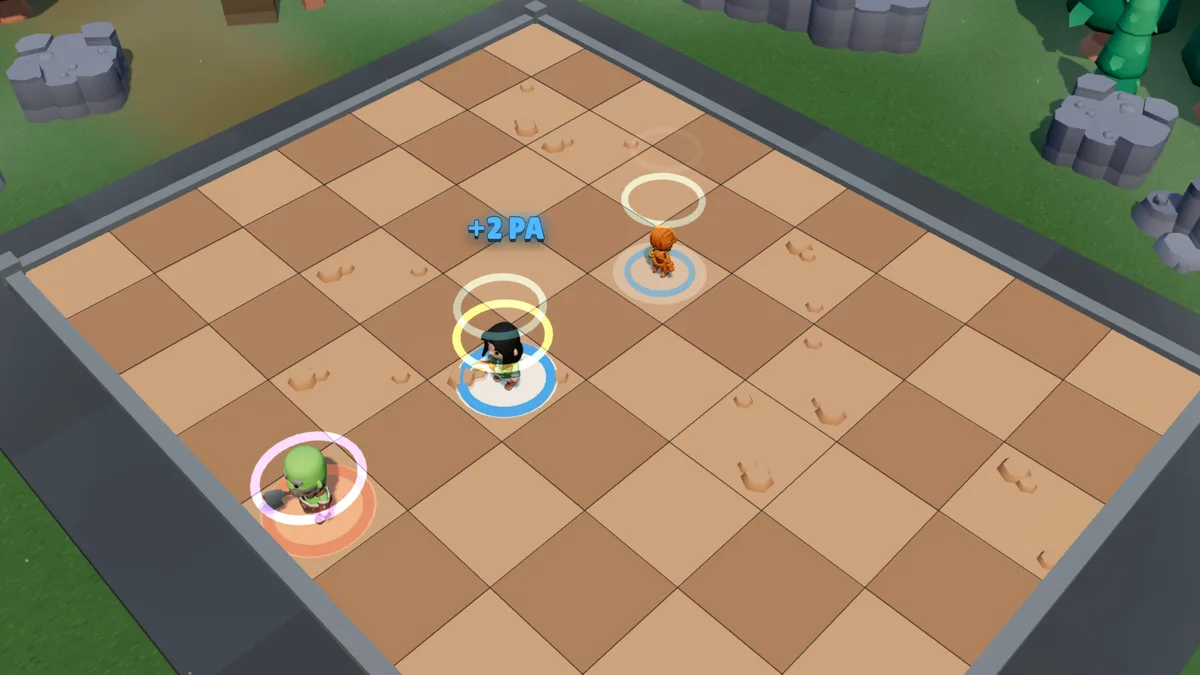
Anywhere on the map: target one of your Automatons.You trade places: swap, +2 AP.
Winder
2 AP · range 0 to 6 · no line of sight · 2-turn cooldown
Sends an entity — or yourself — back to the tile where it started its last turn. No damage. If someone is standing there, they trade places: a swap. Cancelling an opponent’s entire move in one go, just after they closed the distance, for 2 AP, is one of the best deals in the game.
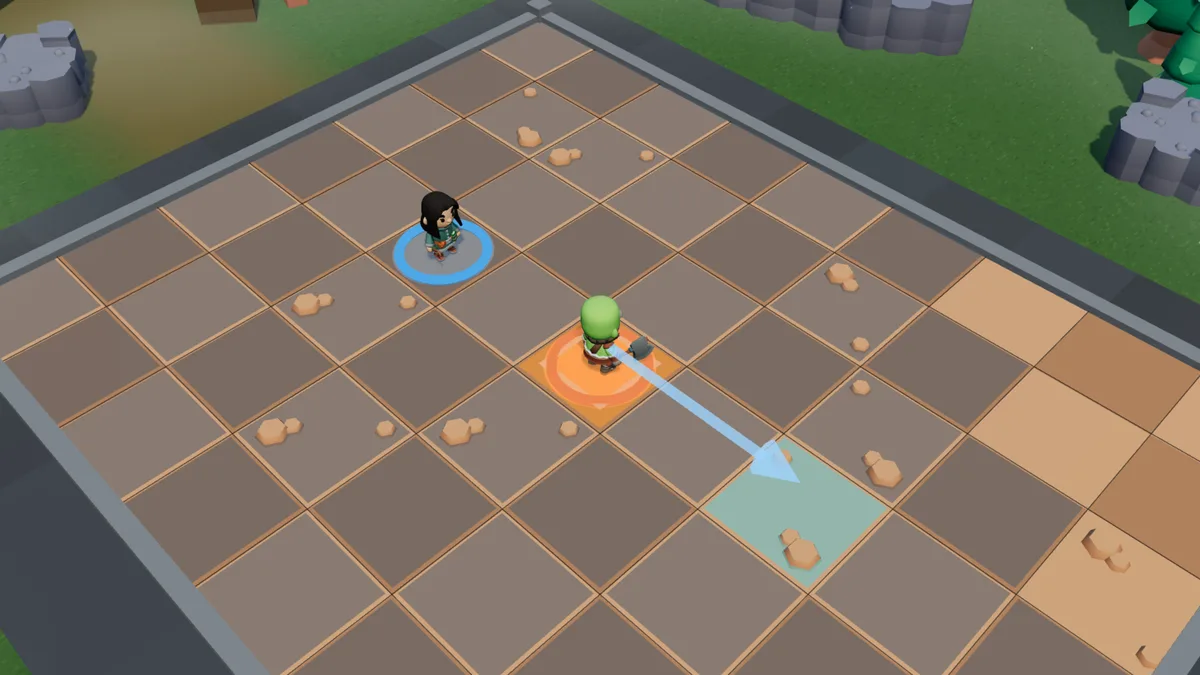
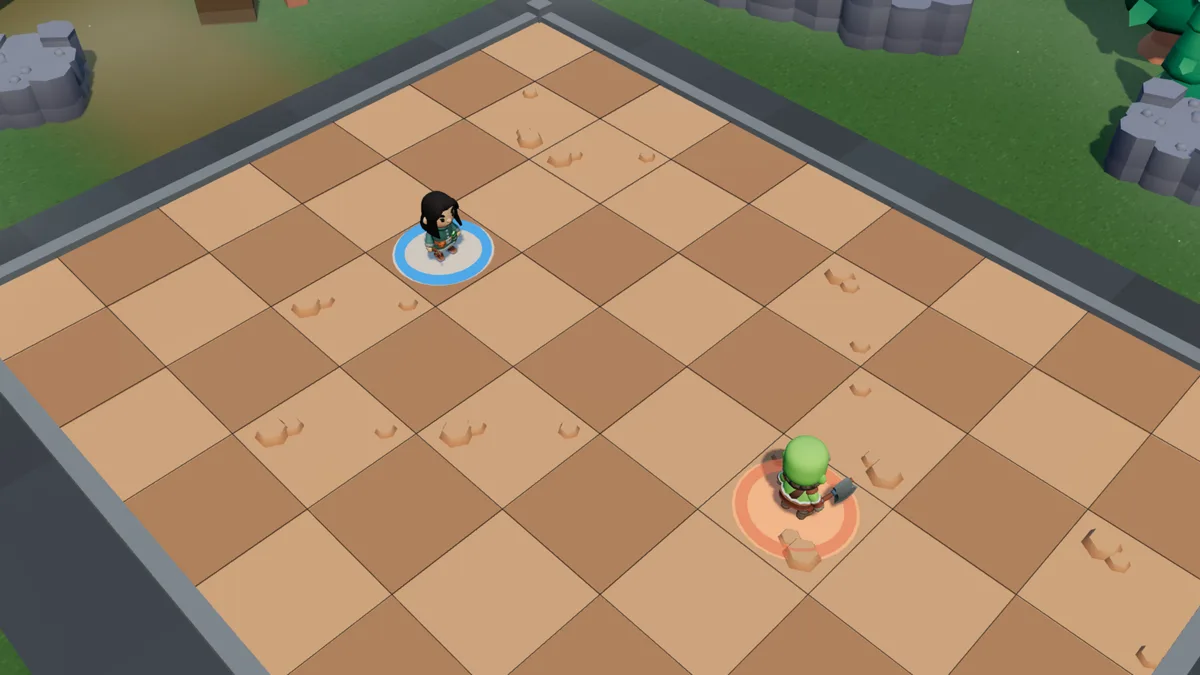
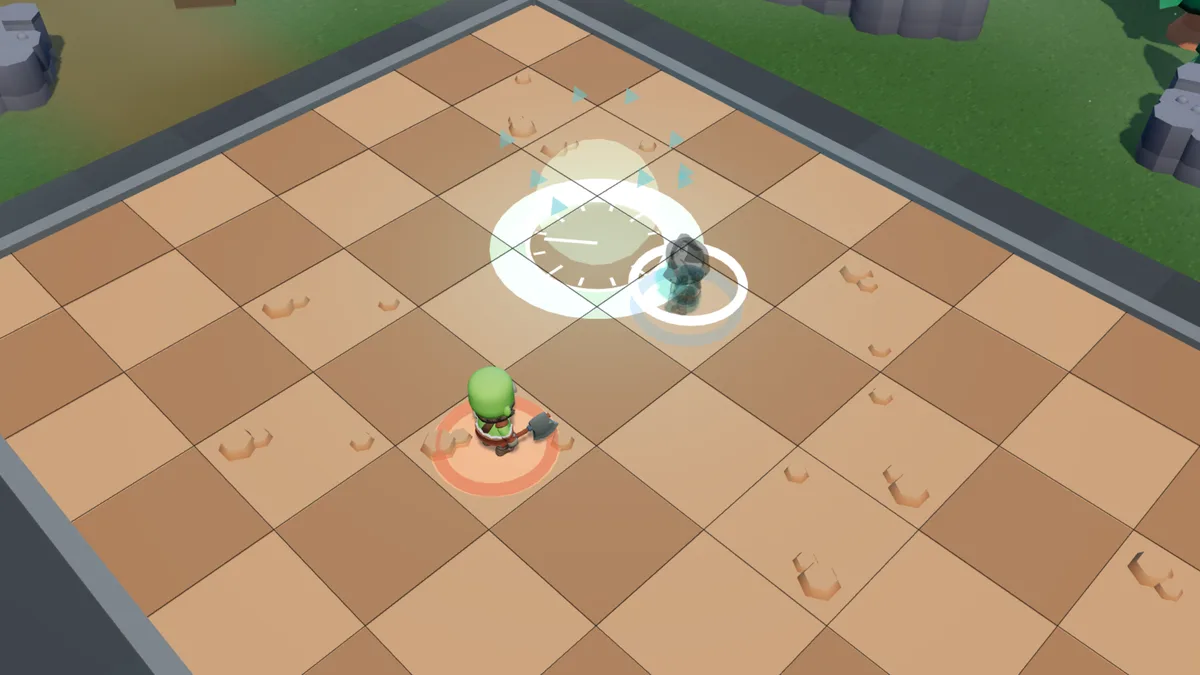
Range 0 to 6: the Brute moved two tiles forward during their turn.They go back to the tile where they started their turn.
Automaton
2 AP · range 1 to 4 · free tile · 1 placement per turn · no cooldown
Places an Automaton with 10 health and 3 MP, with no attack at all, which you move on its own turn. Two at most; each plays 5 turns, then fades at the start of the sixth. It serves one purpose only: to be a foothold for your swaps — and a swap made with it gives you 2 more AP on the next turn (once per Automaton), if it is still standing. Cast again on an Automaton already placed, wherever it stands, the spell removes it and gives you the 2 AP back — but that is then your cast for the turn: no new Automaton before the next turn.
Range 1 to 4: a free tile in sight.A 10 HP Automaton: your foothold for swaps.
The variants
Each spell slot has a second version, and so does the passive: before the fight, in the grimoire, you choose one version per slot. The Clockmaker’s variants open rifts — three at most on the map — and play from afar: area spells cast through the rifts, and as many entities as possible pulled in or pushed back around them. His base kit does not change. The choice is locked when the fight starts, and the opponent sees it. All are available, in every mode.
The rift rule
Going through a rift is a choice, never something you suffer. Walking over it is not enough: you have to stop on it, then spend 1 MP to come out on another free rift of the same Clockmaker, the one you choose. Once there, you walk on, or you go through again for 1 more MP. Pushed or pulled onto a rift, you stop on it.
A spell that reaches a rift — within its range, in sight, and in a straight line if it is cast in a straight line — can be cast as if you stood on each of the other rifts: from each of them, its range and line of sight are recalculated, and its area, direction and pushes start from there. Every spell goes through, from every class, summon and boss: at melee range, area spells, without line of sight; a spell that moves you (jump, charge, swap) makes you come out of the exit rift, and a spell around you (Steel storm, Stomp…) starts from it if the entry rift is within its area. Only self spells without a target have no use for it. A push, a pull or a swap never makes anyone go through: pushed onto a rift, an entity stays on it. The targeting preview tints the tiles reached through a rift separately and, on hover, draws the path: you, the entry rift, the exit rift, the target.
Crossing (passive variant)
Replaces Swap.
Your spells that pass through a rift get 30% more damage and 2 more tiles of range. Crossing from one of your rifts to another also refunds the MP paid, once per turn: walking over one is not enough. Stillness: ending the turn without spending any MP restores 8% of max HP — a refunded crossing does not count as MP spent.
Rift
2 AP · range 1 to 5 · free tile or one of your rifts · 2 placements per turn
Replaces Automaton.
Opens a rift on a free tile, twice per turn at most. Three at most: a fourth closes the one nearest to it. Cast on one of your rifts in range, it removes it and gives you back 1 AP, without limit. Whoever stands on a rift, ally or enemy, can come out on another free rift of their choice; walking over it is not enough. Crossing costs 1 MP per 10 tiles between the two rifts and weakens: −2% resistance per tile, −30% at most, until the start of their next turn. Everyone’s spells pass through. A push, never.
Tip. The whole kit depends on it: open two on your very first turn, one near you, one towards the enemy. Removing a badly placed rift, if it is within range, costs you a single AP. Its catch: the opponent can use them too, to cross as well as to send their spells through.
Rift bolt
2 AP · range 2 to 5 · through a rift only · 2 per turn
Replaces Rewind.
A bolt that only goes through your rifts, never directly: it enters a rift up to 5 tiles from you, in sight, and comes out of another to strike an enemy 2 to 5 tiles from it, in its sight — 26 to 34 damage. Without two open rifts, it cannot be cast.
Tip. Your cheapest shot, but it only fires through two rifts: open one near you, one near them. With Crossing, it hits harder and farther. Its catch: one rift too few — one Collapse or Rift jump too many — and it can no longer be cast.
Breaker
3 AP · range 2 to 5 · in a straight line · cone of 2 · 1 per turn
Replaces Hourglass.
A wave in a straight line, 2 to 5 tiles away: it hits the targeted tile and widens into a cone over 2 tiles beyond (1, then 3, then 5 tiles). Every entity hit takes 15 to 20 damage and is pushed back 2 tiles in the wave’s direction.
Tip. The wave pushes back everything it touches: to clear melee, or pin an enemy against a wall. Cast through a rift, it starts from the exit rift: you can push the enemy in the direction you want. Its catch: it pushes your allies too, and a push never goes through a rift.
Call of the void
2 AP · range 2 to 5 · 1-turn cooldown
Replaces Reversal.
Wounds an enemy 2 to 5 tiles away (10 to 14) and pulls it 2 tiles towards your rift nearest to it: it can end up on it. Without a rift, it only wounds. Nothing anchored moves.
Tip. It drags the enemy towards your rift nearest to them: the set-up for Collapse, or the way to pull them out of cover. Its catch: the rift decides the direction, not you — check which one is nearest to them before casting.
Permutation
2 AP · range 0 to 8 · an entity or yourself · 1-turn cooldown
Replaces Reflection.
An entity — enemy, ally or yourself — takes the place of your free rift nearest to it, and the rift takes its place. A target already standing on one of your rifts moves to the other one, without moving any rift. Nothing anchored is swapped. With no free rift, the spell is wasted.
Tip. It swaps an entity with your free rift nearest to it: to get yourself out of melee, save an ally, or throw the enemy into the middle of your set-up. Its catch: the rift takes the entity’s place — your network moves with it, nothing anchored can be swapped, and with no free rift the spell is wasted.
Collapse
3 AP · one of your rifts · area of 2 · 1-turn cooldown
Replaces Pivot.
Closes all your rifts at once, wherever they are: each one collapses and hurts the enemies within 2 tiles of it, only once per enemy. 10 to 14 damage per rift closed, multiplied by the average distance between your rifts: ×0.5, plus 0.1 per tile apart, up to ×3 at 25 tiles apart. A single rift: 10 to 14. At 2 tiles from a rift: 20% less. Every other turn.
Tip. Your area spell: bring the enemy close to a rift with Call of the void, then close it on them — it hits hardest at the centre. Its catch: you lose a rift. Keep two open if you still rely on Rift bolt.
Rift jump
3 AP · one of your free rifts · 1-turn cooldown
Replaces Recall.
You teleport onto one of your rifts, wherever it is, if nobody stands on it; it closes under your feet.
Tip. Your escape, wherever the rift is on the map: open one far from the fight before you need it. Its catch: it closes under your feet — count your rifts before you jump.
Trajectory
4 AP · range 2 to 5 · 2 per turn
Replaces Winder.
A bolt at an enemy in sight, 2 to 5 tiles away: 22 to 30 damage. Cast through your rifts, it gathers momentum: +5% per tile between the entry rift and the exit rift, up to +100% (20 tiles); Crossing adds to it. This bonus is worked out on the spell’s maximum (30) and added to the roll: the gap between the weakest and the strongest hit stays at 8. If it can go through your rifts, it always takes the longest way.
Tip. The longer the path between your two rifts, the harder it hits: spread them out, one behind you, one near the enemy. It is your biggest shot once the network is in place. Its catch: it is expensive, and cast directly, with no rift, it is not worth its price.
Playing the variants
With the variants, the Clockmaker no longer swaps anyone: they open rifts, three at most, and play from afar through them. Everything comes down to where the rifts are placed — one near you, one near the enemy — and the opponent can use them too.
The opening turn (12 AP)
Rift (2 AP) — within your reach.
Rift (2 AP) — towards the enemy: the second and last placement of the turn.
Rift bolt (2 AP) — through them.
Rift bolt (2 AP) — a second time.
Trajectory (4 AP) — along the same path: the farther apart the two rifts, the harder it hits.
Three shots on the very turn you open your rifts, without moving any closer — provided the enemy is already within range of the second one. With the Crossing passive, each one gains damage and range.
Pull, then close (5 AP)
Call of the void (2 AP) — the enemy is dragged towards your rift nearest to them.
Collapse (3 AP) — on that rift: it closes and hits all around, harder at the centre.
You give up a rift doing so: open another next turn if you rely on Rift bolt, which only fires with two rifts open.
The Clockmaker’s mechanics
The Clockmaker is not played spell by spell: each of their spells is a way to trade two entities’ places, and it is the trade — the swap — that pays off. Everything that follows is played and checked by the game engine.
The swap
A swap is a trade of places. Pivot between two entities facing each other, Rewind or Winder onto an occupied tile, Reversal or Reflection whose landing tile is taken, Hourglass and Recall with an Automaton.
+2 AP, once per spell per turn. The first swap from each spell gives you 2 AP back; varying your spells means playing longer.
Reflection is recharged with every swap: it only costs 2 AP and can be recast as long as you keep swapping.
A swap with your Automaton also gives you +2 AP at the start of your next turn, if it is still standing. Recasting Automaton on one of yours removes it and gives you its 2 AP back.
The Time charge
Every swapped enemy takes one step of Time charge — only one per spell per turn. It does nothing as long as you keep swapping them: each swap pushes the explosion back. It goes off at the start of the target’s first turn where it has taken no swap since its previous turn, and its damage climbs with the steps:
Steps
1
2
3
4
5
6
7
8
9
10
12
15
Damage
0
4
10
18
28
42
61
86
120
167
209
294
So you choose when it detonates by deciding not to swap.
Rewind into empty space
Cast on an empty tile, Rewind hurts no one: only your return plays out. But if your previous tile is occupied, you trade places with whoever is on it — a swap for 4 AP, without targeting an enemy.
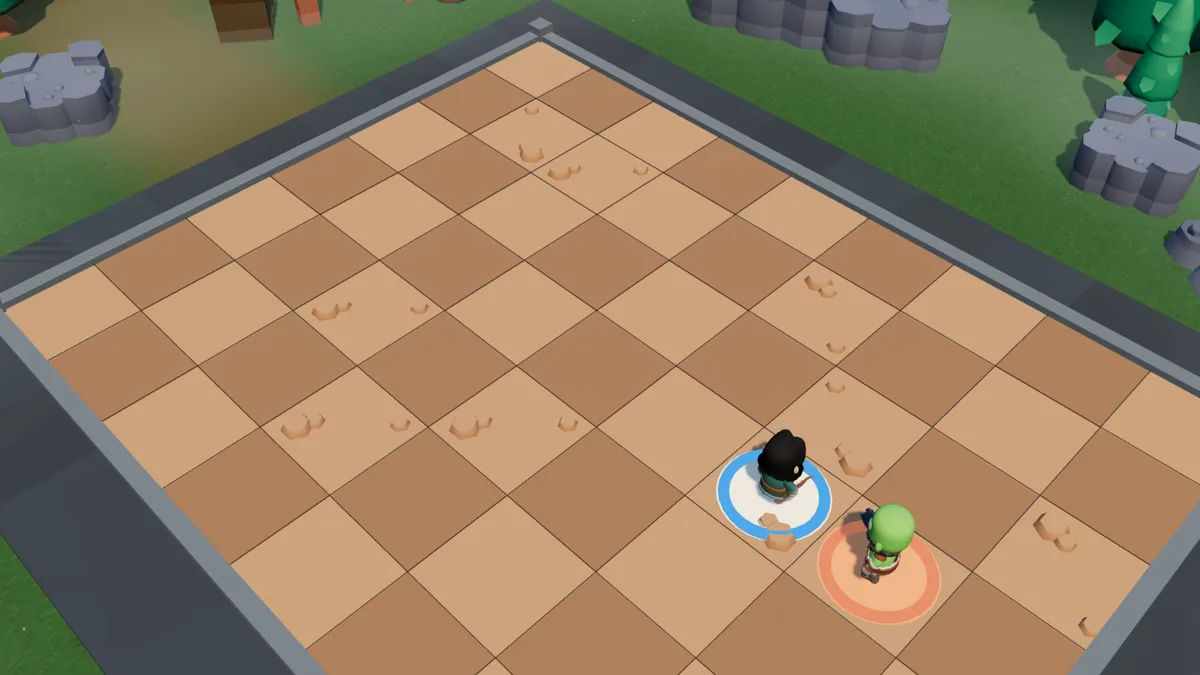
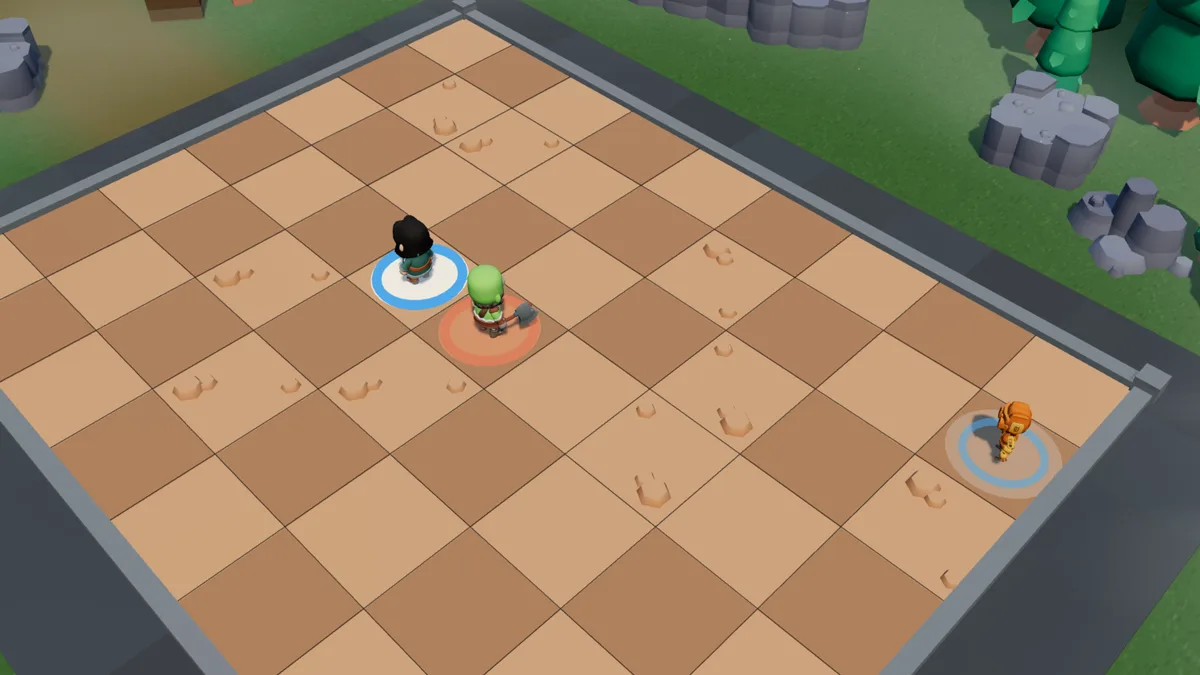
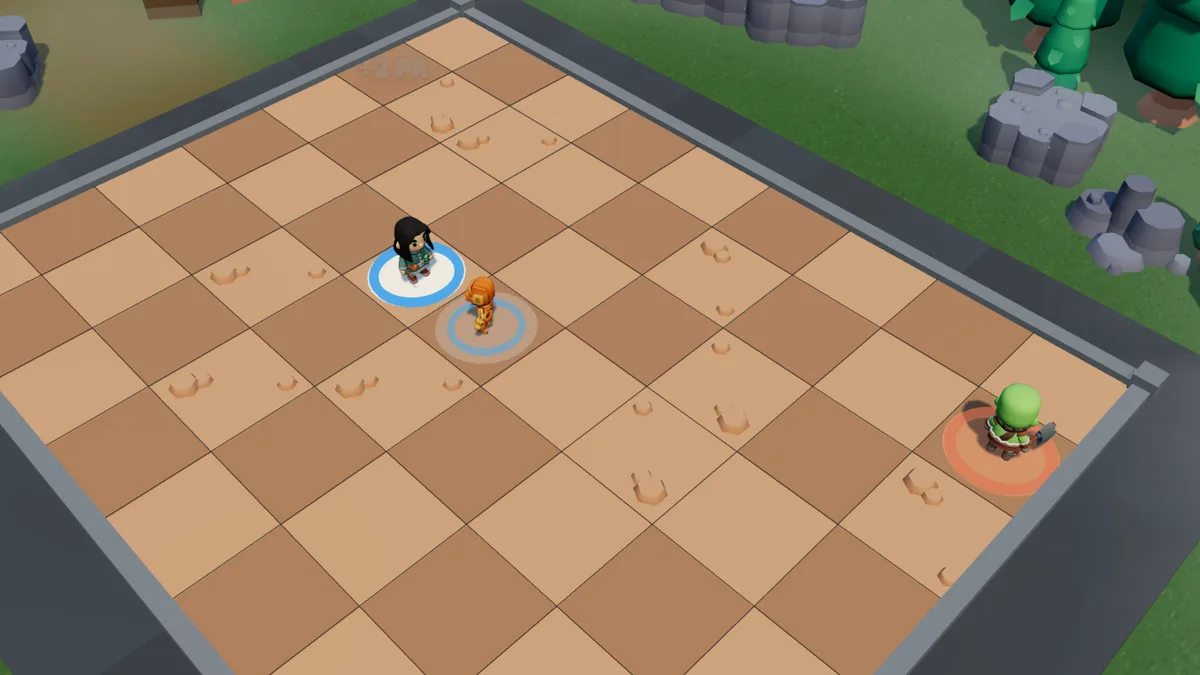
After a Pivot, the Brute is standing on your previous tile. Rewind on an empty tile…
…you return to your tile and trade places with the Brute: a swap, +2 AP, one step.
Swap combos
The five-swap turn (12 AP)
Five different spells, five swaps on the Brute, five times 2 AP given back. Reflection, at 2 AP, serves as the last swap: it costs almost nothing and gives you its 2 AP back.
Automaton (2 AP), two tiles behind you, in line with the Brute. 10 AP left.
Reversal (4 AP) on the Automaton: thrown to the other side of you, onto the Brute — they trade places. Step 1, 8 AP.
Pivot (4 AP) between you and the Brute, face to face: you trade places. Step 2, 6 AP.
Rewind (4 AP) on the Brute: they go back to their previous tile — yours — and you to yours: a swap. Step 3, 4 AP.
Hourglass (4 AP): the Brute trades places with the Automaton. Step 4, 2 AP.
Reflection (2 AP) on the Automaton: you reappear on the other side, on the Brute — a trade. Step 5, and 2 AP left.
5 steps of Time charge and 49 direct damage: 20 AP of spells, paid for with 12 thanks to the 10 AP given back.
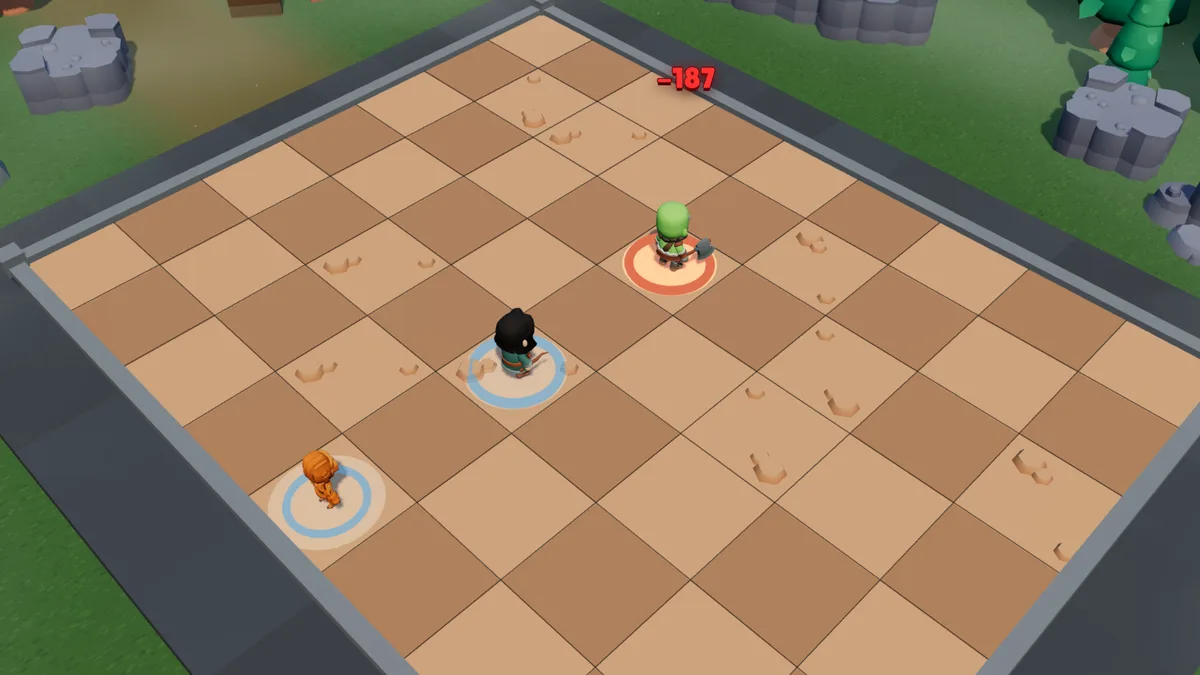
Two turns, eleven steps, 187 damage
Turn 2, 14 AP thanks to the Automaton. Rewind into empty space: you go back to your previous tile, where the Brute stands. Step 6.
Pivot: step 7.
Reflection on the Automaton: step 8.
Hourglass: step 9.
Winder on the Brute: they return to the tile where their turn began, where you stand. Step 10.
Reversal on the Automaton: step 11, and 6 AP left.
On turn 3, not a single swap: at the start of the Brute’s next turn, the charge goes off.
187 damage in one go, without casting a single attack spell on turn 3 — on top of the 77 direct damage from the first two turns.
Keeping your distance
The Clockmaker wins the matches that drag on: they hit little, charge a lot, and must not end their turn in melee. Two manoeuvres take them far away without spending a single MP.
The round trip: Winder, then Rewind
Winder cast on yourself sends you back to the tile where you began your turn. Close in boldly, play your turn in melee, then go home: your opponent starts theirs far from you. On the next turn, a Rewind into empty space brings you back to your previous tile — in melee, to start again.
You walk up to the Brute and play your turn in melee.
Winder (2 AP) on yourself: back to the tile where your turn began, five tiles away.
On the next turn, Rewind (4 AP) on an empty tile: only your own return happens…
…and you return to your previous tile, in melee, with your 5 MP untouched.
6 AP for the round trip, and not a single MP: you end your turn out of reach, and come back whenever you like. Winder recharges in two turns.
The reserve Automaton
Hourglass swaps your opponent with your Automaton closest to them. Keep one far away, in a corner of the map. When your opponent is right on you, remove the other one — Automaton cast on it gives you its 2 AP back — then Hourglass: the distant one takes their place.
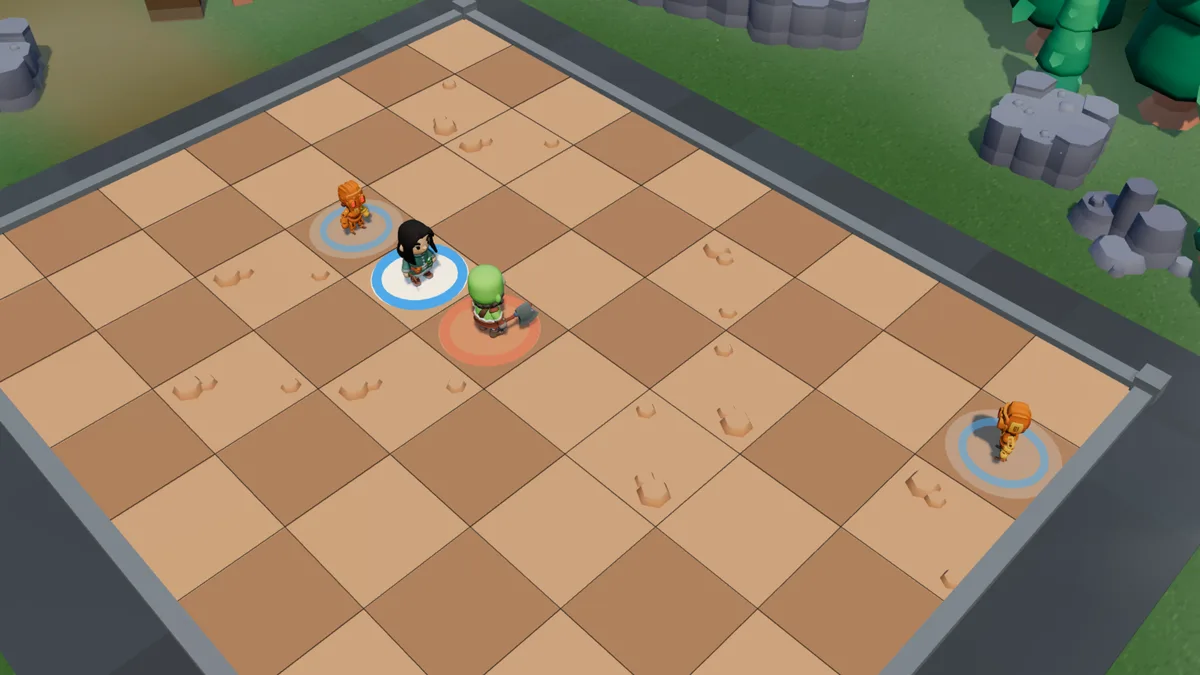
The Brute in melee. One Automaton beside you, the other kept far away.
Automaton on the nearby one: it is removed, and its 2 AP given back.
Hourglass (4 AP): the Brute trades places with the distant Automaton — now seven tiles from you. A swap, +2 AP.
2 AP net to send your opponent seven tiles away, with a step of Time charge on top. Without the removal, they would have landed on the nearby Automaton, right next to you.
Three combos
The setup turn (5 AP net)
Automaton (2 AP) placed between you and your opponent — only one placement per turn.
Recall (3 AP) to swap places with it: swap, +2 AP, Reflection recharged.
Hourglass (4 AP) on your opponent: damage, 1 to 2 AP stripped for 2 turns, and they are swapped with the Automaton: second swap, +2 AP.
Spent: 9 AP. Given back: 4. Real cost 5 AP out of 12, and your opponent starts their turn with a primed Time charge, less AP, and a position they did not choose.
The Reflection chain
Reflection costs 2 AP and has no cast limit per turn: only its one-turn cooldown stops it. And any swap resets that cooldown. As long as you alternate a Reflection that swaps and another spell that swaps, you can keep going in the same turn. But the opponent’s Time charge only takes one step per spell per turn: recasting the same spell in a loop no longer makes it heavier. To make it climb — 4, then 10, 18, 28, 42… — vary the spells that swap.
In practice the chain stops for want of useful tiles: each time, the destination tile has to be occupied for a trade to happen. That is why you keep two Automatons on the map — two reliable occupants, that you can reposition with Reversal for 4 AP.
The turn where you stop
The Charge goes off at the start of the target’s first turn where it has taken no swap since its previous turn. In other words: you choose the moment of detonation by deciding not to swap. A Clockmaker who has stacked seven swaps, then spends a turn placing an Automaton and backing off, sets off 61 points — 86 on the eighth — without casting anything offensive.
The classic mistake
Swapping one more time “because there were 2 AP left”, on the turn the charge was about to go off. The detonation is pushed back a turn, and your opponent gets one more turn to kill you. Count before you spend.
Combos that work
These lines are the ones that come up most often, and pay off most, across several thousand training matches played by the game’s automatic opponents at their best level. For each one: the spells in order, what you need, what you get out of it, the most common follow-up, and when to do without it. A sequence missing from this list is not necessarily a bad one.
The rift battery (12 AP)
Trajectory (4 AP)
Trajectory (4 AP)
Rift bolt (2 AP)
Rift bolt (2 AP)
Conditions. Two rifts open: one within your range, the other within range of the enemy. The farther apart they are, the harder Trajectory hits.
Result. Four shots without moving and without showing yourself: the Clockmaker’s biggest turn. With Crossing, each one gains even more damage and range.
The line. I play Trajectory twice, then Rift bolt twice; they answer by rushing at me — Warrior’s leap and Warrior’s wrath — or by trapping the ground if they are a Shade; then I have the same line if my rifts hold, or a Rift to reopen before shooting.
When not to play it. With a single rift open: Rift bolt cannot be cast. Against a Brute who is already wounded: her Rage soaks up your shots better, and she gets to you.
The Automaton opening (13 AP)
Automaton (2 AP)
Recall (3 AP)
Pivot (4 AP)
Pivot (4 AP)
Conditions. The enemy close by. Place the Automaton on the other side of them. The total exceeds your AP: each spell that triggers a swap gives you some back, once per turn, and that is what pays for the end of the line.
Result.Recall swaps you with the Automaton: there you are on the other side. The two Pivot casts hurt and swing everyone around their centre; the Time charge starts building on the enemy.
The line. I play Automaton, Recall, then Pivot twice; they answer by destroying the Automaton, or by coming after me; then I have Hourglass and Reversal to keep the swaps going — their charge grows, and it goes off on the first turn without a swap.
When not to play it. When the Automaton would not last until your next turn: it has almost no HP, and without it Hourglass no longer swaps anything.
Two Hourglasses, one Pivot (14 AP)
Automaton (2 AP)
Hourglass (4 AP)
Hourglass (4 AP)
Pivot (4 AP)
Conditions. The enemy within range of Hourglass, with an Automaton in play. The total exceeds your AP: the first Hourglass and Pivot give some back by swapping.
Result. Little damage, but plenty of effects: AP taken away for their next two turns, and their Time charge building. With a single Automaton, the second Hourglass brings them back where they came from: Pivot decides where they end up.
The line. I play Automaton, Hourglass twice, then Pivot; they answer with fewer AP — a Roar, a Mace smash for a Brute; then I have the same line, and their charge goes off on the first turn I stop swapping them.
When not to play it. When you need damage right away: this line sets up, it does not finish. And with no Automaton alive, Hourglass does not swap: no more swap, no more AP given back.
Swap and throw (14 AP)
Automaton (2 AP)
Hourglass (4 AP)
Hourglass (4 AP)
Reversal (4 AP)
Conditions. Like the previous line, when you want to end by sending them away: Reversal sends them to the other side of you, at the same distance.
Result. Fewer AP for them, a swap, then your cleanest direct hit — and an opponent sent far from what they were aiming at.
The line. I play Automaton, Hourglass twice, then Reversal; they answer by coming back, with whatever AP they have left; then I have Pivot or Rewind to send them away again.
When not to play it. When the landing tile of Reversal suits them — near your wounded ally, or out of range of your next spells. Check the preview before casting.
The big carousel (18 AP)
Automaton (2 AP)
Hourglass (4 AP)
Hourglass (4 AP)
Rewind (4 AP)
Reflection (2 AP)
Reflection (2 AP)
Conditions. Each link has to swap to pay for the next: the total far exceeds your AP. After the Hourglass casts, the Automaton stands on the tile the enemy came from: Rewind sends them back there and triggers the swap.
Result. Three spells that swap in the same turn: the Time charge gains as many steps, and each swap recharges Reflection, which you cast twice.
The line. I play Automaton, Hourglass twice, Rewind, then Reflection twice; they answer with whatever they have at hand — Shield bash twice for a Warrior; then I have the same line if I still have an Automaton, and their charge goes off as soon as I stop.
When not to play it. As soon as one link does not swap, the rest is no longer paid for: check the preview of each spell before casting it. And against an anchored target, nothing swaps.
Their weaknesses
What beats a Clockmaker
The Warrior’s Anchor. A 3 AP variant, and until his next turn nothing moves him, or anything next to him: no push, no pull, no swap. Your entire passive is shut down, and so is your turn.
Destroying the Automatons. 10 health: any hit takes one out. Without them, Hourglass no longer swaps and Recall no longer exists. An opponent who understands this spends one spell a turn on them and wins.
Shadow veil. Invisible until their next turn, the Shade can no longer be targeted: Reversal, Hourglass, Winder and Reflection have nothing to aim at. With no swap, the chain is broken and the Time charge goes off at the start of their turn with only the steps already laid — 4 damage for 2 steps. Only Pivot and Rewind, which target a tile, can still swap them, if you guess their tile.
Raw damage. 720 health, no armour, no class resistance, and, in the original kit, no spell above 22–30: the lowest damage ceiling in the game. You do not survive a damage race.
MP removal. Only five MP: a Roar can strip up to 4 of them, and then you are left with nothing but your spells to move.
What beats the variants
Rifts serve both sides. The opponent can send their spells through them and cross them: a rift opened near you is also a door to you.
A kit that depends on two rifts. Without two open rifts, Rift bolt cannot be cast and Crossing gives nothing.
Melee. Their shots have a minimum range: an opponent right next to them, far from any rift, takes away almost their whole game.
Who you face, and how
Against the Warrior, watch their Anchor: if they have cast it, do not spend your AP on failed swaps, spend a turn on Hourglass to strip their AP instead. Against the Brute you are favoured: they only have 20% resistance to AP removal and no way to prevent a trade.
Against the Arcanist, Winder and Rewind are there to send them back to where they were: their Focus gives them no damage bonus in melee. Against the Shade, an invisible target can no longer be targeted: place your Automatons as cover and wait for them to reappear. Against the Artificer, their charges are entities like any other — Pivot rotates them with everything else, and a line of charges shifted by one tile is worth nothing.
With rifts, the timings change. Against the Warrior, Breaker and Call of the void move nothing anchored: under Anchor, keep your AP for shots. Against a variant Shade, stay away from your own rifts when she can send a Fickle blade through them. Against the Brute’s pack, Collapse and Breaker hit several beasts at once. Against the Artificer’s turrets, a shot through a rift reaches a turret placed behind a wall.
Frequently asked questions
How do you play the Clockmaker in Solwaris?
The Clockmaker is played by chaining swaps: every position swap gives them 2 AP back, recharges Reflection and grows the opponent’s Time charge. You first place an Automaton for 2 AP, which serves as a foothold, then alternate Reflection and a spell that swaps. It is the most demanding class in the game, and the one that asks you to count three turns ahead.
How does the Time charge work?
The Time charge is placed on every enemy the Clockmaker swaps, and it starts at 0 damage. Each new swap makes it grow — 4, 10, 18, 28, 42, 61, 86, 120, then 167 — at one step per spell per turn, and pushes its explosion back a turn. It goes off at the start of the target’s first turn where it has taken no swap since its previous turn.
How much HP does the Clockmaker have?
The Clockmaker has 720 health, 12 action points and 5 movement points, the lowest in the game. Those 5 MP are not a punishment: Reflection, at 2 AP and with no cast limit per turn, is their real means of travel, and it goes through walls.
What is the Clockmaker’s best spell?
Reflection, for 2 AP: you reappear on the other side of the targeted entity, at the same distance, with no line of sight needed. If the destination tile is occupied, you trade places with its occupant, and that is a swap. Its one-turn cooldown is reset by any swap, which lets you chain it within the same turn.
How do you beat a Clockmaker?
By destroying their Automatons and preventing the swaps. Each Automaton has only 10 health and no defence; without them, Hourglass no longer swaps and Recall no longer exists. The Warrior’s Anchor, for 3 AP, makes him impossible to move until his next turn, him and everything next to him.
How do the Clockmaker’s rifts work?
A rift is a passage placed on a free tile; the Clockmaker keeps three at most. A spell that reaches a rift can come out of another one, as if its caster were standing there. To go through yourself, you must stop on a rift, then pay one MP to come out on another free rift. A push never takes anyone through. All of this applies to the opponent too.
The Clockmaker asks you to count three turns ahead. It is the most demanding class in the game — and the most satisfying when the chain holds.