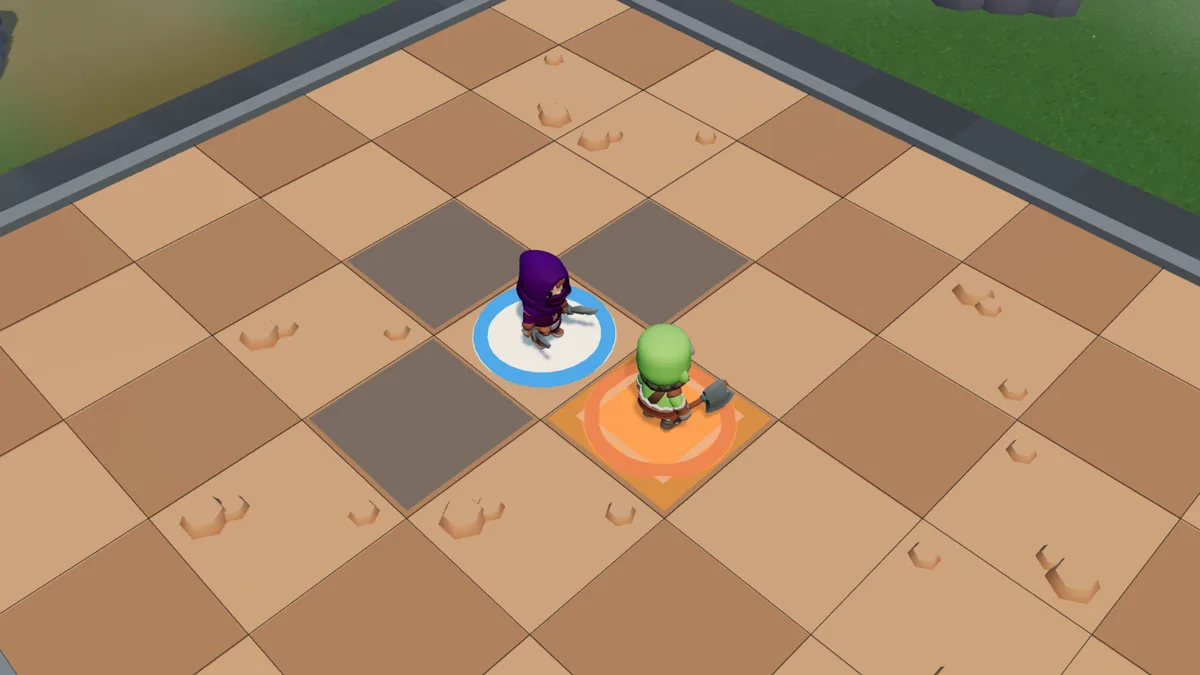
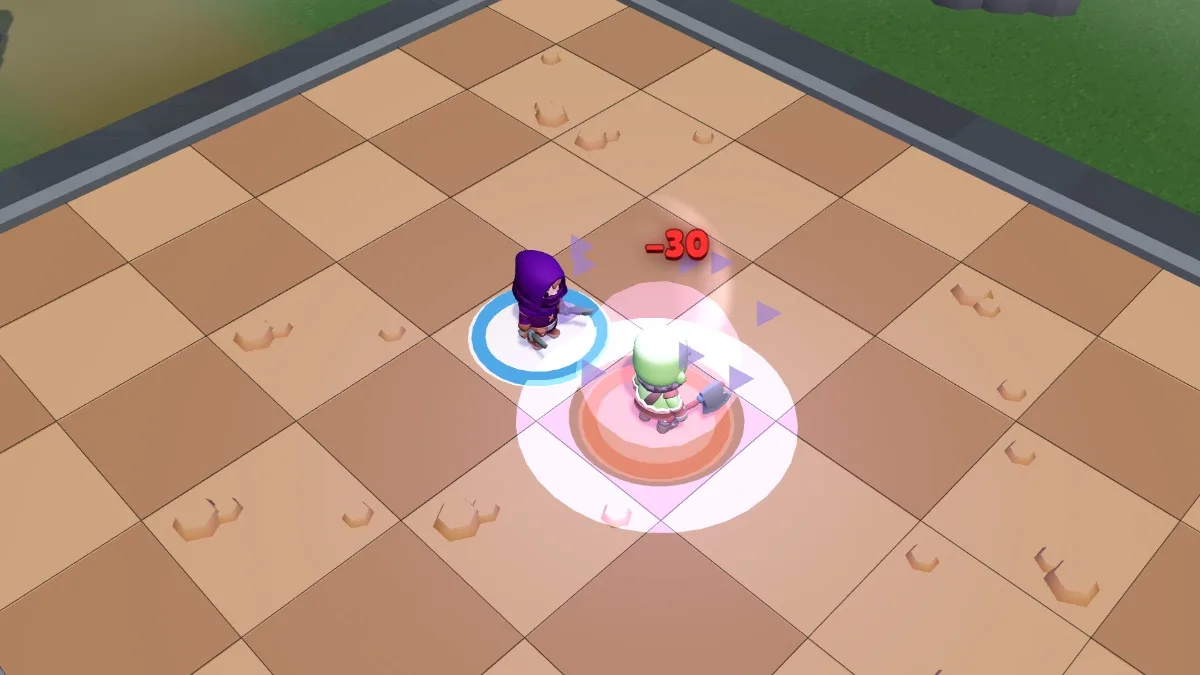
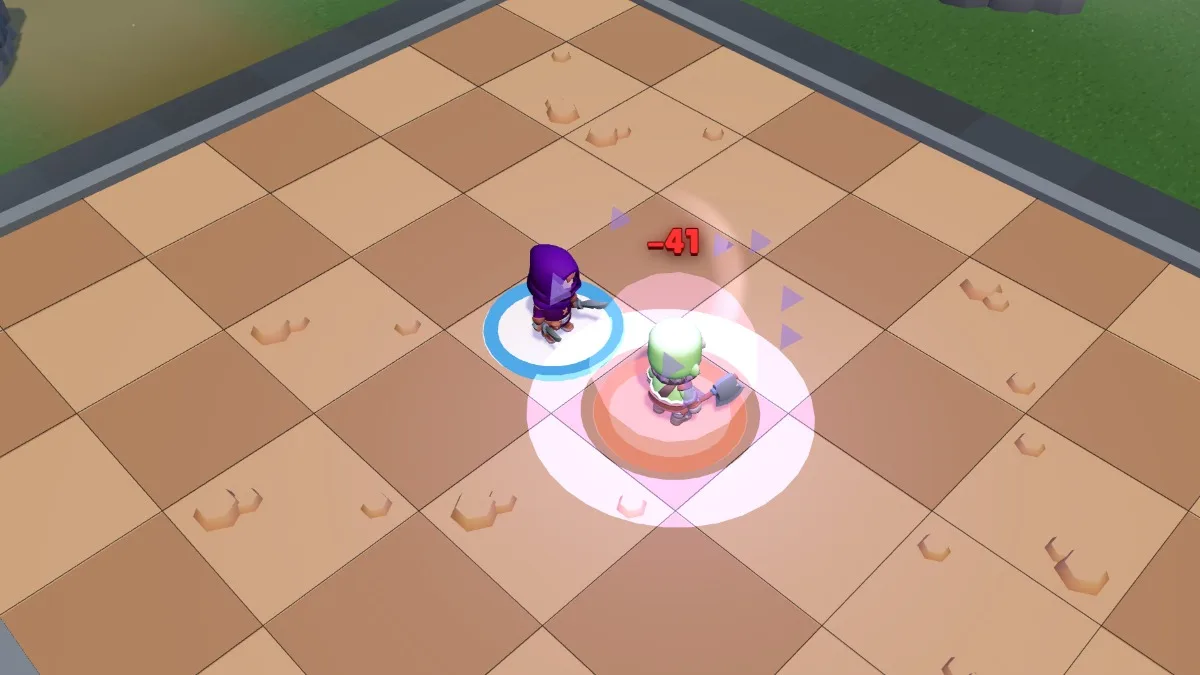
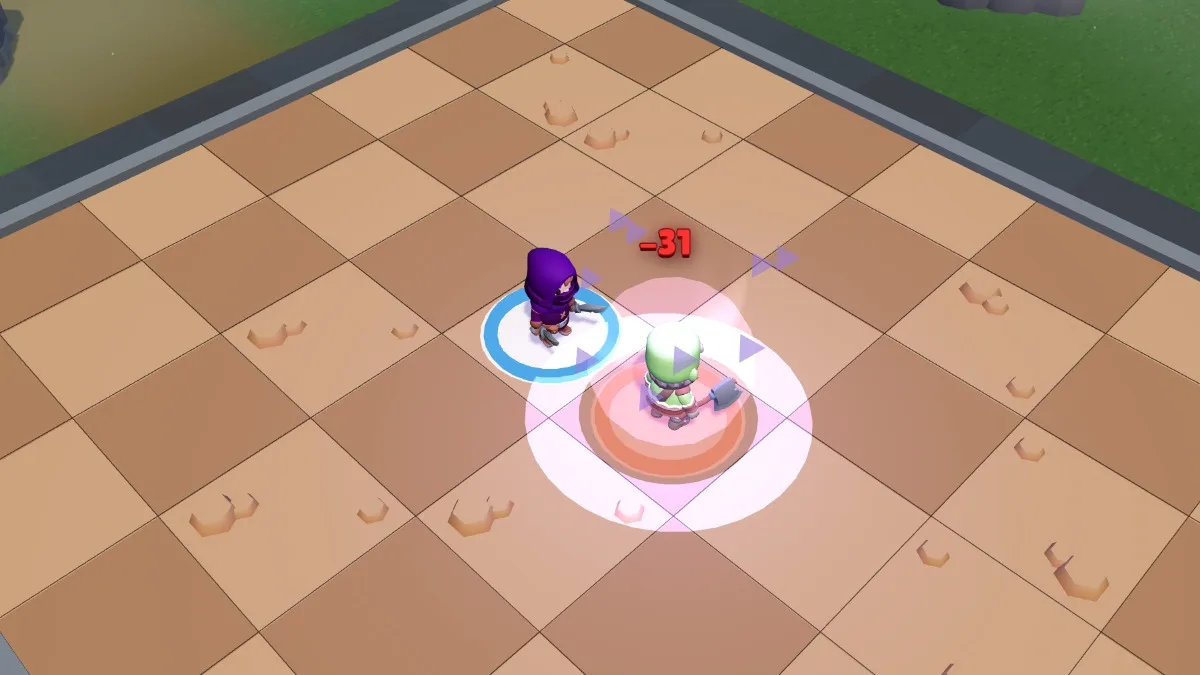
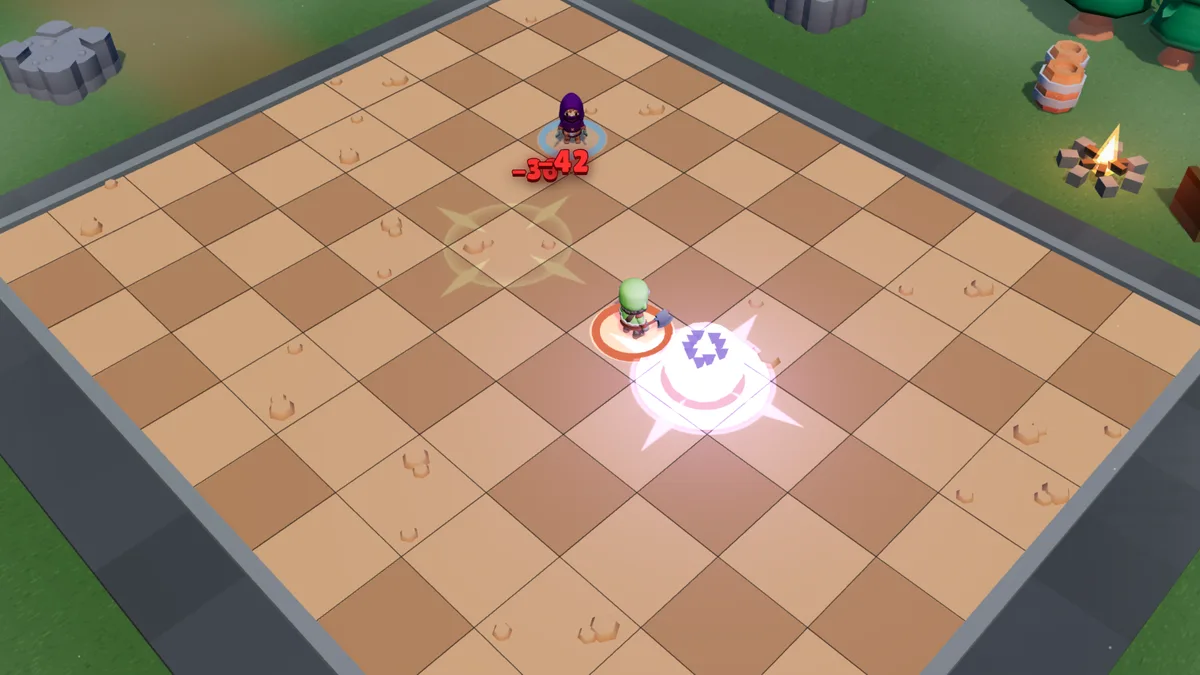
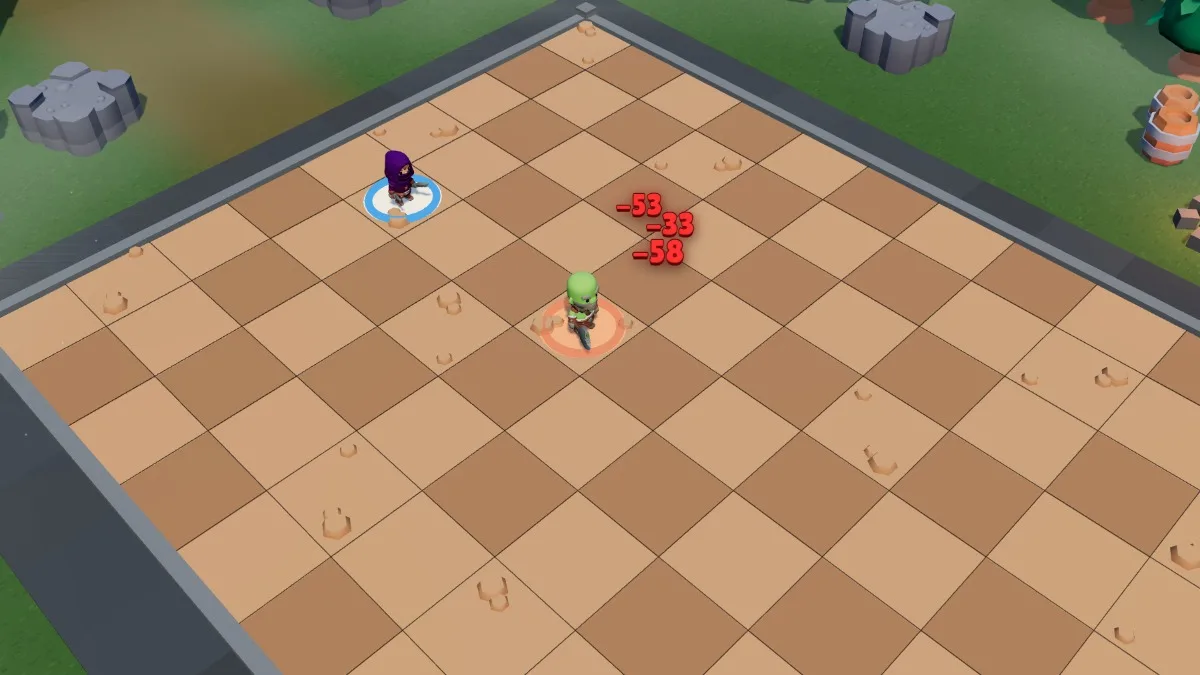
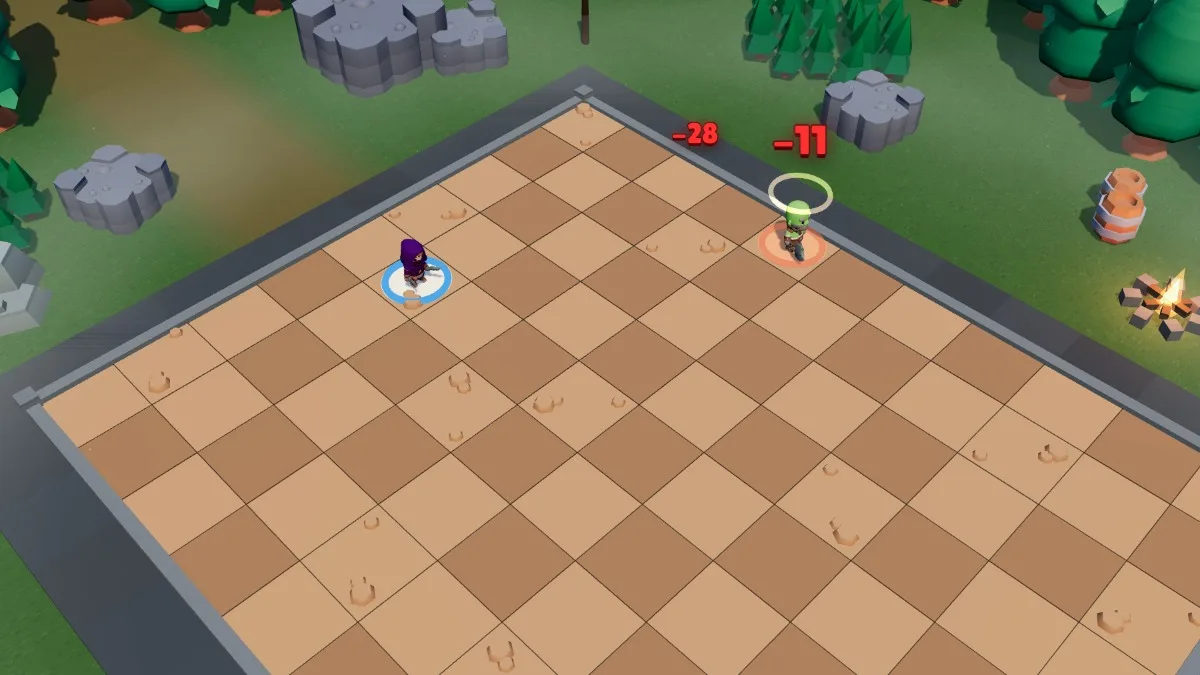
The Shade never wins a straight exchange. They vanish, they poison, and they turn the ground into a minefield the opponent cannot see. Their typical win does not look like a fight: it is a run of turns where the other player loses health without ever having anyone to hit.
In short
Role — the Shade is the traps and poison class of Solwaris: they vanish, they poison, they mine the ground.
Stats — the Shade has 700 health, 12 AP and 6 MP, with 40% resistance to both AP and MP removal.
Passive — their Dodge cancels, 8% of the time, the direct damage of an enemy spell that hits them, as its target or in its area: the damage, not the effects.
Traps — their three traps cost 4 AP, reach 6 tiles, last 8 turns and have no cooldown: blades (42 to 63 damage), hooks (29 to 42) and venom (17 to 25 then a poison of 15 to 24 per turn for 2 turns).
Invisibility — Shadow veil costs 4 AP, has a 5-turn cooldown, makes the Shade invisible until their next turn and gives them 2 MP immediately; two things reveal them: taking damage, or an enemy aiming at their tile with a spell that needs a free tile.
Weakness — the Shade sets off their own traps, and a spell aimed at a tile or an area hits them even while invisible.
700health
12action points
6movement points
40%resistance to AP removal
40%resistance to MP removal
Six movement points: the game’s standard, no longer a tile ahead. Their mobility now rests on one spell — Shadow veil and its 2 immediate MP, once every six opportunities — and on their 40% resistance to MP removal, which leaves them their legs more often than the others.
The passive: Dodge
Dodge
8% chance to dodge the direct damage of an enemy spell that hits you, as its target or in its area. The damage, not the effects: push, pull, removal, poison, mark or position swap still apply.
Eight percent cannot be planned around. It is a passive that spares you a blow now and then, and it must never enter a calculation: play as if it did not exist. It only cancels the spell’s direct damage — the AP removal, the push or the pull of a damaging spell (Quake) still apply — and nothing else can be dodged: not ticking poison, not traps, not glyphs, not collisions, not charge explosions, not turret shots or the Artificer’s Command volley.
The Shade’s eight spells
Quick dagger
3 AP · range 1 · 2 casts per turn · no cooldown
24 to 34 damage in melee, 35% more if the target is poisoned, and 30% more if they are below 40% of their health — the two multiply: 75% more on a poisoned, wounded target. It is the only reason to go into melee with this class: on a target under Venom, two Daggers do far more than a Lifesteal, for two AP less each.
Range 1: the target must be adjacent to you.Normal target: 30 damage.Poisoned (by a Venom): +35%, 41 damage.Below 40% of their HP: +30% — but the Brute’s Rage then gives them +20% resistance: 31 damage.Both: the bonuses multiply, but so does Rage’s resistance: 42 damage, 40% more.
Lifesteal
5 AP · range 1 to 5 · 1 cast per turn · 1-turn cooldown
28 to 41 damage at range, and you get half of it back as health. Your only heal. Five AP is expensive for the Shade: keep this spell for the turns when you are already hurt, not for opening turns.
Range 1 to 5, with line of sight.35 damage, half of which comes back to you as health.
Creeping venom
4 AP · range 1 to 6 · 2-turn cooldown
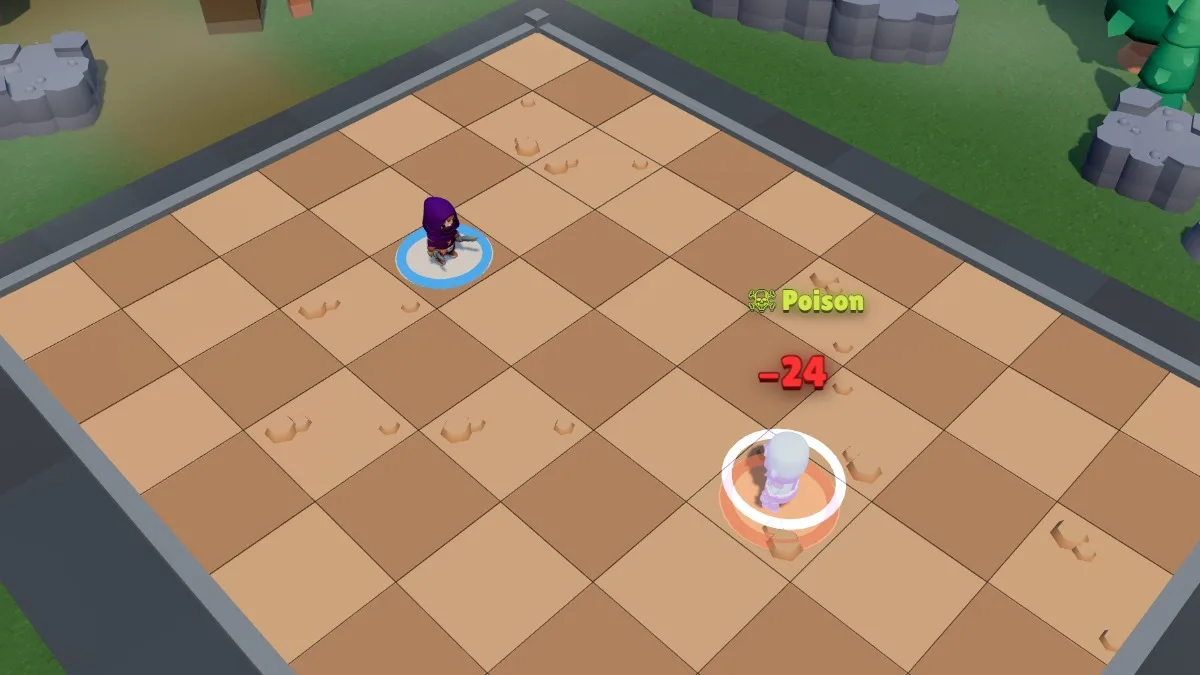
No immediate damage: the target loses 19 to 27 health at the start of each of its next 2 turns. Its peculiarity: the damage lands on the victim’s turn, so far from you. Nothing within reach, nothing to strike back at — and nothing that can make you reappear.
Range 1 to 6: you poison from afar.At the start of their turn: 24 poison damage, far from you.
Poison trap
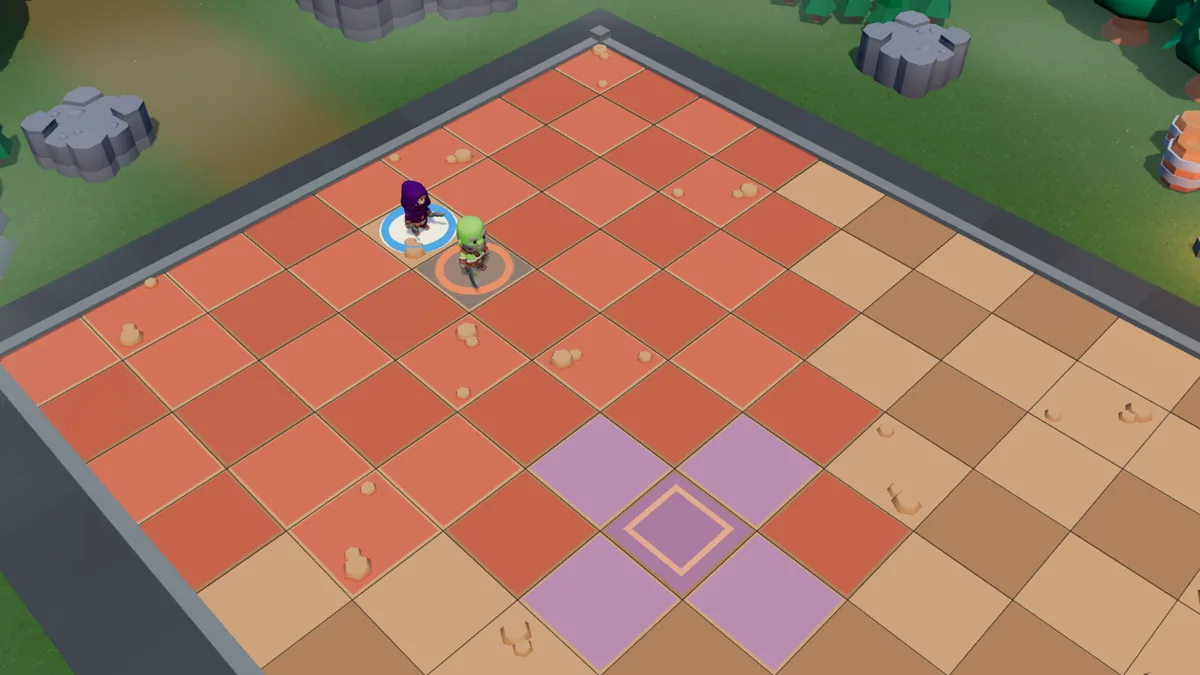
4 AP · range 1 to 6 · cross of 1 tile · 1 placement per turn · no cooldown
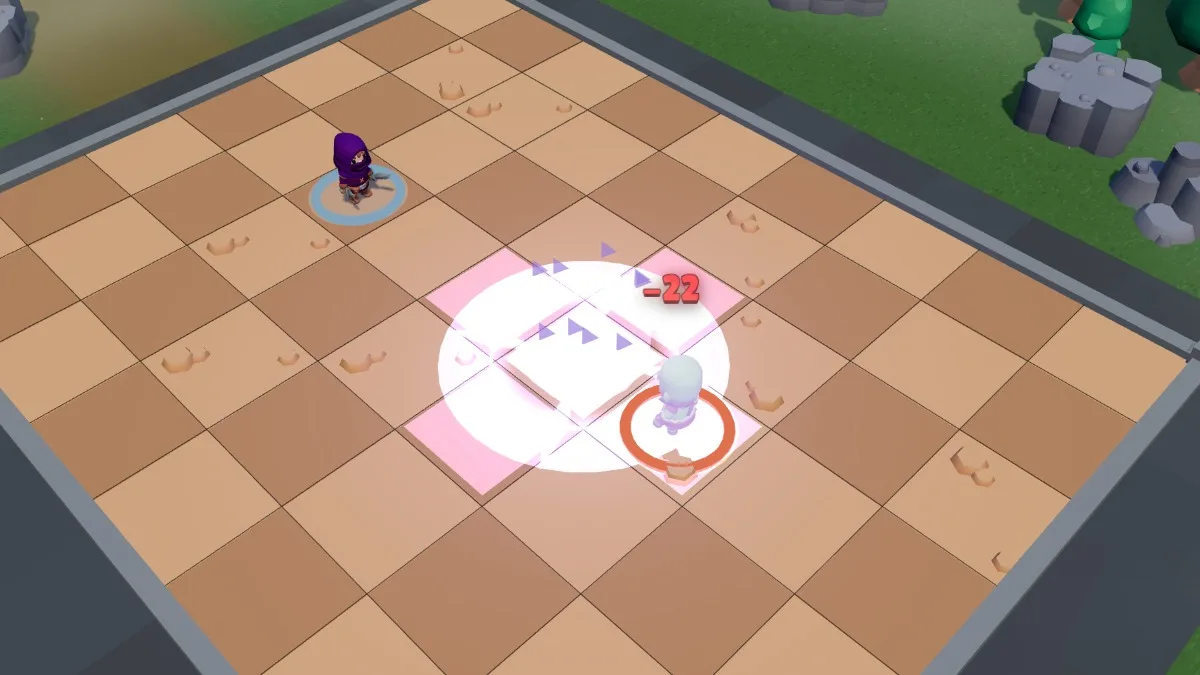
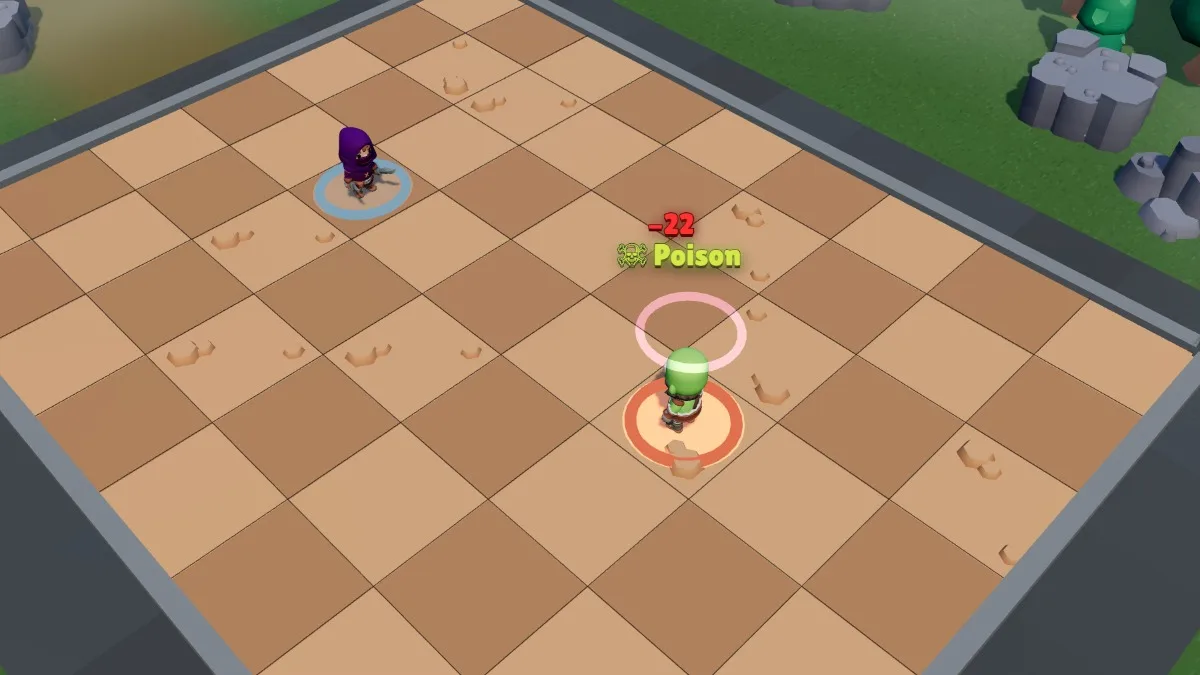
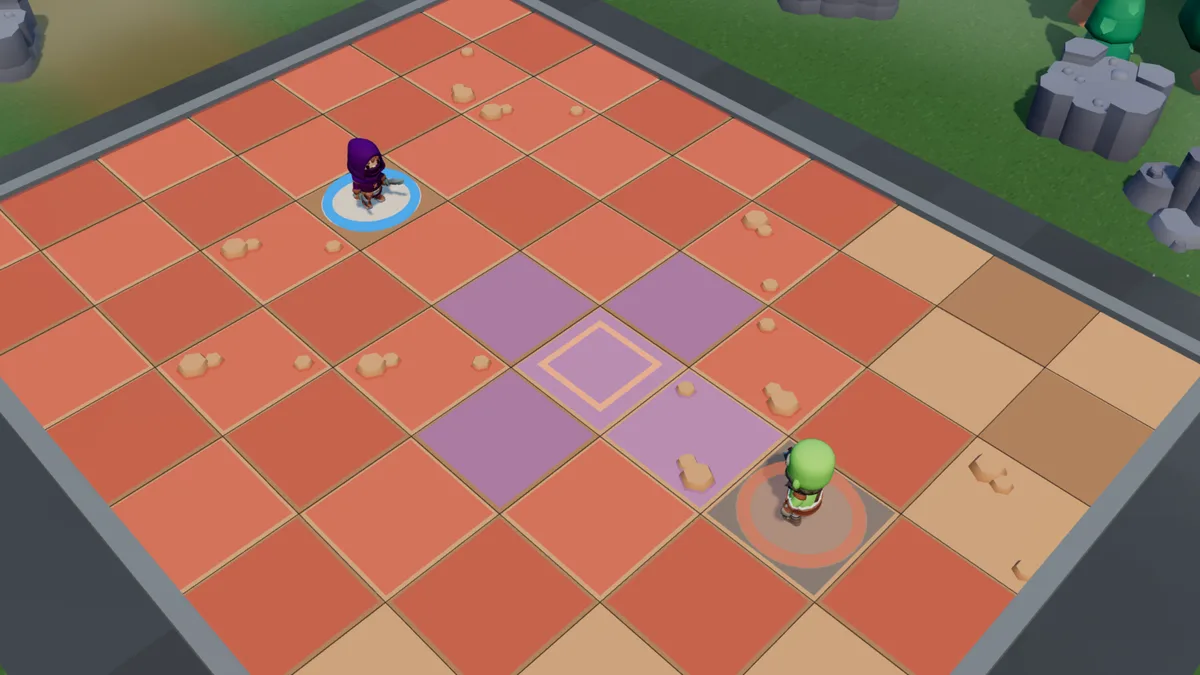
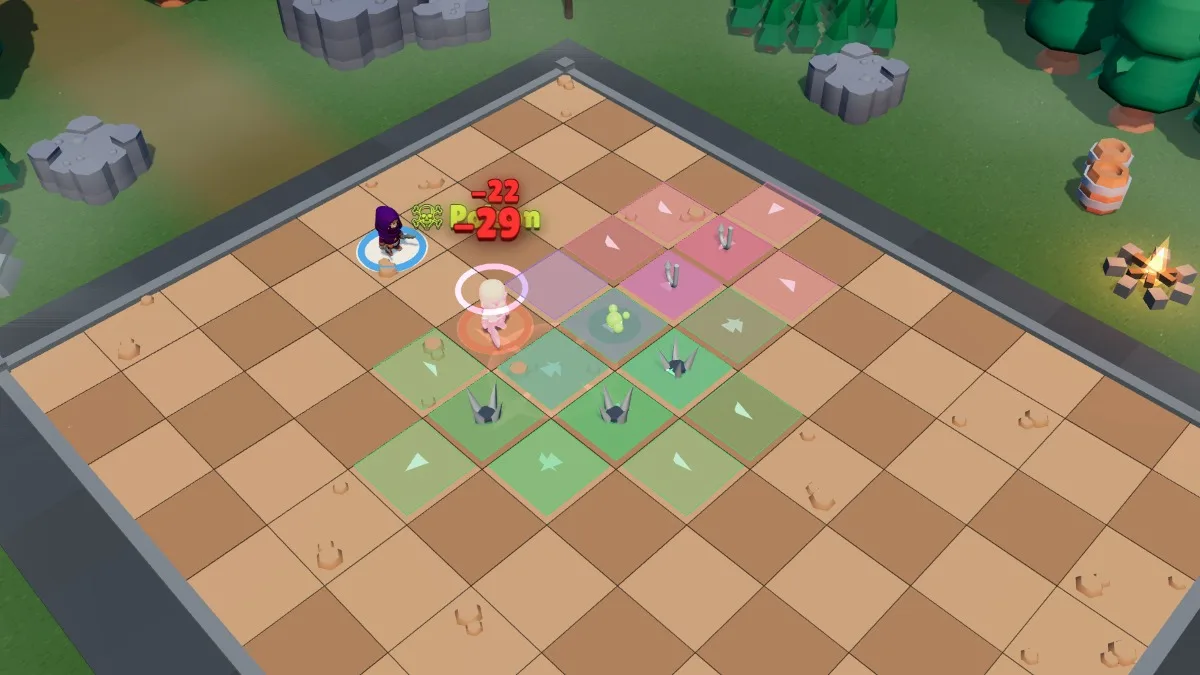
17 to 25 immediate damage to everyone inside the cross when someone enters it, then a poison of 15 to 24 per turn for 2 turns. Poisons from several traps stack: two poison traps set off one after the other hurt for a long time. It lasts 8 turns, and you set it off too.
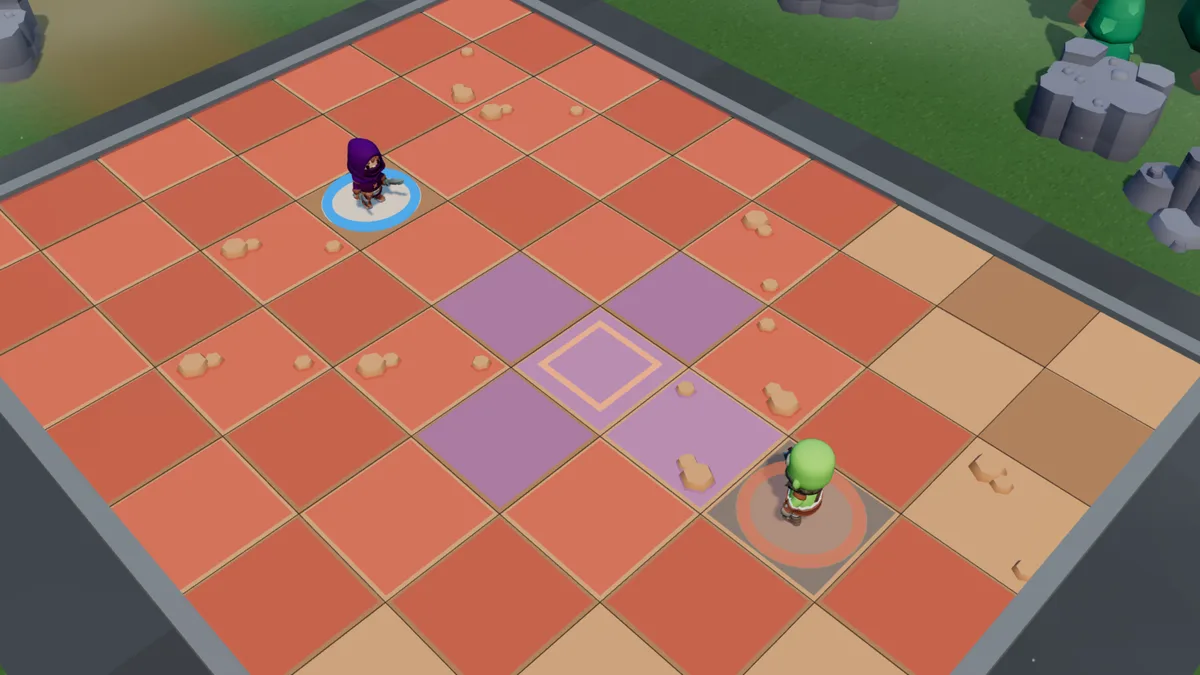
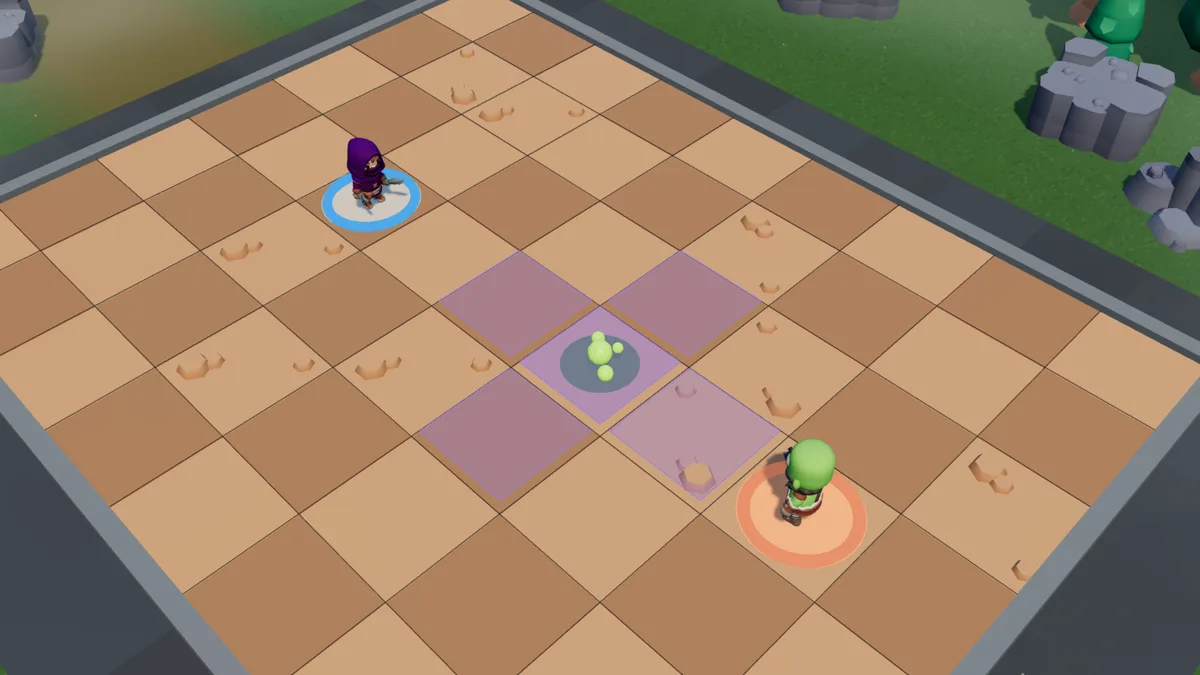
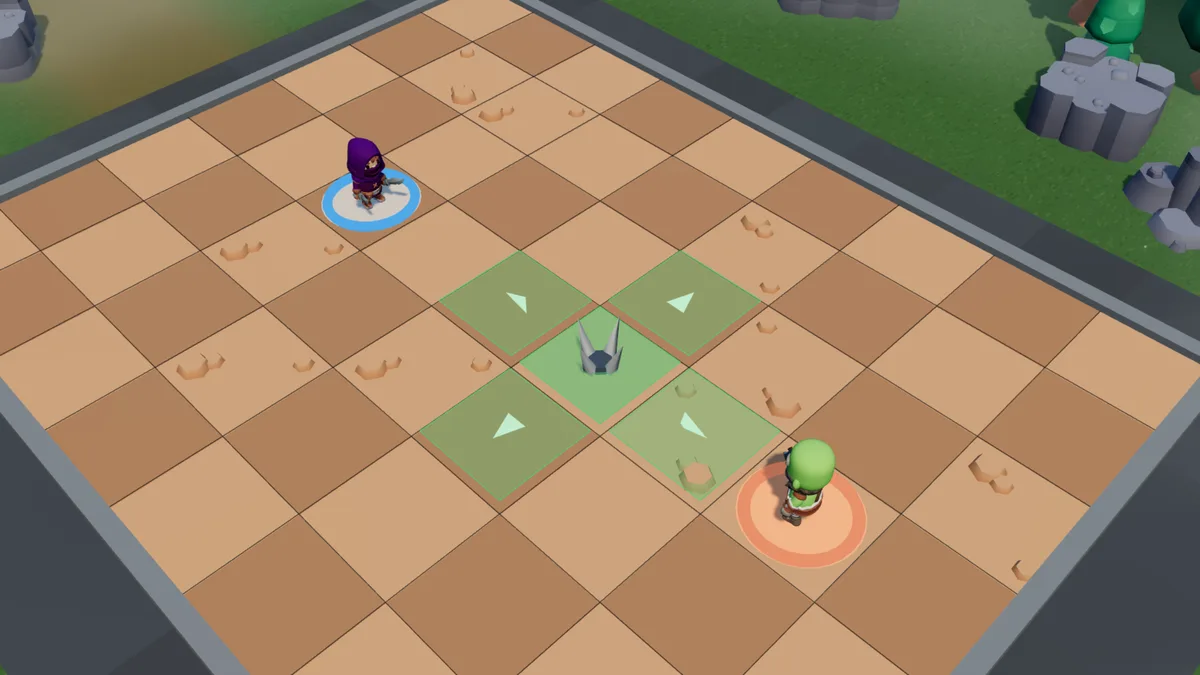
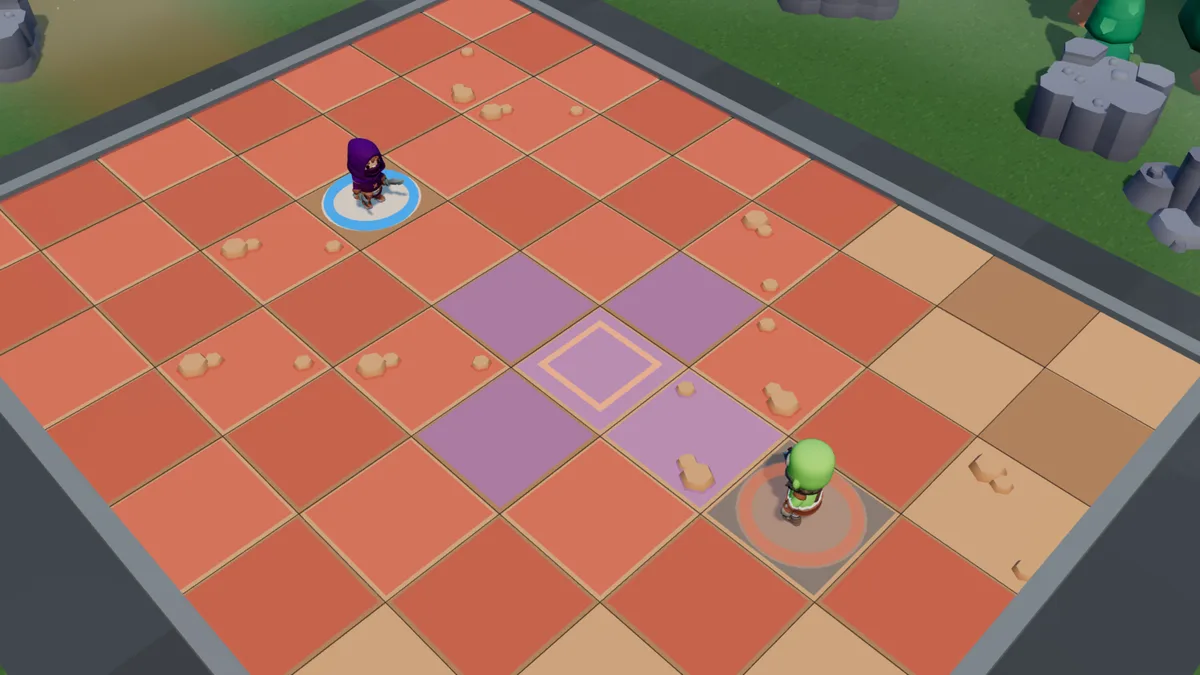
The cross of 1 tile: five trapped tiles, invisible to your opponent.Laid: you can see it, your opponent cannot.Triggered: one step into the cross, 22 damage.After: the trap is gone, and the poison eats at the Brute for two turns.
Blade trap
4 AP · range 1 to 6 · cross of 1 tile · 1 placement per turn · no cooldown
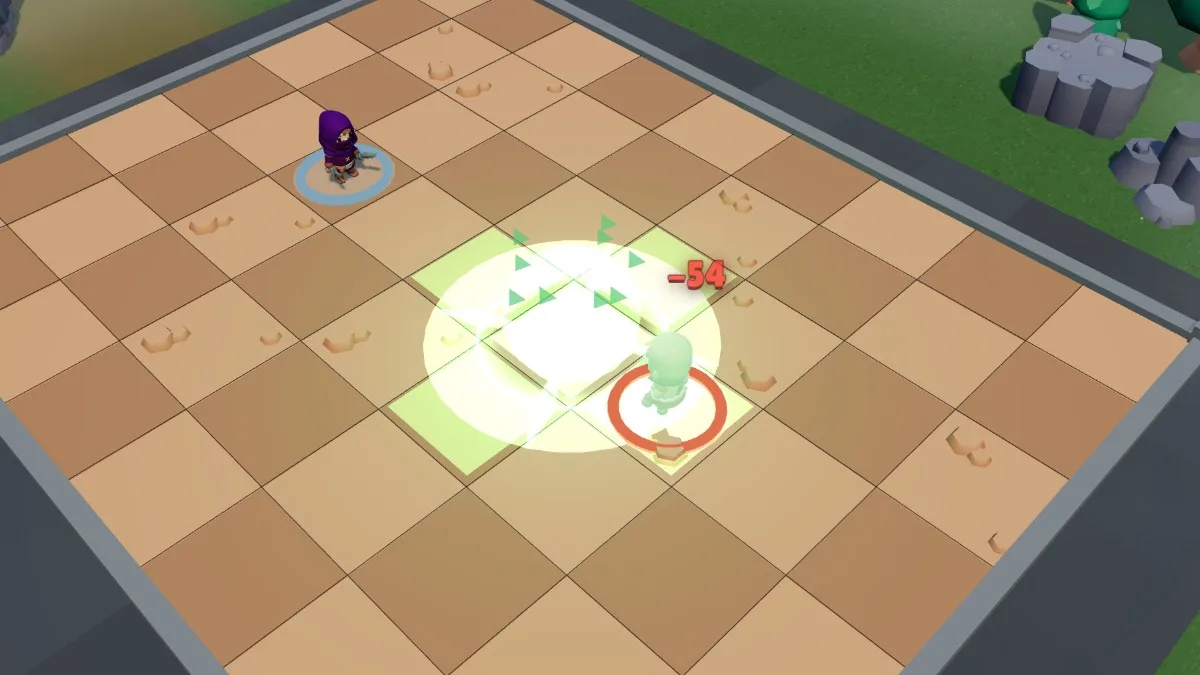
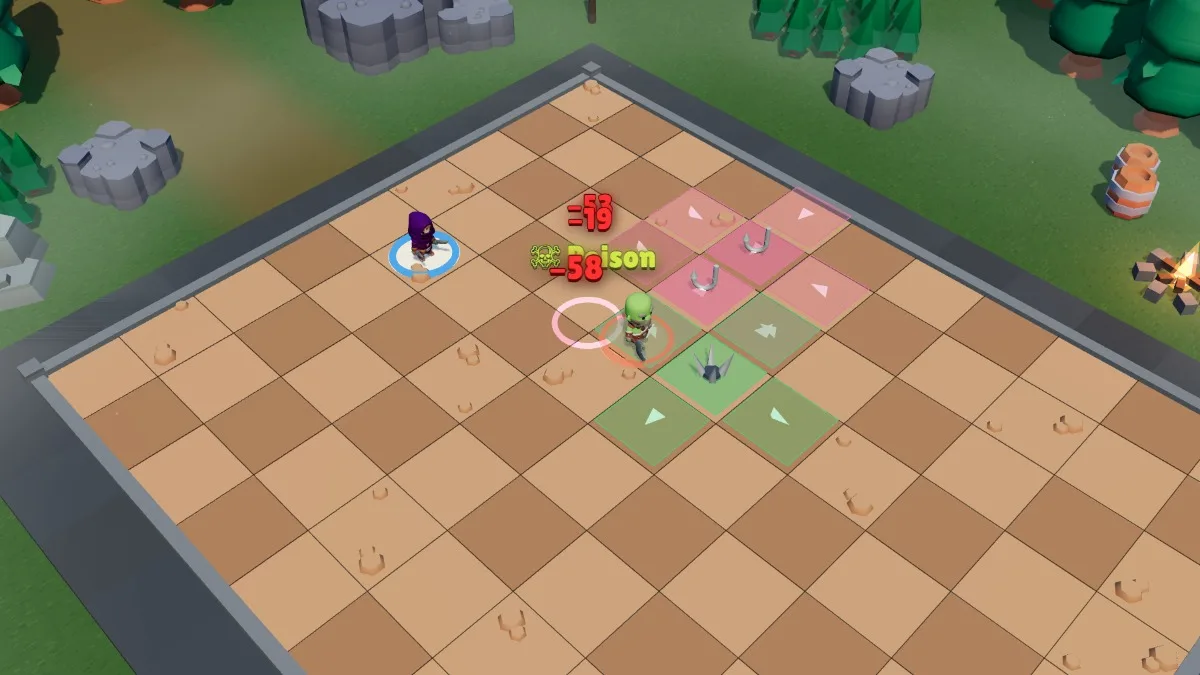
42 to 63 damage, and the victim is pushed one tile away from the centre — 12 extra collision damage if it hits an obstacle. The most brutal trap in the game. Placed against a wall, the push becomes guaranteed damage.
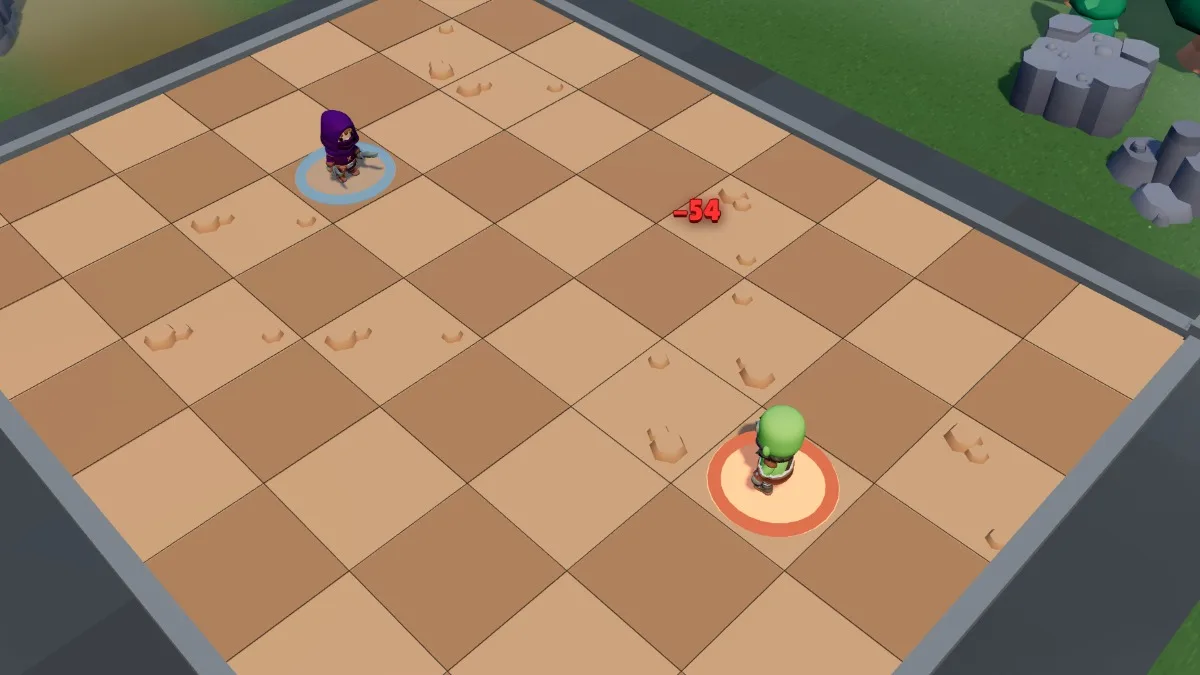
The cross of 1 tile: one step on any of the five tiles is enough.Laid: you can see it, your opponent cannot.Triggered: one step into the cross, 54 damage.After: the Brute is pushed one tile, away from the centre.
Hook trap
4 AP · range 1 to 6 · cross of 1 tile · 1 placement per turn · no cooldown
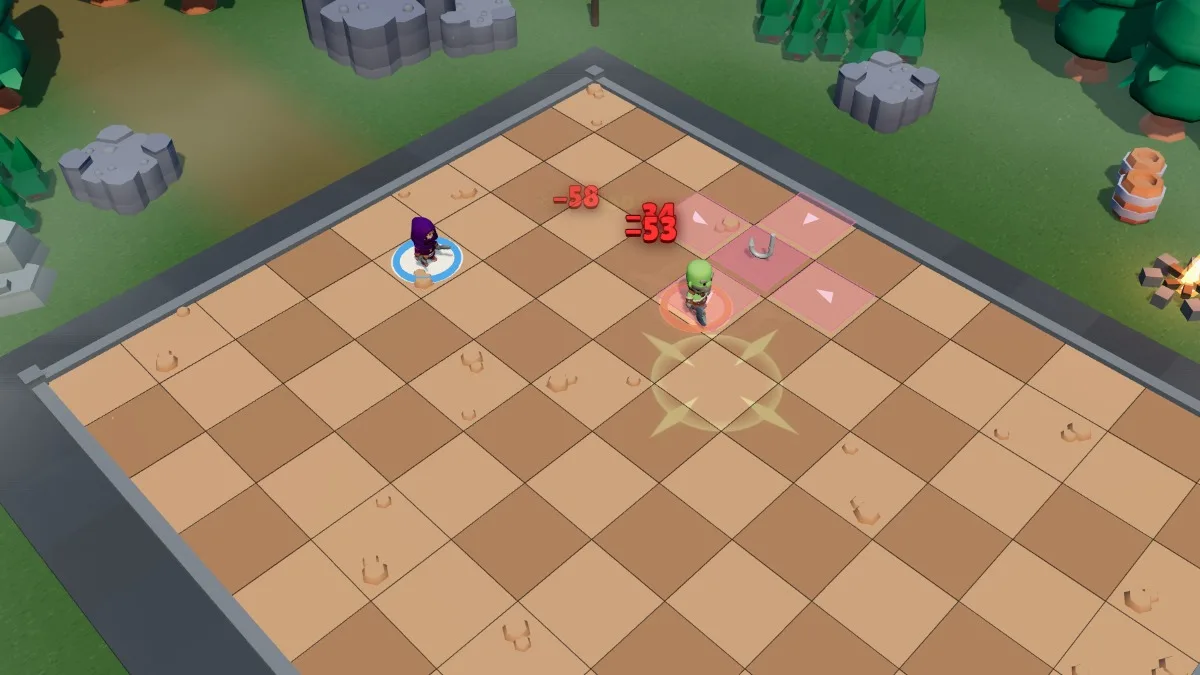
29 to 42 damage, and the victim is pulled one tile towards the centre of the trap. Less damage than the Blades, but it moves inwards: it is the piece that links two traps together, by bringing your opponent onto the next cross.
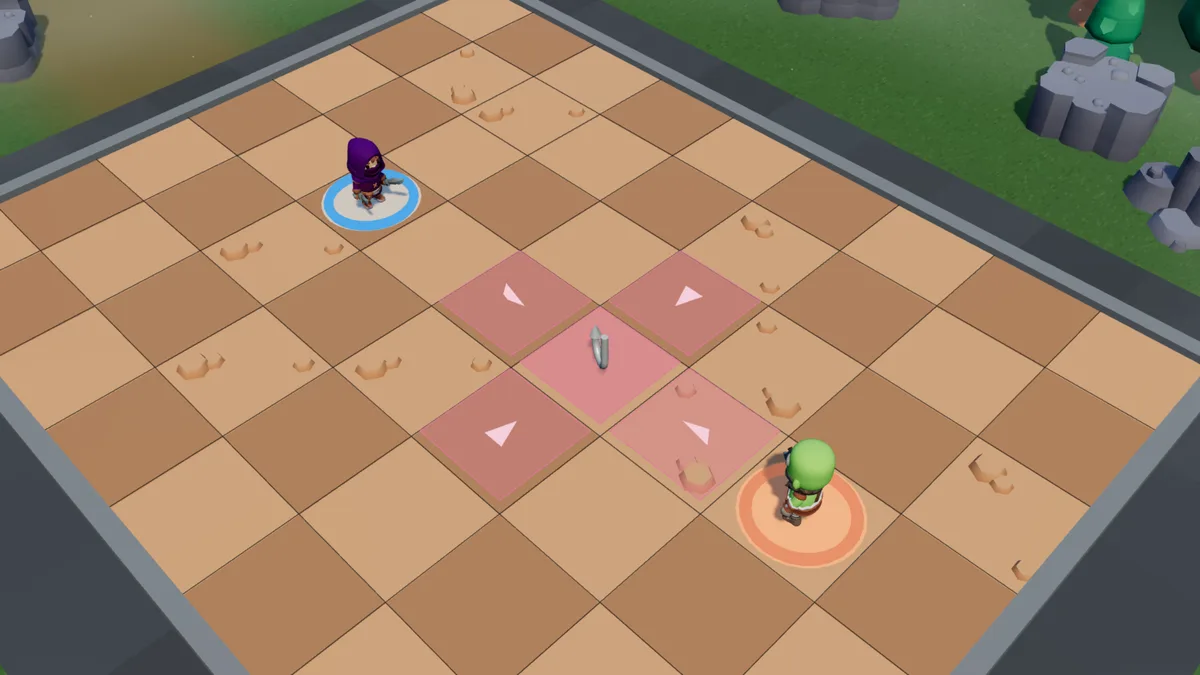
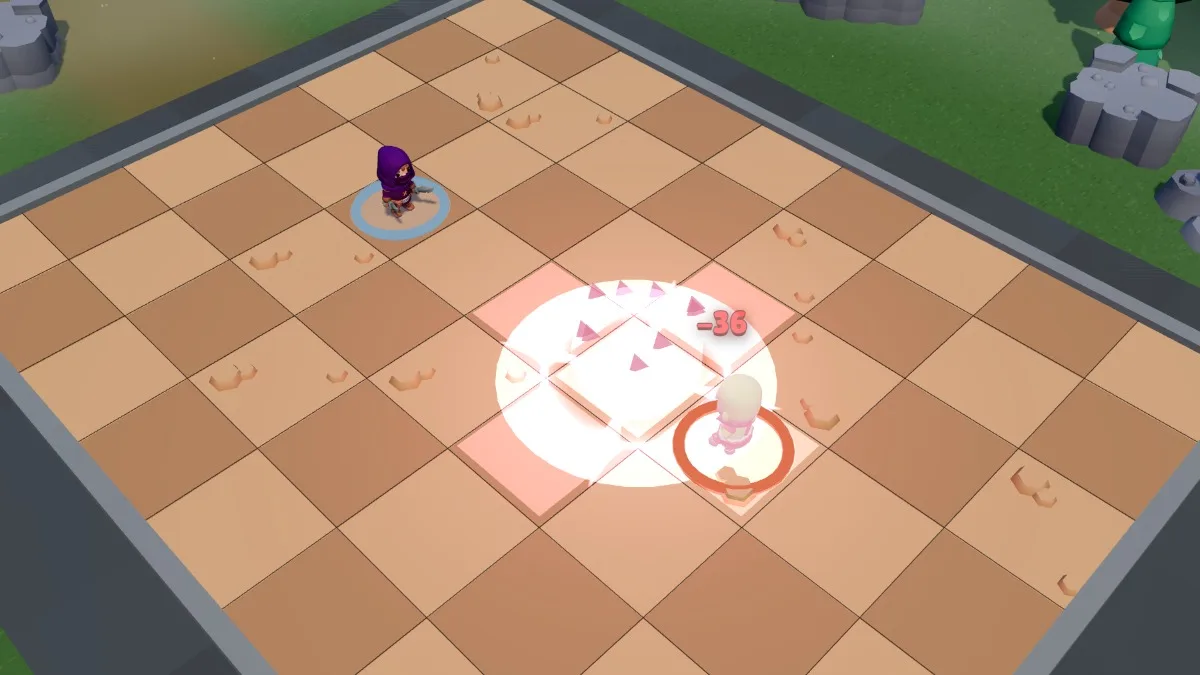
The cross of 1 tile, placed up to 6 tiles from you.Laid: you can see it, your opponent cannot.Triggered: one step into the cross, 36 damage.After: the Brute is pulled one tile, to the centre of the cross.
Fear
3 AP · range 2 to 6 · in a straight line · no line of sight · 1 cast per turn · no cooldown
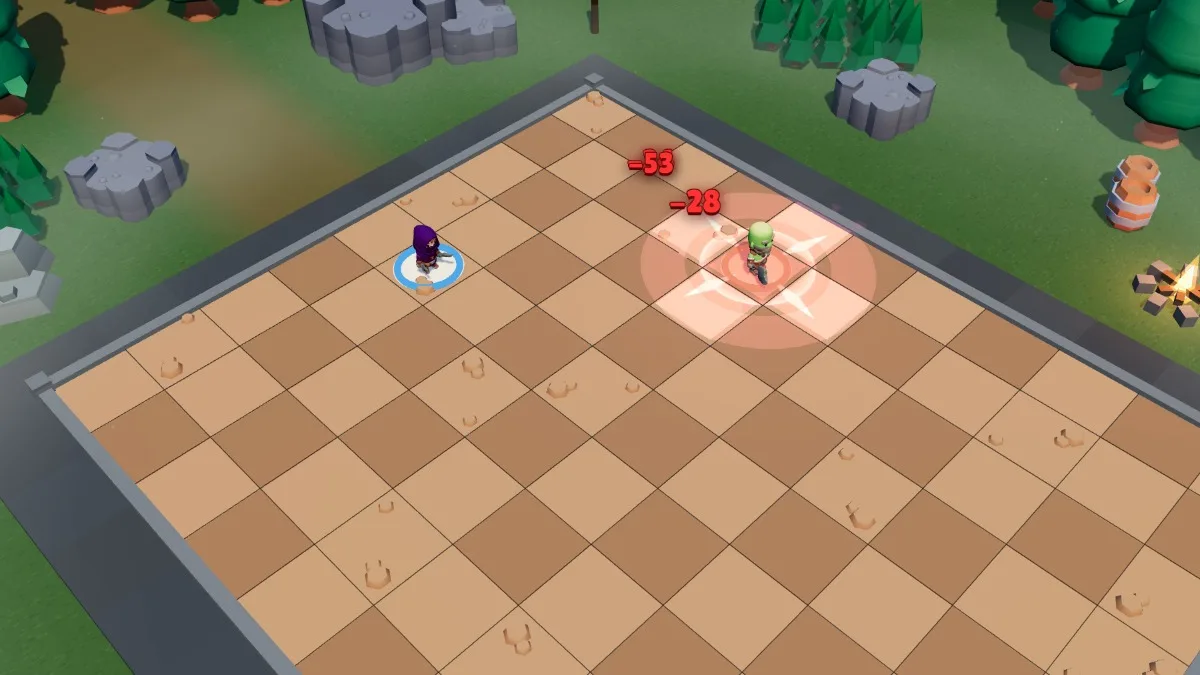
Cast from melee: target a free tile in a straight line behind the entity adjacent to you; they flee there and stop on the first trap they set off — it is that trap’s hooks and blades that send them on to the next ones. If an obstacle cuts their flight short, they take 12 collision damage per missing tile. Three AP that turn a mined zone into an execution: see “Building a trap combo”.
In a straight line, from melee: the target tile is the end of the flight.The target flees towards the target tile — and stops at the first trap they set off.
Shadow veil
4 AP · self · 5-turn cooldown
You become invisible until your next turn and gain 2 MP right away. Your opponent no longer sees you and can no longer target you — but a spell aimed at a tile or an area can still hit you. Two things reveal you: taking damage, or an enemy aiming at your tile with a spell that needs a free tile (a trap, a summon, a leap) — they run into you and lose their spell. Attacking gives nothing away, and neither does standing next to the opponent. Five-turn cooldown: it is once every six opportunities, not a play style.
Invisible until your next turn, and 2 more MP straight away.
The variants
Each spell slot has a second version, and so does the passive: before the fight, in the grimoire, you pick one version per slot. The Shade’s variants play with luck, and luck nobody knows in advance: each luck spell draws its outcome the moment you cast it — one time in two it succeeds, otherwise it is a Miss. The tooltip and the preview show the odds and the outcomes, never the result. A Miss is not entirely wasted: each one gives you 10 crit points until the end of the turn, 30 at most. Its base kit doesn’t change. The choice is locked when the fight starts, and the opponent sees it. All are available, in every mode.
Lucky hand (passive variant)
Replaces Dodge.
Luck is on your side: your chance spells succeed 60 times out of 100 (instead of 50) — Luck of the draw and Evil eye keep their odds. Your critical hits rise to 20% (instead of 10%), and a critical always lands in the upper half of the spell’s damage.
Twist of fortune
3 AP · in melee · one chance in two · 1 per turn
Replaces Quick dagger.
A 50/50 bet on an enemy next to you. Success: they take again half of the damage YOU dealt to them between the start of their second-to-last turn and the start of their last turn — your previous turn, in other words: this turn’s damage does not count yet. Miss: you take a quarter of it yourself, and you gain +10 crit points for this turn (30 at most). Nothing dealt: nothing happens.
Tip. Cast it on the turn after a big damage turn: on a Success, it replays half of what you dealt to them on your previous turn — what you deal this turn does not count yet. Its catch: on a Miss, you are the one who pays — do not try it when the backlash can finish you.
Fickle blade
4 AP · range 1 to 5 · one chance in two · 1 per turn
Replaces Lifesteal.
An unpredictable blow on an enemy up to 5 tiles away, 50/50: 80 to 100 damage, or only 8 to 16 — a Miss, which gives you +10 crit points for this turn (30 at most).
Tip. Your big ranged hit, one time in two. Play it early in the turn: if it misses, your critical hit chance goes up for what follows. Its catch: you lose the heal from Lifesteal, and a turn built on it alone can yield almost nothing.
Lucky charm
1 AP · on self · 1 per turn
Replaces Creeping venom.
Your critical hit chance rises by 15 points, for this turn only.
Tip. Almost free: cast it first, before all your hits of the turn. Even better with Lucky hand. Its catch: it only affects critical hits, not the success chance of your chance spells.
Luck of the draw
2 AP · on self · one random outcome out of 8 · 1 per turn
Replaces Poison trap.
One outcome drawn at random out of eight, revealed when the spell is cast. Hot blood (16%): +30% damage until the end of the turn. Second wind (16%): you recover 45 to 60 HP. Surge (14%): +2 AP right away. Light feet (14%): +2 MP right away. Thick hide (14%): 40 armour until your next turn. Hex (10%): the nearest enemy loses 2 MP on its next turn (it can resist). Jackpot (4%): +2 AP, +2 MP and +30% damage. Miss (12%): nothing, except +10 crit points for this turn (30 at most), like any Miss.
Tip. Cast it at the start of every turn, to adapt the rest to what comes out: AP, movement, damage, armour or a heal. Its catch: never count on a specific outcome — plan a turn that holds even if nothing comes out.
Loaded die
2 AP · on self · one chance in two · 1-turn cooldown
Replaces Blade trap.
A 50/50 chance to recast for free, on the same tile, the last spell cast this turn (if it can still target it); otherwise, nothing: a Miss, which gives you +10 crit points for this turn (30 at most). A chance spell can only be recast if it has just failed: it then tries its luck again. Impossible after a trap, a self-buff spell or Twist of fortune.
Tip. It tries to replay your last spell of the turn for free: cast it right after your most expensive hit, or right after a lost gamble — it tries it again. Its catch: it cannot follow a trap, a self-buff or Twist of fortune, and a chance spell that has just succeeded cannot be replayed. Keep an original attack spell, such as Lifesteal or Quick dagger, so you always have something to replay.
Evil eye
4 AP · range 1 to 6 · free tile · 2 per turn
Replaces Hook trap.
Trap invisible to the opponent, on its tile and the 4 tiles diagonally around it, twice per turn. Whoever enters its area stops there and triggers it: everyone in it takes 20 to 28 damage and a 1-turn penalty (their next turn) drawn at random at that moment: −2 AP or −2 MP, 50/50. You trigger it too. Lasts 8 turns.
Tip. Two traps per turn that the opponent cannot see: sow them on the tiles they must cross when you have nobody to hit. The penalty falls at random, on AP or on movement. Its catch: you trigger them too, and it no longer pulls the victim towards your other traps as Hook trap did.
Sidestep
2 AP · range 1 · free tile · 1-turn cooldown
Replaces Fear.
You jump to a free tile next to you (not diagonally) and gain 1 MP right away. Until your next turn, the next enemy spell that wounds you, poisons you, removes AP or MP from you or pushes you deals 40% less direct damage to you. A poison or a removal on its own uses up this parry without reducing anything; traps and turret shots ignore it.
Tip. A step that gives movement back, plus a parry: to get out of a line or an area, or to end the turn out of range. Its catch: a single tile, and the parry only covers the next enemy spell that hits you — even a mere poison uses it up, and the next hit lands in full.
Double or nothing
3 AP · range 1 to 5 · one chance in two · 1-turn cooldown
Replaces Shadow veil.
A 50/50 chance to deal 65 to 80 damage to an enemy; otherwise, nothing — and you will have 1 fewer AP on your next turn. That Miss gives you +10 crit points for this turn (30 at most).
Tip. A big ranged hit, or nothing. Try it when it can finish the opponent, or when a failure does not cost you the next turn. Its catch: it takes the slot of Shadow veil — no more invisibility — and on a Miss it takes one AP from your next turn.
Playing the variants
The Shade’s variants replace poison and almost all her traps with gambles. Her turns no longer look alike: some yield almost nothing, others decide the match. It is a kit for players who accept losing a turn to a Miss.
The lucky turn (10 AP)
Lucky charm (1 AP) — first: your critical hit chance goes up for the whole turn.
Luck of the draw (2 AP) — depending on what comes out, you get more AP, movement, damage or protection for the rest.
Fickle blade (4 AP) — the big hit, one time in two.
Double or nothing (3 AP) — the second gamble.
Every Miss adds crit points until the end of the turn: a turn that starts badly often ends better. You have a little AP left, sometimes more if Luck of the draw gave you some.
Double the last turn’s stake (10 AP)
Twist of fortune (3 AP) — in melee, first: on a Success, it repeats half of what you dealt to them on your previous turn.
Fickle blade (4 AP) — next: what it deals will count for next turn’s gamble.
Double or nothing (3 AP) — the second gamble, which will count too.
Twist of fortune only counts the damage of your previous turn, never the current one: after a turn of Misses, keep your AP. And on a Miss it sends part of the stake back at you — do not try it when you are nearly dead.
Building a trap combo
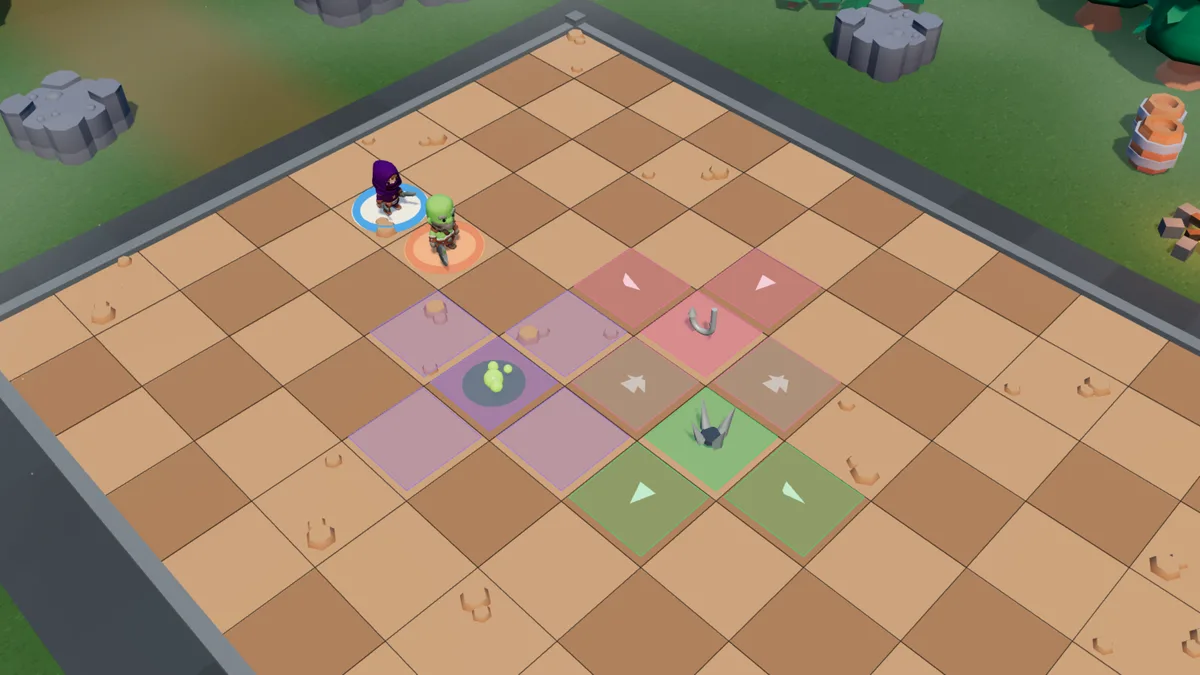
A single trap deals 17 to 63 damage. Five traps set off at once deal nearly 200, eight nearly 300. That is the whole art of the Shade: lay the crosses, link them together, then send your opponent in. Every scene in this section is played by the game engine, and every number is the one it calculated.
The trap rules
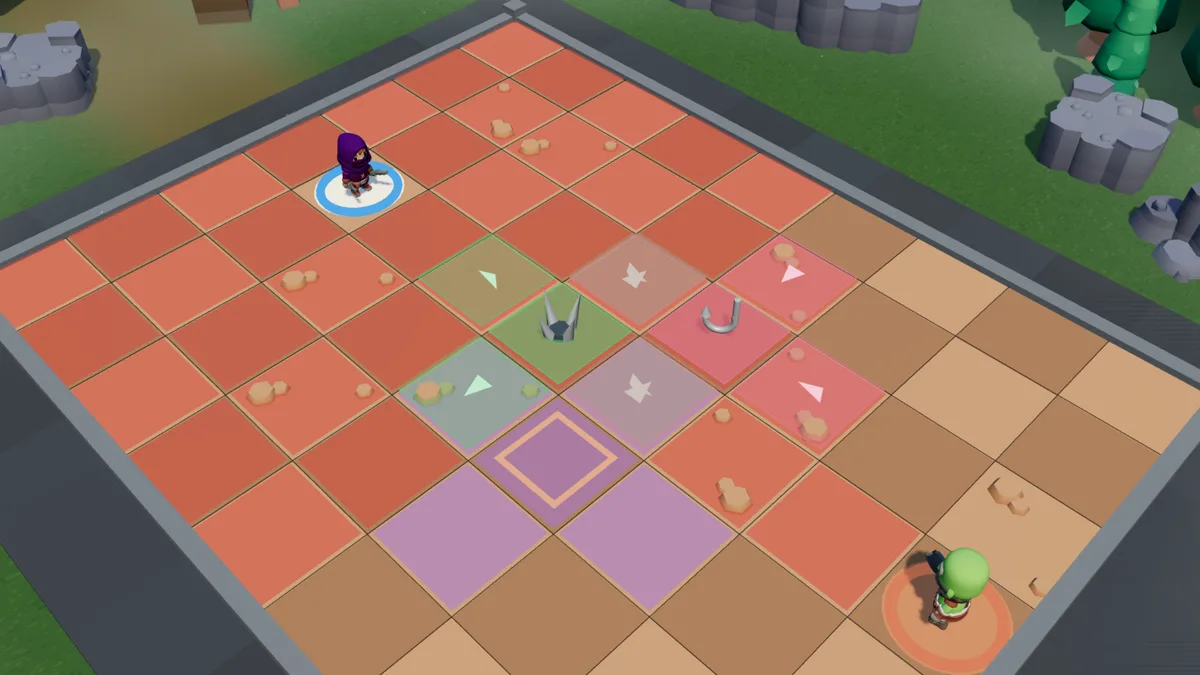
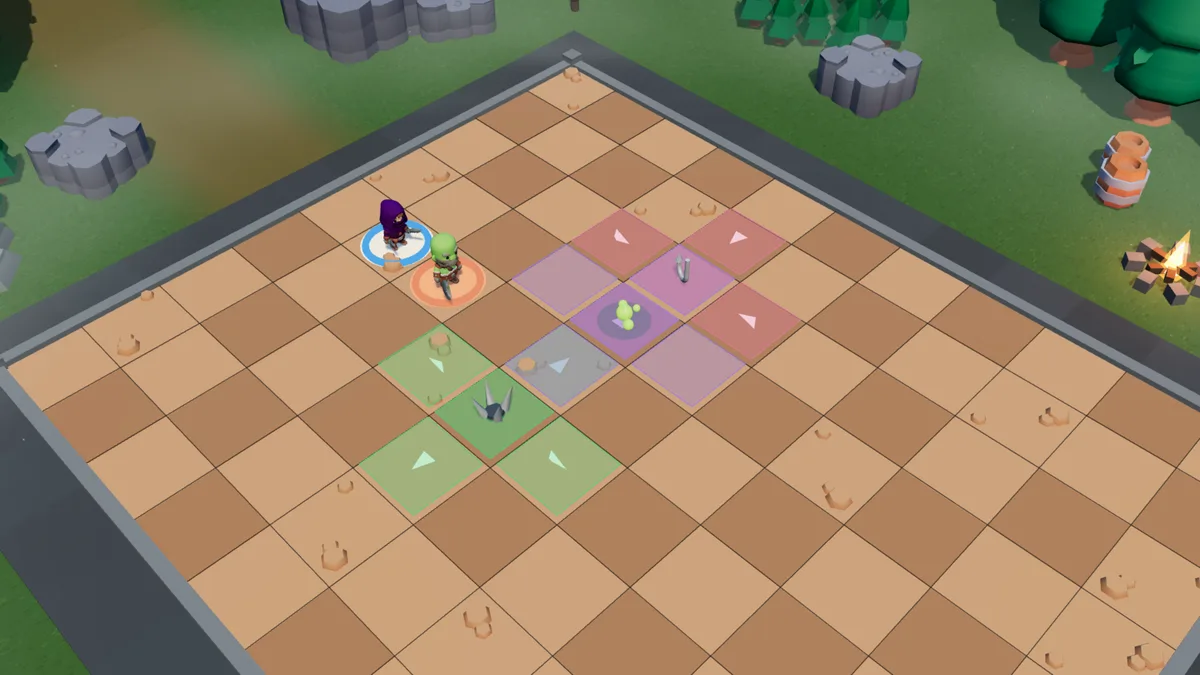
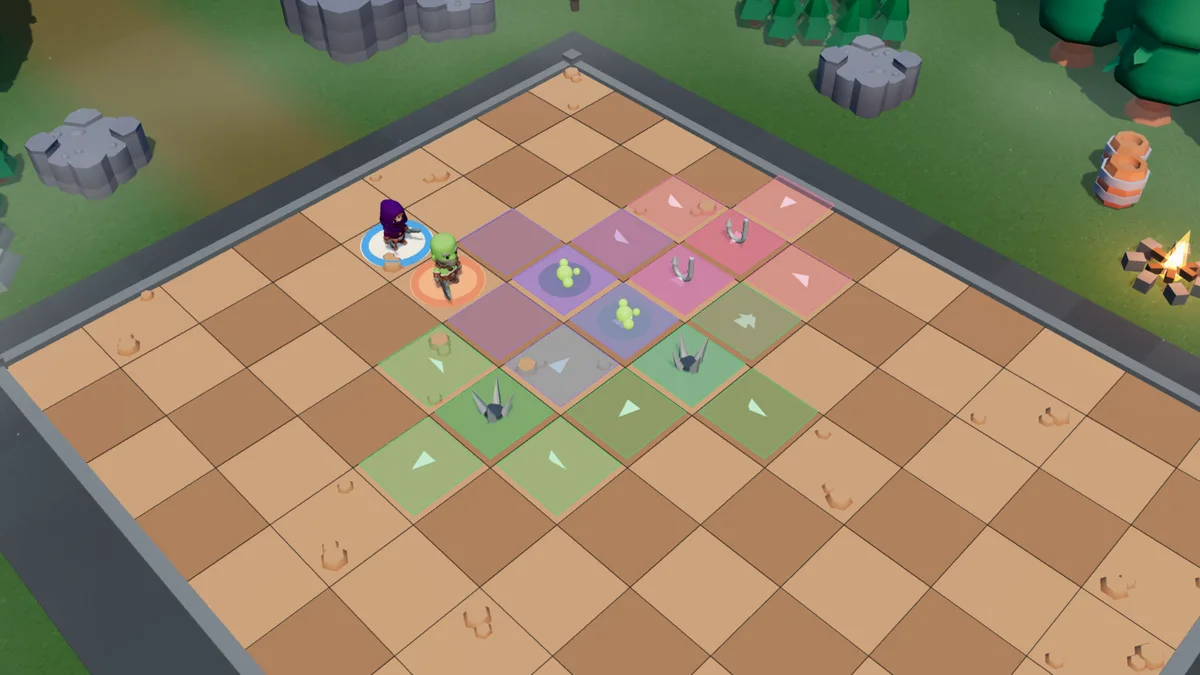
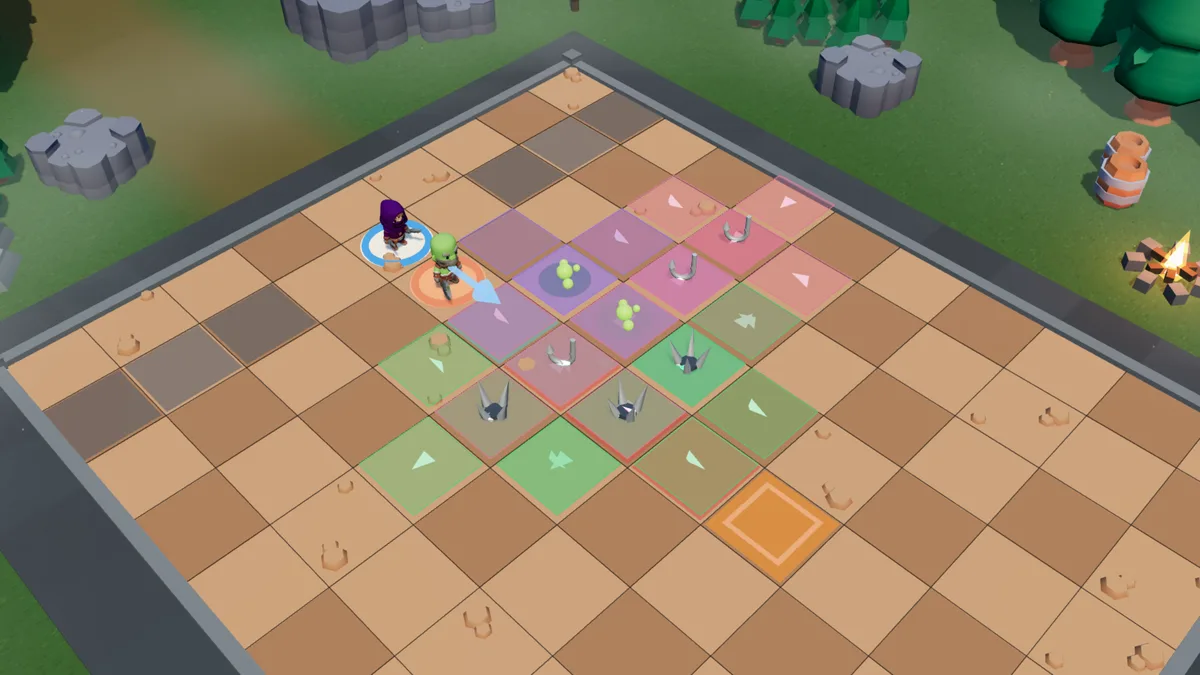
A cross of five tiles. Each trap covers its own tile and its four neighbours. It goes off as soon as an entity enters one of them: walking, pushed, pulled, fleeing or trading places.
All the crosses on a tile go off together. If the landing tile is covered by three crosses, all three traps trigger at the same time: all the damage first, then the movements.
One tile, one trap. Two traps never share the same tile, but their crosses can overlap: a tile can be covered by five crosses at most.
Hooks pull, blades push. One tile each: the hooks towards their centre, the blades away from theirs. If the landing tile belongs to another cross, that one goes off in turn: that is a chain.
One trap of each kind per turn. Three traps at most per turn (12 AP), lasting 8 turns: you build up six in two turns, nine in three.
Fear stops at the first trap. The flight ends as soon as it sets off a cross; it is the hooks and the blades that carry the victim on to the next ones.
Everyone inside the cross is hit. Whoever enters stops dead, and the trap also strikes anyone already standing on one of its tiles. Starting your turn inside a cross, however, triggers nothing.
Your traps hit you too. Never back into your own zone.
Overlapping the crosses
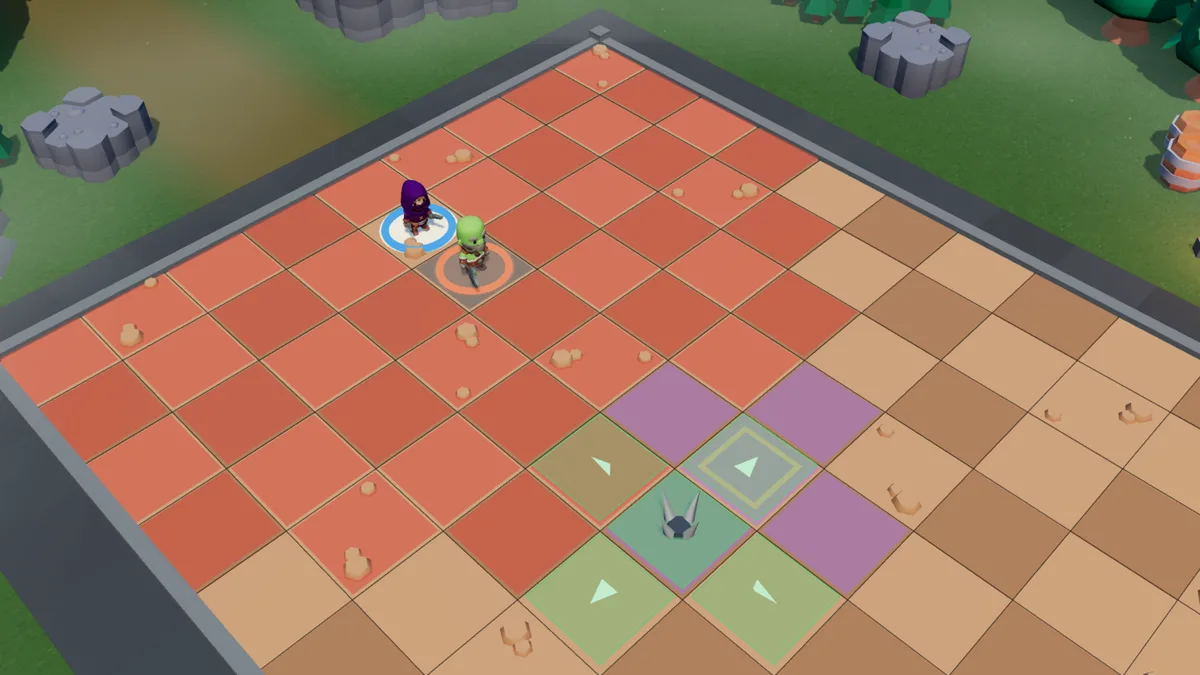
Two traps placed, the third being aimed: the shared tile is covered by all three crosses. Whoever steps in sets them all off at once.
The chain: pull, then push
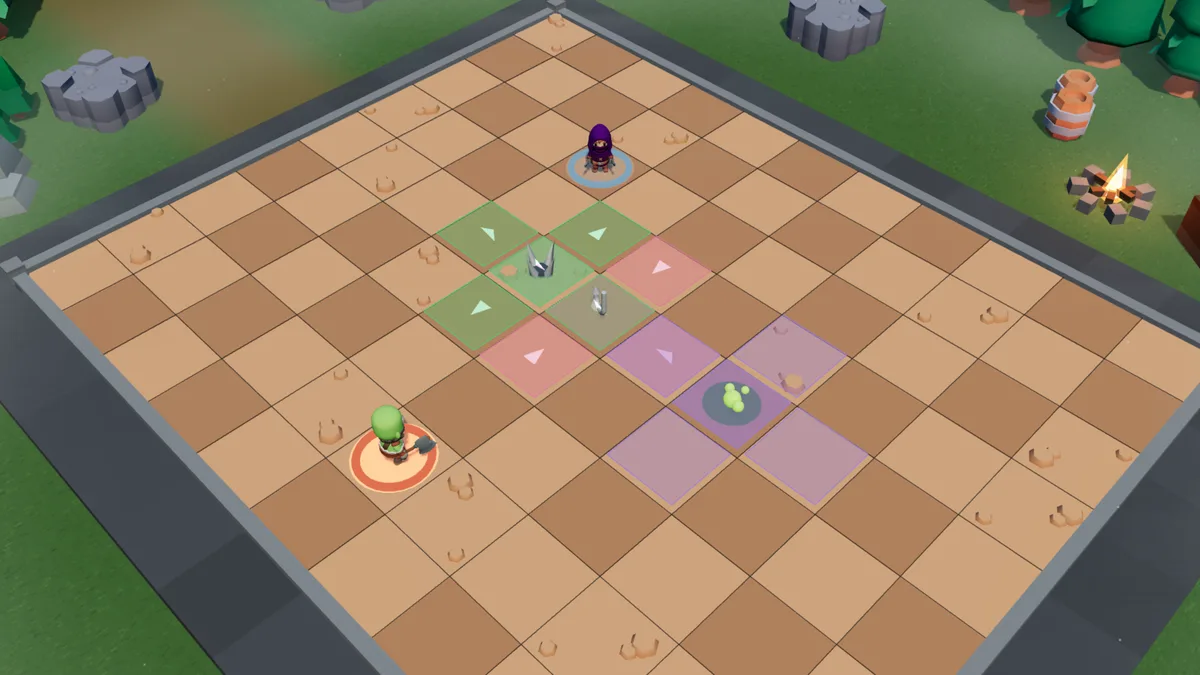
Spread-out crosses cover more ground than overlapping ones. You just have to link them: the hooks bring the victim onto the neighbouring cross, the blades drive them on to the next.
Three spread-out traps: hooks in the middle, blades on the left, venom on the right. Together they cover 12 tiles.
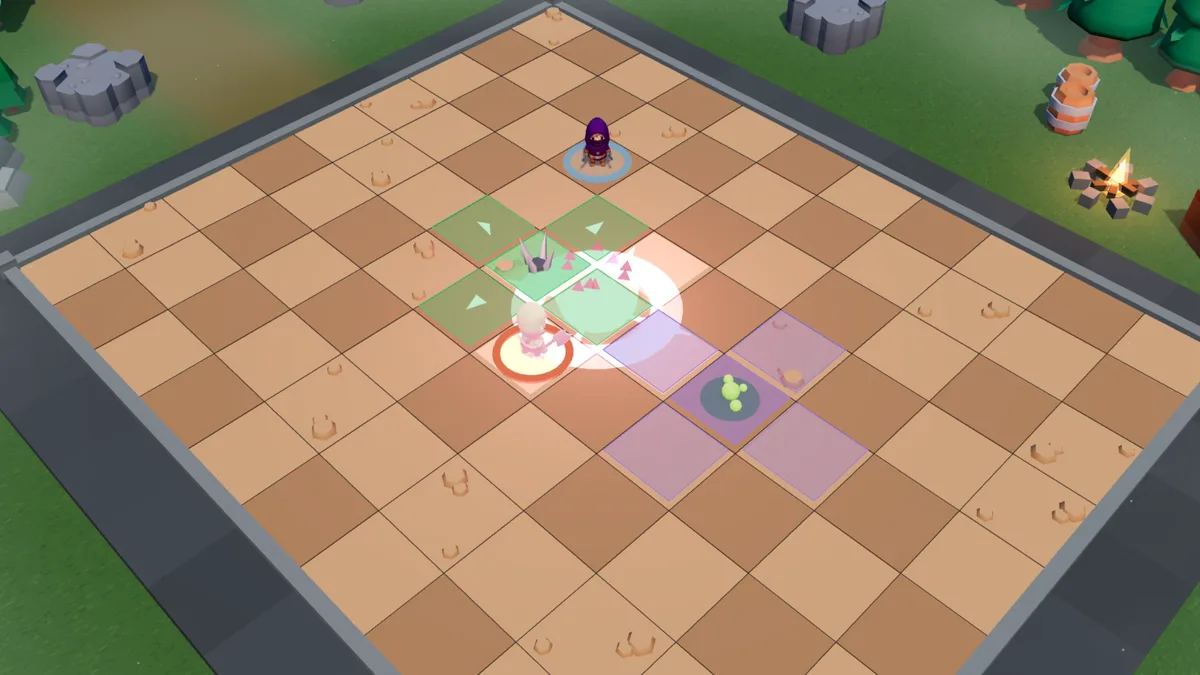
One step into the hooks’ arm: they go off and pull the Brute towards their centre…
…which lies in the blades’ cross: they push them to the right…
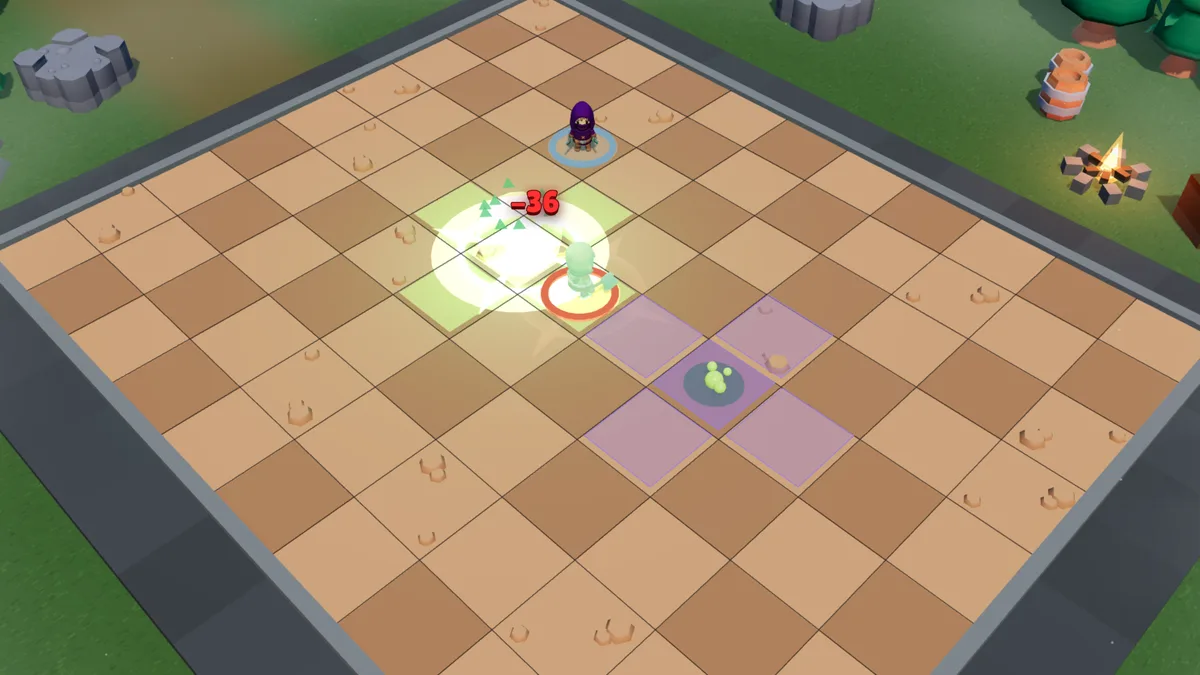
…straight into the venom. Three traps for a single step.
99 damage and a poison, for a single step from your opponent.
The wall: the push that slams
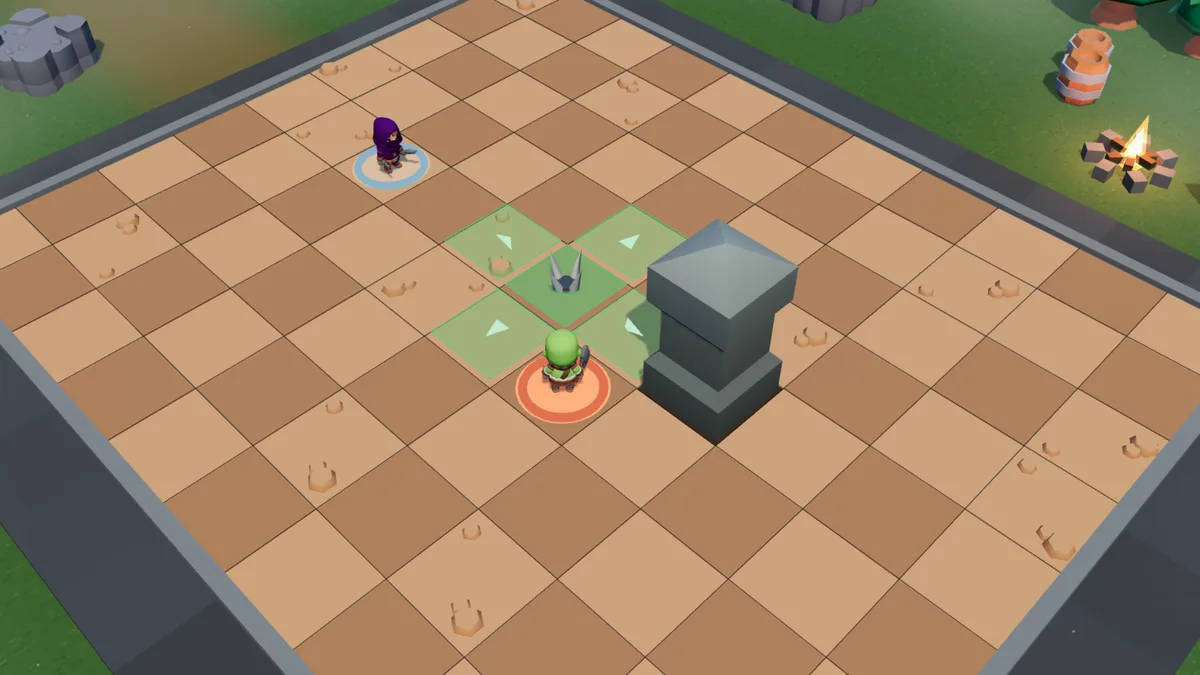
Blades laid in front of a pillar, in the Brute’s path.
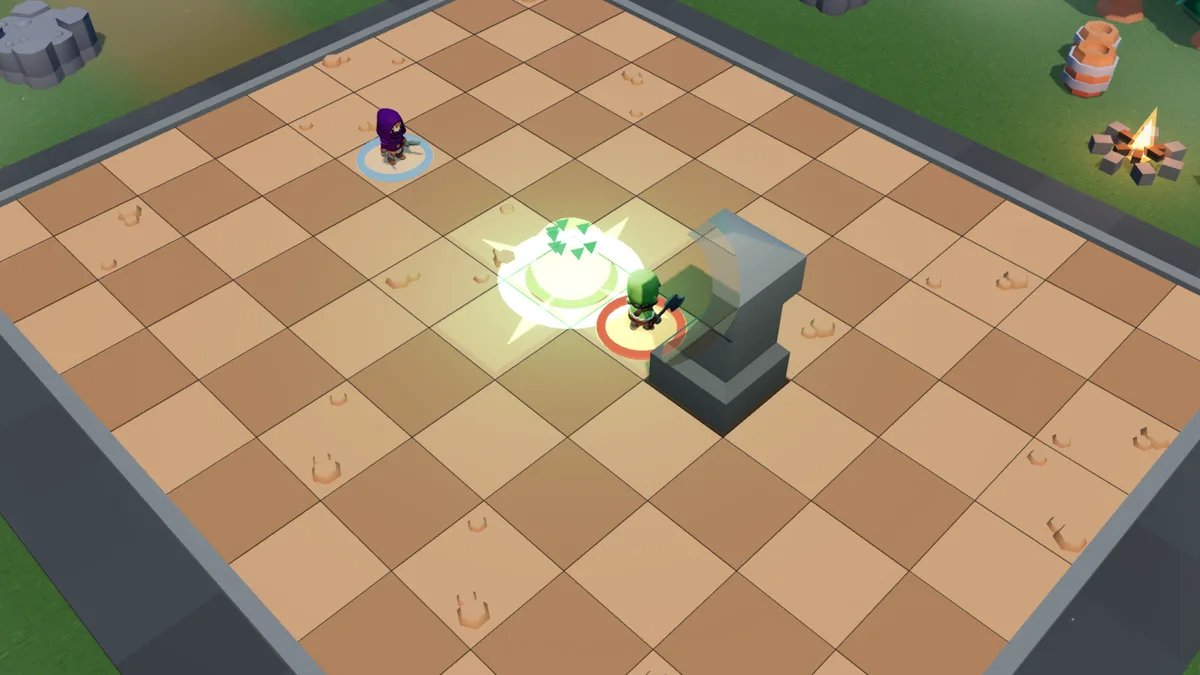
They step into the cross: the blades push them towards the pillar…
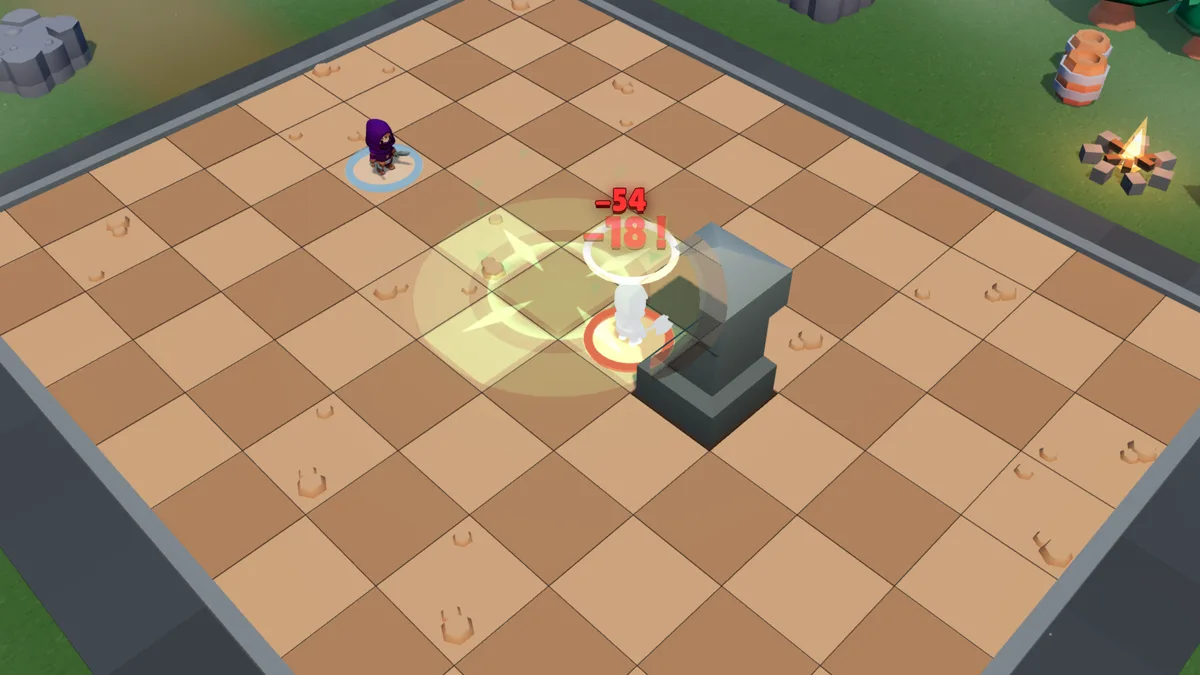
…and they hit it: 12 collision damage on top of the blades’.
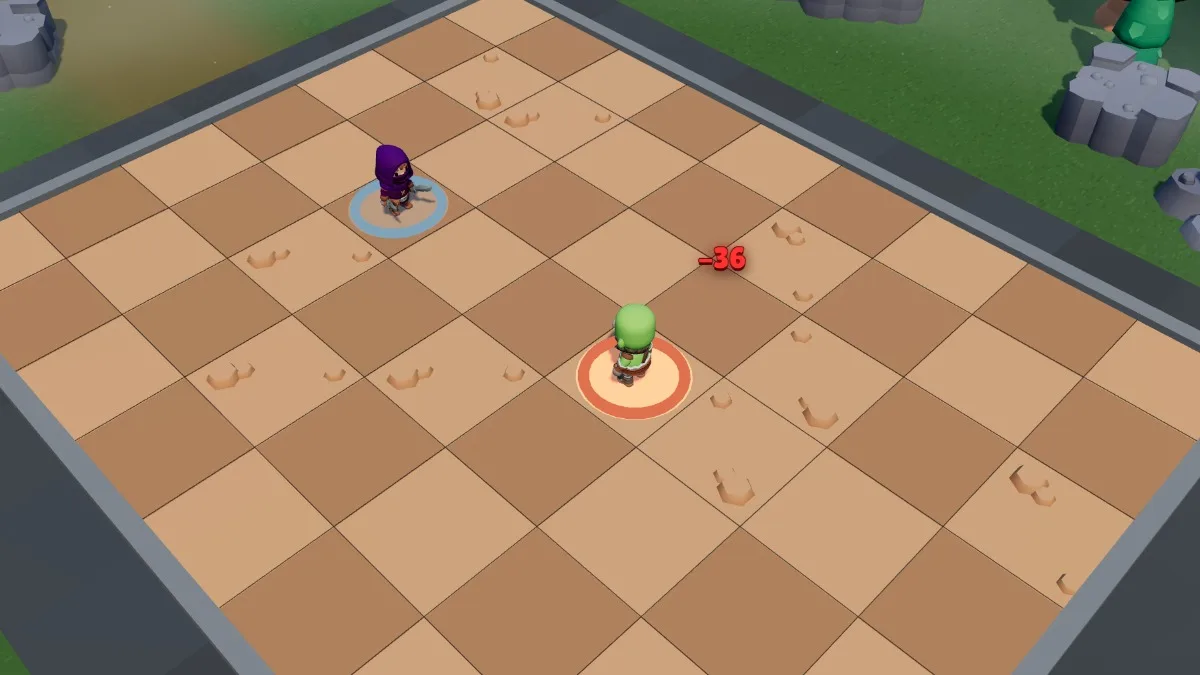
72 damage: 54 from the blades, 18 from the collision (an impact of 12, critical here). Against a wall, the push becomes guaranteed damage.
In 1 turn: two traps and Fear (11 AP)
Blade trap (4 AP), a few tiles in front of the Brute.
Hook trap (4 AP) just above: its centre lies in the blades’ cross.
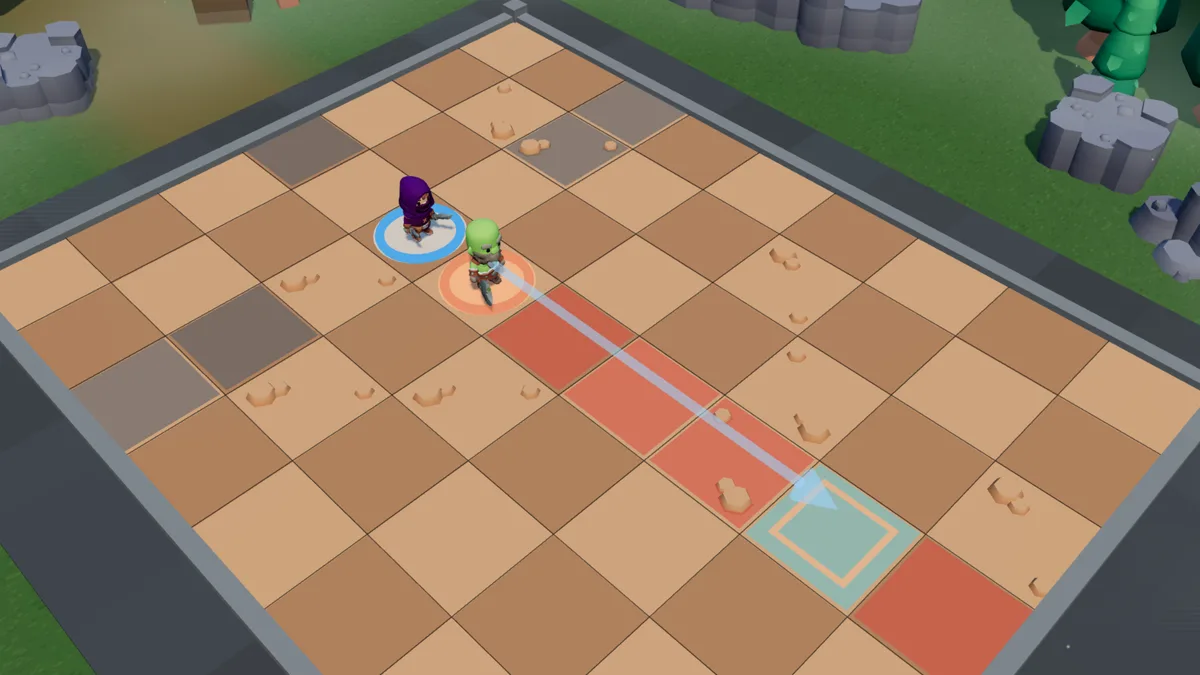
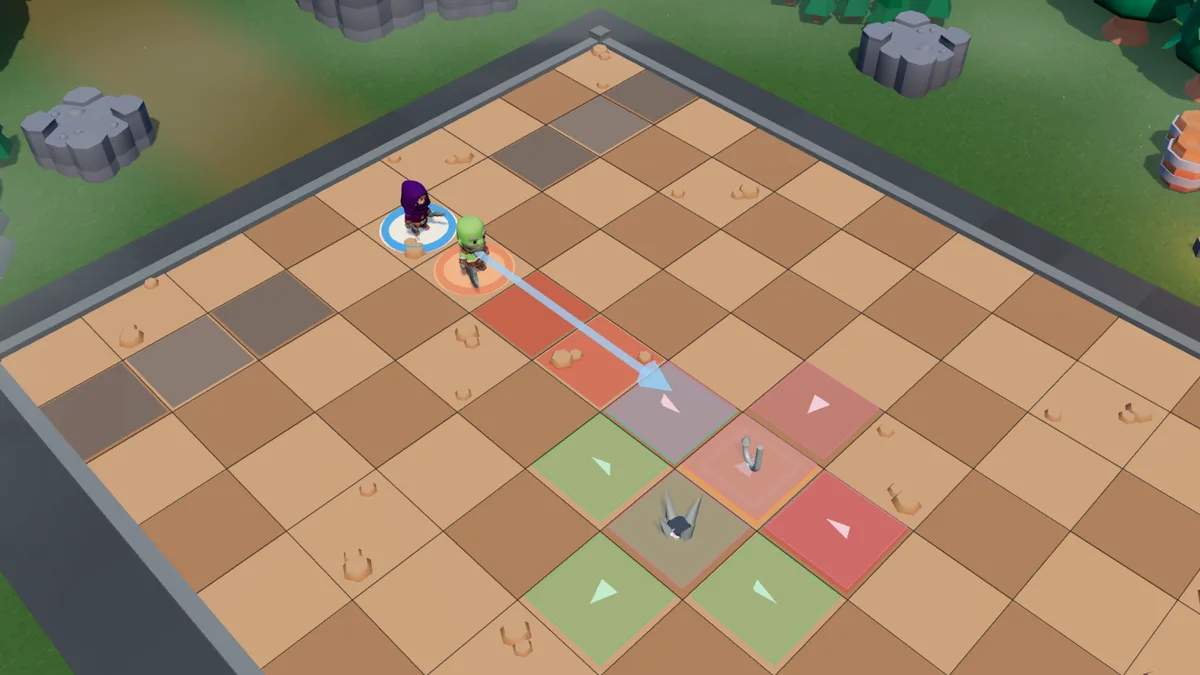
Fear (3 AP): right next to the Brute, aim at the hooks’ tile.
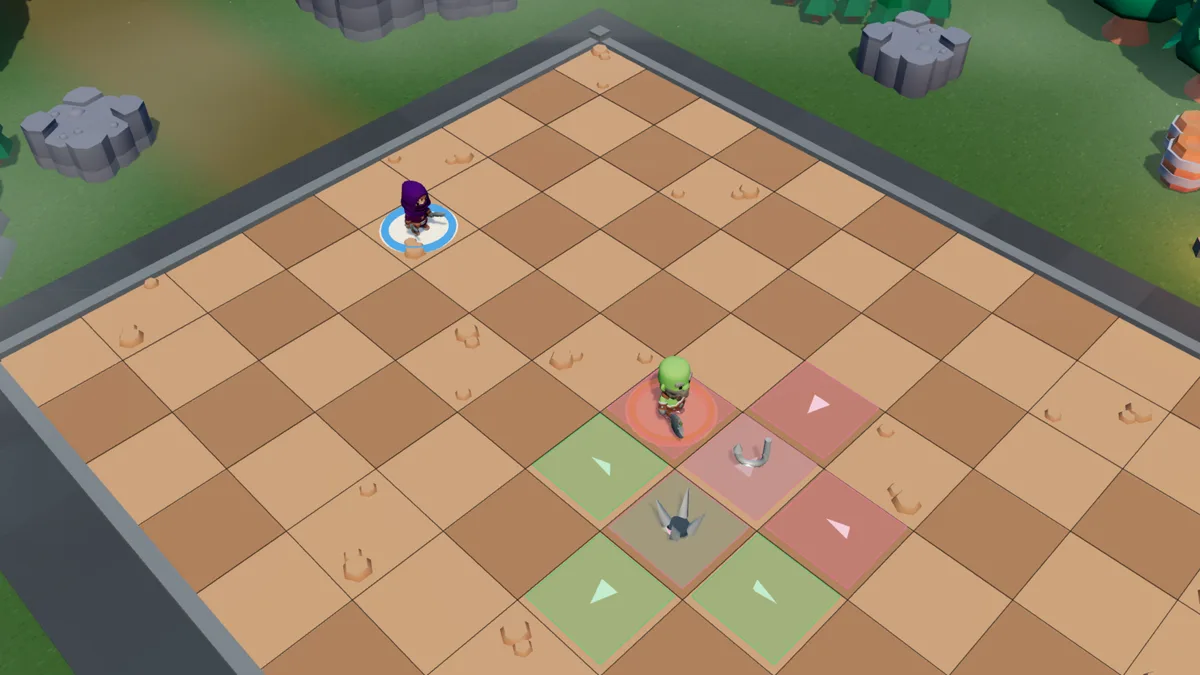
They flee into the hooks’ cross, which pull them onto the blades’: both traps go off.
78 damage from the very first turn, for 11 AP.
In 2 turns: five traps at once
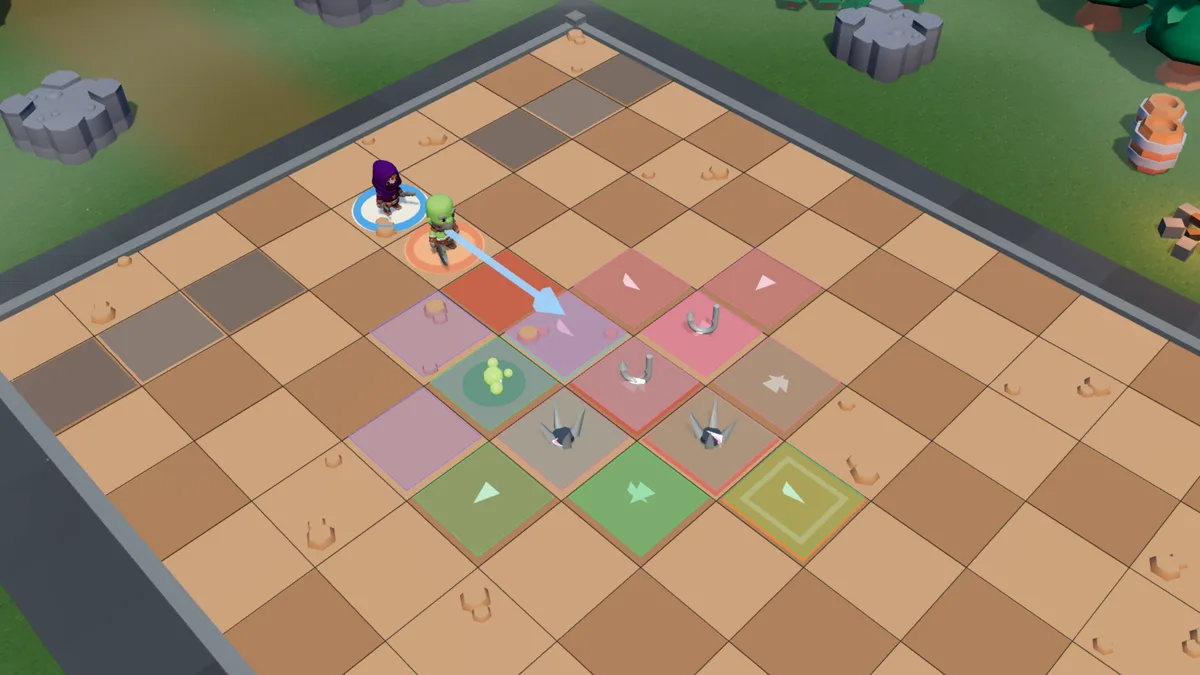
Turn 1 — three traps (12 AP), which your opponent cannot see.
Turn 2 — two more traps (8 AP), then Fear (3 AP). They do not run to the end of the arrow: the flight stops at the first trap.
Two tiles of flight, and there they are in the first cross: the venom and the hooks go off.
The hooks pull them to their centre, where three crosses overlap: two blades and more hooks go off together.
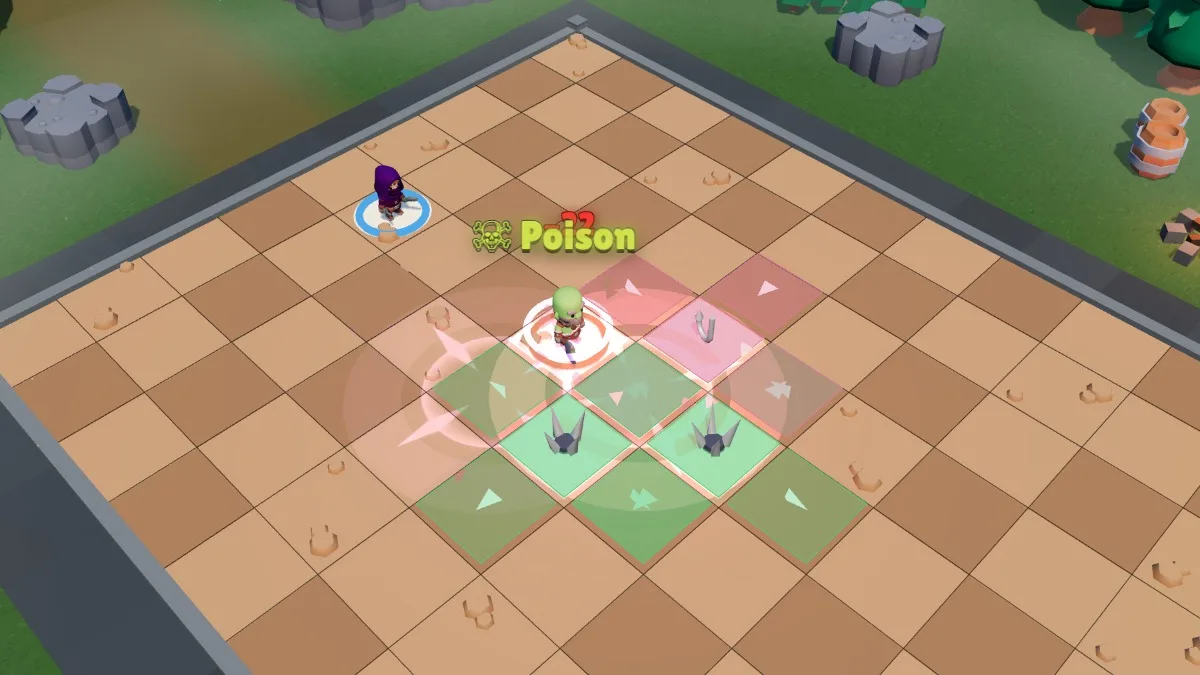
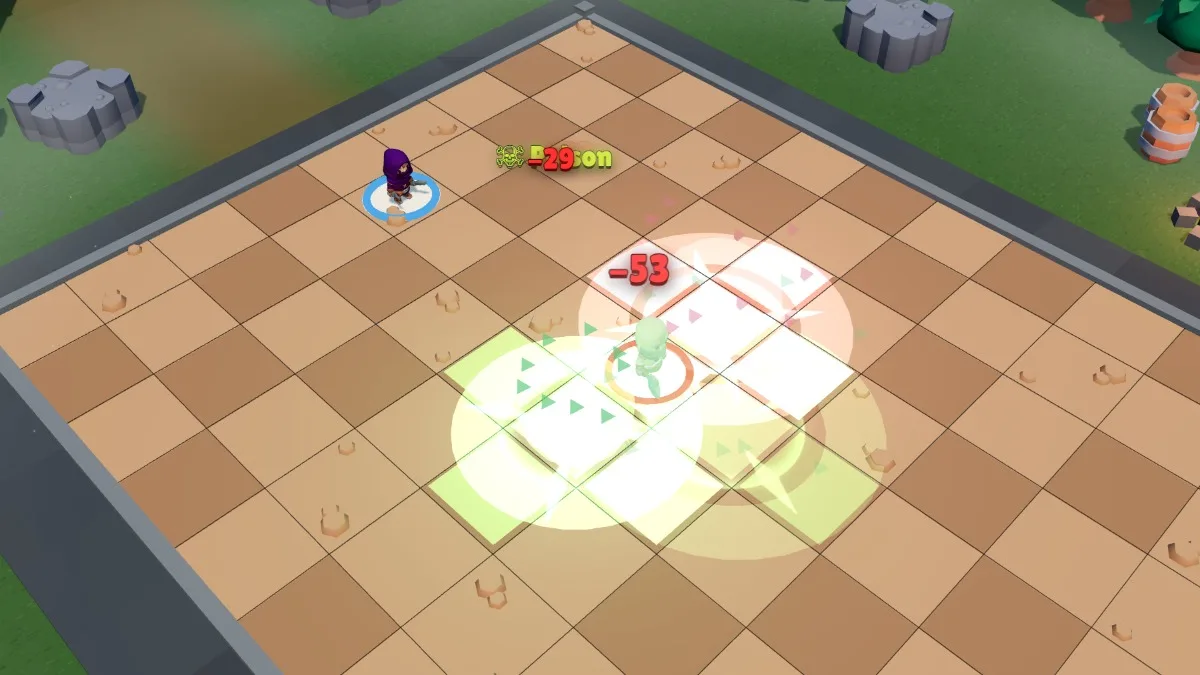
The pushes and the pull follow one another, and they end up at the centre of the last hooks: five traps, from a single Fear.
195 damage and a poison, from a single Fear.
In 3 turns: eight traps at once
Turn 1 — three traps.
Turn 2 — three more: six interlocking crosses.
Turn 3 — the last two traps (8 AP) and Fear (3 AP).
One tile of flight: Fear stops at the first trap. The venom and the hooks go off.
The hooks pull them to their centre, where three crosses overlap: two blades and a venom.
The blades push them back one tile, into two more crosses: hooks and blades.
These hooks pull them one more tile, into the last ones: the eighth trap.
The last push throws them against the edge, which counts as a wall: 11 collision damage to finish.
307 damage up front, plus two poisons that keep eating away for two more turns: nearly a third of a Brute’s health, without them ever seeing you.
These three layouts were found by the game engine, which tried thousands of placements: every trap placed goes off. They assume your opponent stays where they are; in a real match, mine the tile they have to cross — they cannot see your traps — and save Fear for the turn they get there.
Poison and invisibility
Poison, then vanish (8 AP)
Creeping venom (4 AP) at 6 tiles.
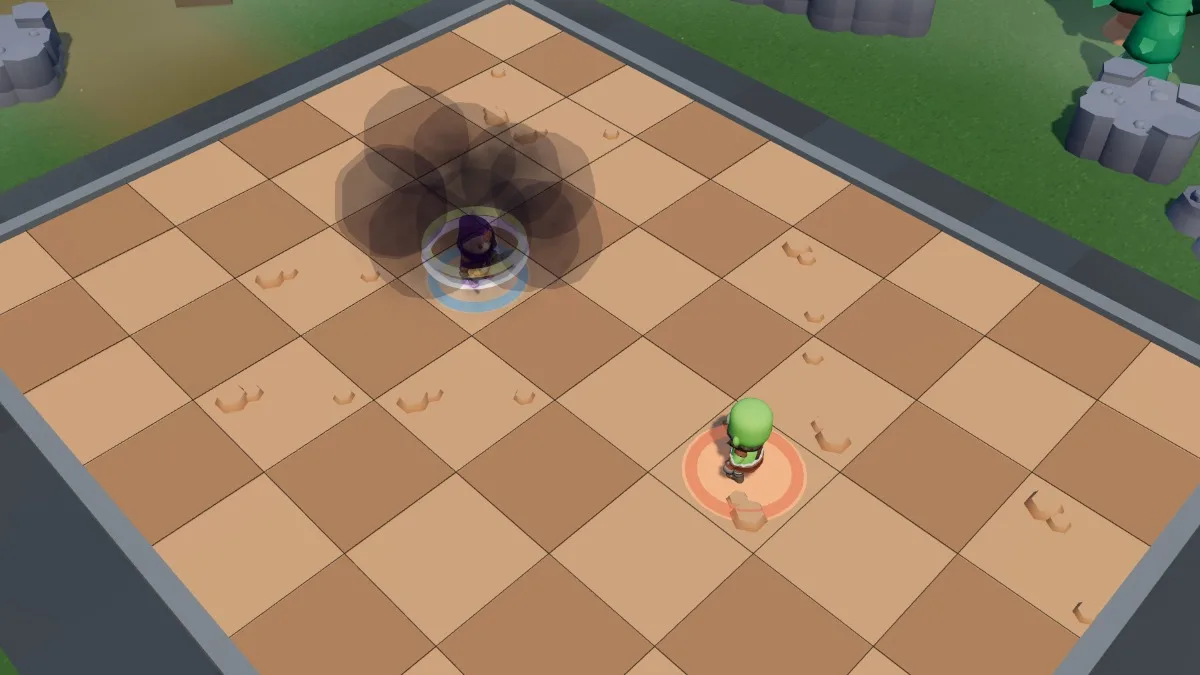
Shadow veil (4 AP): invisible, and +2 MP straight away — 8 MP for this turn.
All your MP, far from your last known position.
Your opponent starts their turn losing 19 to 27 health, with no target to hit and no idea which side to look for you on. Order no longer matters: attacking does not reveal you, so the Veil can come first.
Combos that work
These lines are the ones that come up most often, and pay off most, across several thousand training matches played by the game’s automatic opponents at their best level. For each one: the spells in order, what you need, what you get out of it, the most common follow-up, and when to do without it. A sequence missing from this list is not necessarily a bad one.
Into the trap, then the dagger (9 AP)
Fear (3 AP)
Quick dagger (3 AP)
Quick dagger (3 AP)
Conditions. Next to the enemy, with one of your traps placed behind them, in a straight line. Fear is aimed at a free tile beyond them.
Result. They flee and stop on the first trap they trigger; you catch up on foot and the two Quick dagger casts follow — stronger if they are poisoned, stronger still if they have little health left. You still have AP left.
The line. I play Fear, then Quick dagger twice; they answer by sweeping around themselves — a Steel storm, Lunge twice — or by moving away; then I have enough to lay my traps again, or Lifesteal and Creeping venom.
When not to play it. With no trap behind them: Fear only pushes them away, and your daggers do not always catch up. An anchored target does not move.
Bleed and heal (11 AP)
Lifesteal (5 AP)
Quick dagger (3 AP)
Quick dagger (3 AP)
Conditions.Lifesteal is cast from afar; end your move next to them for the two daggers. Ideal on a target that is already poisoned.
Result. Three hits, and half of the first comes back to you as HP. With Lucky charm in your kit, cast it before everything else: the line still fits in the turn.
The line. I play Lifesteal, then Quick dagger twice; they answer by hitting in melee — I stayed there — or by calling their beasts if they are a Brute; then I have three traps to lay while backing off, or two daggers and a Sidestep.
When not to play it. When you cannot take their reply: you end up in melee, with no AP, and this is the Shade’s most harshly punished line. Keep it for the finishing turn, or for the one before your Shadow veil.
Two gambles and a trap (12 AP)
Lucky charm (1 AP)
Fickle blade (4 AP)
Double or nothing (3 AP)
Evil eye (4 AP)
Conditions. The enemy within range of both your gambles. Lucky charm is cast first: it only counts for this turn.
Result. Two strokes of luck — each succeeds about one time in two, and a Miss raises your critical hit chance for what follows — then Evil eye on the path they will take to reach you.
The line. I play Lucky charm, Fickle blade, Double or nothing, then Evil eye; they answer by rushing in — Warrior’s leap and Warrior’s wrath — or by slowing me with a Pit; then I have the blade and the trap again, and Twist of fortune if my hits landed.
When not to play it. When you need a sure result, to finish or to survive: both gambles can miss together. And a lost Double or nothing costs you one AP on the next turn.
The dagger and the die (12 AP)
Fickle blade (4 AP)
Quick dagger (3 AP)
Quick dagger (3 AP)
Loaded die (2 AP)
Conditions. In melee, preferably with the target poisoned. Loaded die replays the last spell cast: keep it for the end, right after the second dagger.
Result. One gamble, two sure daggers, and one chance in two — a little more with Lucky hand — of replaying the last dagger for free. If Fickle blade misses, you can also cast Loaded die right after it: it tries it again.
The line. I play Fickle blade, Quick dagger twice, then Loaded die; they answer by hitting me in melee — Mace smash and Charge for a Brute; then I have the blade, Double or nothing, a dagger and Sidestep to get out.
When not to play it. If you cannot end up next to them: the daggers cannot be cast, and the die has nothing good left to replay. Never cast it after a trap or a self-buff: it is refused.
The trap field (12 AP)
Poison trap (4 AP)
Blade trap (4 AP)
Hook trap (4 AP)
Conditions. The enemy has to come to you. They cannot see where your traps land: put Hook trap beside Blade trap, the first pulls towards the second. Shadow veil does not fit in this turn: with it, only two traps.
Result. No damage this turn, but three traps that last several turns and that they cannot see. It is also your best fallback turn.
The line. I play Poison trap, Blade trap, then Hook trap; they answer by walking into them, or by staying at a distance; then I have Fear to throw them in, and Quick dagger twice if they are poisoned.
When not to play it. Against a shooter who never comes close: your traps will wait for nothing. And you trigger them too: do not close off your own path.
Their weaknesses
What beats a Shade
Area spells cast on an empty tile. The Arcanist’s Blast and Comet, the Brute’s Quake, the Artificer’s charges: invisibility does not protect you from what aims at nobody.
Your own traps. You set them off like everybody else. A Shade who backs off in a panic into their own mined area loses the match on their own.
Time. Their traps last 8 turns, their poisons 2. An opponent who refuses to enter the mined area and attacks from far away forces you out — and outside your traps, you hit the softest in the game.
Melee taken. 700 health and no armour. Ending a turn next to a Warrior or a Brute means losing half your bar.
What beats the variants
Inconsistency. Two Misses in a row and the turn is lost: over a long match, a consistent opponent ends up ahead.
No more invisibility, hardly any traps.Double or nothing replaces Shadow veil, and in place of the three traps only Evil eye remains, which neither pulls nor pushes: an all-variant Shade fights in the open.
Protections. Armour and resistances cut into a big successful hit as much as a small one: a gamble won against Bulwark pays little.
Who you face, and how
Against the Warrior and the Brute, mine the path rather than the destination: they advance in a straight line and both have a long-range closing spell. The Blade trap placed against a wall punishes them twice, with the damage and then with the collision.
Against the Arcanist, the Shade is at ease: 6 MP and one Veil are enough to cross the gap, and only their Elemental can push you away. Against the Artificer, beware of Shove — it sends you onto your own traps just as readily as onto their charges. Against the Clockmaker, your 40% resistance to AP removal is your best asset: yours is the class that takes their Hourglass best.
The variants change the timings. Against the Warrior, wait for Bulwark to end before your big gambles, and do not strike into a Holy respite: nobody takes damage there. Against the Brute and her beasts, Pack bond shares your hits: wait for it to end, or aim at the most wounded beast. Against a healing Arcanist, Twist of fortune counts what you dealt, even if it was healed in the meantime. Against the Artificer’s turrets, keep Evil eye for the hero’s path: a turret does not walk.
Frequently asked questions
How do you play the Shade in Solwaris?
The Shade is played by preparing the ground before striking: place the traps on the tiles people walk through, poison from range, then vanish. Their three traps cost 4 AP each, are placed once a turn and have no cooldown, so a single turn is enough to mine a crossroads. No spell you cast breaks invisibility: you can strike without reappearing, as long as nothing hits you back.
How much HP does the Shade have?
The Shade has 700 health, 12 action points and 6 movement points: the game’s norm, and one tile more than the Clockmaker every turn.
How does the Shade’s invisibility work?
Shadow veil costs 4 AP, makes the Shade invisible until their next turn and gives them 2 MP immediately. Your opponent can no longer target them, but a spell aimed at a tile or an area can still hit them. Two things reveal them: taking damage, or an enemy aiming at their tile with a spell that needs a free tile. Attacking gives nothing away, and neither does standing next to the opponent. The spell has a 5-turn cooldown.
What is the Shade’s best trap?
The Blade trap: 42 to 63 damage, plus a one-tile push away from the centre that adds 12 collision damage if the victim hits an obstacle. The Hook trap pulls one tile towards the centre instead, which serves to bring your opponent onto another cross. All three traps cost 4 AP, last 8 turns and go off under your own feet too.
How do you beat a Shade?
With area spells aimed at an empty tile, which hit without needing to see it: the Arcanist’s Blast and Comet, the Brute’s Quake, the Artificer’s charges. Refusing to enter the mined area works too: an opponent who attacks from far away forces the Shade to leave the ground they prepared.
Is the Shade’s luck known in advance?
No. Each chance spell draws its outcome at the moment it is cast: neither you nor your opponent knows it beforehand. The tooltip and the preview give the chances and the possible outcomes, never the result. A chance spell succeeds one time in two, and a little more often with the Lucky hand passive.
The Shade rewards patient players: their best turns are the ones where they deal no damage at all.