How to Win with the Shade in Solwaris
The Shade is the most confusing class in Solwaris, and the easiest to play badly. It never wins a head-on trade; it wins when the opponent walks exactly where it was waiting. Here is how to play it in a duel, spell by spell, trap by trap, and against each of the five other classes.
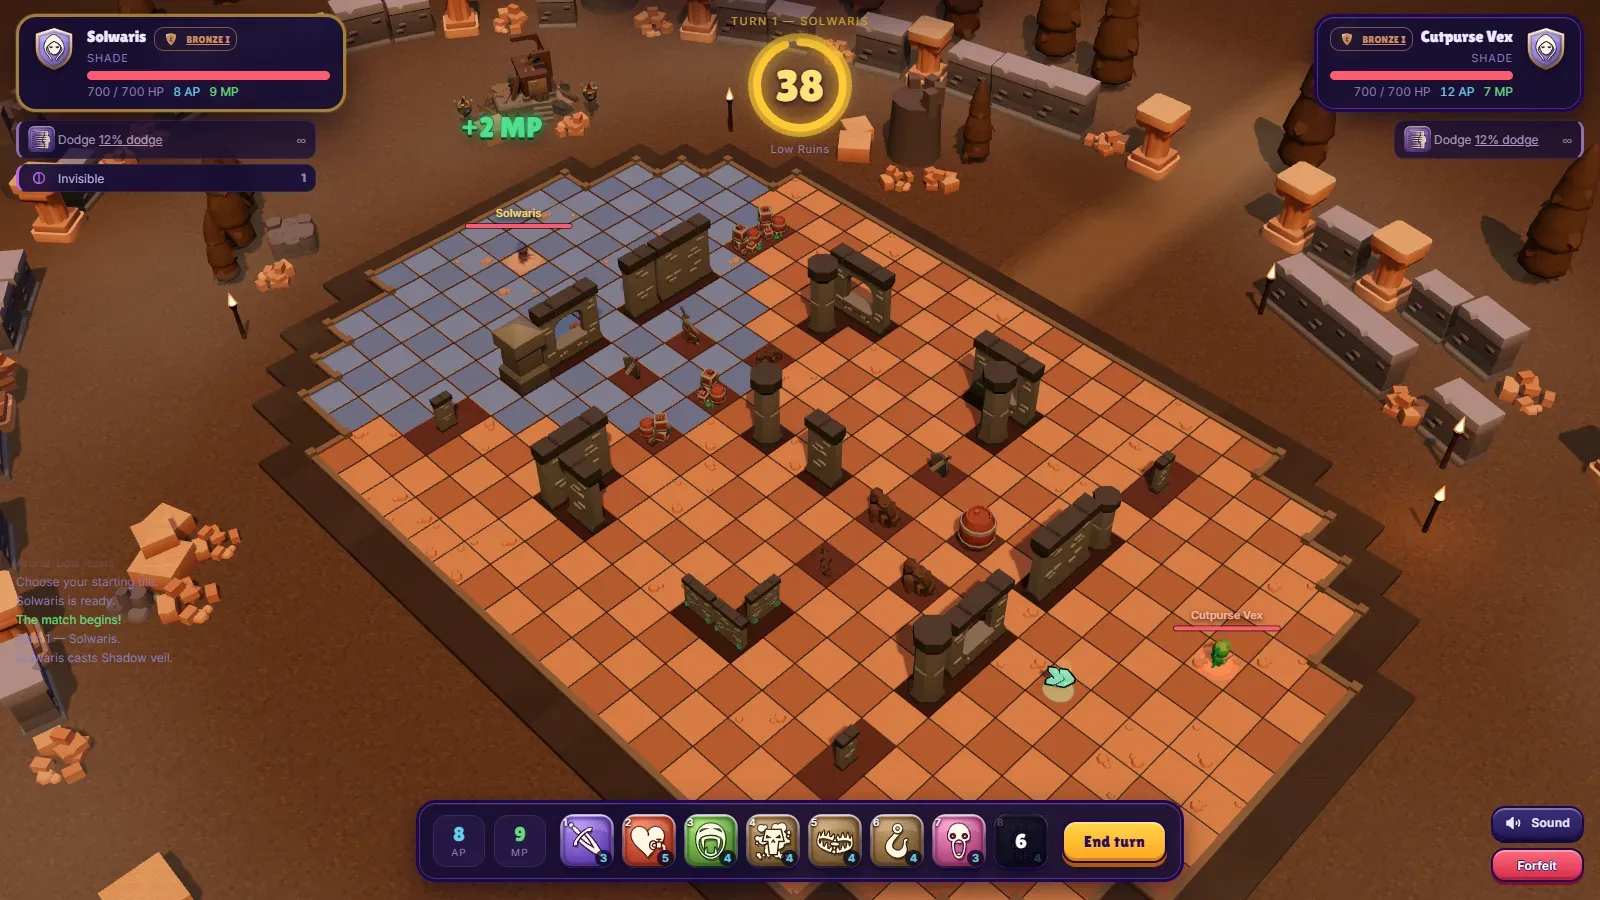
The Shade attracts players who love trickery: invisible traps, poison, invisibility. And it often disappoints them at first, because it plays the opposite of what you expect. It hits softly, it has 700 hit points and no armour. What makes it dangerous is the ground it prepares and the information it hides. This guide follows the game’s numbers, read from its code, and the full class page is in the Shade guide.
What the Shade has, and what it does not
| Stat | Shade | What it changes |
|---|---|---|
| Hit points | 700 | The bottom of the scale, with the Arcanist and the Artificer |
| Action points | 12 | Three 4 AP spells, or four 3 AP spells |
| Movement points | 6 | The standard; Shadow veil adds 2 at once |
| AP and MP removal resistance | 40% | Among the best in the game |
| Passive | Dodge, 8% | Now and then, a spell’s damage is cancelled, but not its effects |
Its 6 MP are what almost everyone has: the Shade does not run faster than the others. Its mobility comes from Shadow veil, which gives 2 MP right away, and from the tiles it has mined behind it.
Dodge, on the other hand, cannot be planned. When a spell deals direct damage to you, you have a 8% chance to dodge it. Only the damage is cancelled: a push, a pull, AP or MP removal, a poison or a position swap still applies. Poison ticking away, traps, glyphs and collisions cannot be dodged. Play as if it did not exist.
The eight spells, and what they are really for
The three traps: the heart of the class
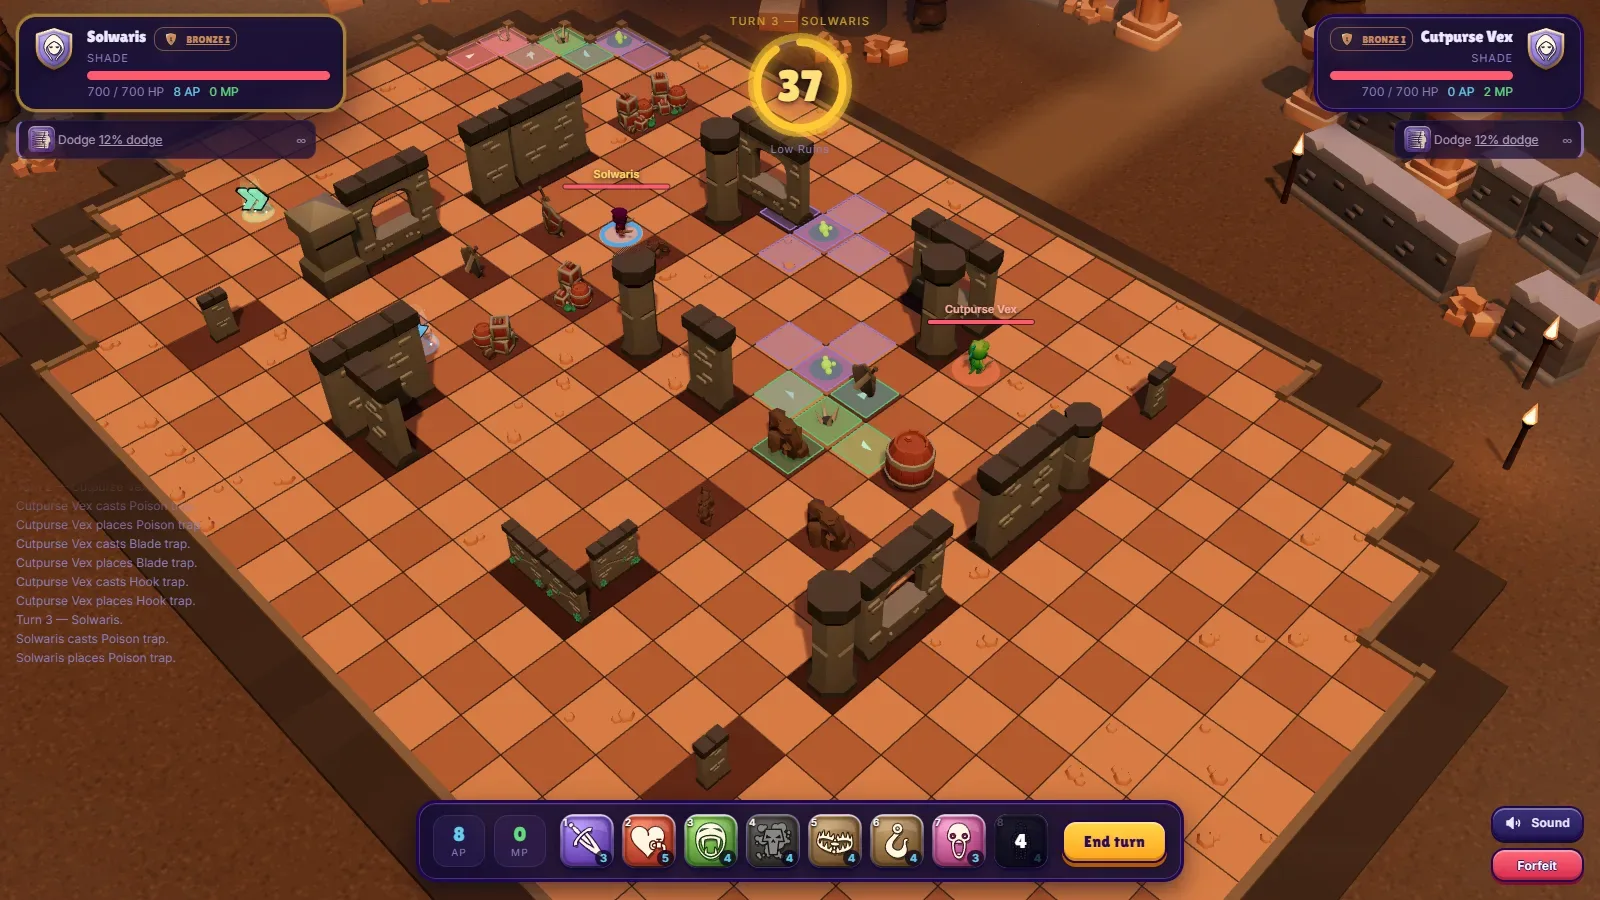
All three traps cost 4 AP, are placed on a free tile 1 to 6 tiles away, in line of sight, cover a 1-tile cross and last 8 turns. Each can be placed once per turn, but none has a cooldown. The opponent cannot see them; you can, and you trigger them too.
- Blade trap: 42 to 63 damage, then the victim is pushed one tile away from the centre. If it hits an obstacle, it takes 12 extra collision damage. It is your biggest hit, and even better against a wall.
- Hook trap: 29 to 42 damage, and the victim is pulled one tile towards the centre. Weaker, but it is the piece that links two traps: it drags the opponent towards the neighbouring cross.
- Poison trap: 17 to 25 damage immediately, then 15 to 24 per turn for 2 turns. Poison from several Poison traps stacks.
Poison and melee
- Creeping venom (4 AP, range 1 to 6, 2-turn cooldown): no immediate damage, but 19 to 27 at the start of each of the target’s next 2 turns. The damage lands during their turn, far from you.
- Quick dagger (3 AP, melee, twice per turn): 24 to 34, 35% more if the target is poisoned, and 30% more if it is below 40% of its HP; the two stack. The only good reason to go into melee.
Surviving and moving
- Lifesteal (5 AP, range 1 to 5, 1-turn cooldown): 28 to 41 damage, and you heal half of it. Your only heal. Expensive: save it for turns when you are already hurt.
- Shadow veil (4 AP, self, 5-turn cooldown): invisible until your next turn, and +2 MP right away. The opponent can no longer target you. Only damage taken reveals you: attacking does not give you away.
- Fear (3 AP, range 2 to 6, in a straight line, no line of sight needed): next to a unit, aim at a free tile behind it; it flees towards that tile and stops on the first trap it triggers. If an obstacle cuts its escape short, 12 damage per missing tile.
Where to place your traps
A trap placed at random is a trap wasted. Three spots pay off almost every time:
- On the path, not on the destination. The Warrior and the Brute come at you in a straight line. Mine the tiles they must cross, not the one you are standing on.
- On the tiles that open a line of sight. A ranged opponent looks for the angle to shoot from. If there is only one, that is where the Blade trap goes.
- Against a wall. The Blade trap’s push then turns into 12 guaranteed collision damage.
And think in triangles: Hook trap in the middle of a crossroads, Blade and Poison traps on two tiles right next to it. An opponent who walks into the area is pulled towards the other crosses and often triggers two.
Three combos that win fights
The setup turn (12 AP). Hook trap, Blade trap, Poison trap: a crossroads mined in one turn. It is a turn with no damage, and that is fine. Do it while the opponent is still far away, ideally on turn one or two.
Venom, then Dagger (10 AP). Creeping venom from range, your MP to reach melee, then two Quick daggers: since the target is poisoned, each hits for 32 to 46 instead of 24 to 34. Keep it for a turn where you have enough MP left to get away after the daggers, or when the opponent is already low.
Let Fear do the work (7 AP). A Blade trap behind the opponent, your MP to get next to them, then Fear on a tile beyond the trap. They flee, enter the cross and stop there: the flight ends at the first trap triggered, so there is no point lining up two. Place the Blade trap in front of a wall to add the collision.
Defensive variant: Venom, then Veil (8 AP). You poison, vanish with 8 MP, and the opponent starts their turn losing HP with nothing to hit.
The mistakes that lose games with the Shade
- Backing into your own traps. They trigger under your feet. Remember where they are before you run.
- Casting the Veil too early. A five-turn cooldown: it is an emergency exit, not a play style. Cast on turn one for no reason, it will be missing on the turn the opponent reaches you.
- Ending your turn next to a melee class. 700 HP and no armour: a turn next to a Warrior or a Brute costs a big chunk of your bar.
- Forgetting that invisibility does not protect you from areas. A spell aimed at a tile still hits you, and reveals you.
- Placing traps too far away. They last 8 turns. A trap placed where the opponent will never go is 4 AP thrown away.
- Paying for initiative. A setup class often prefers to let the other come to it. At the initiative bid, do not outbid on reflex.
Matchups, class by class
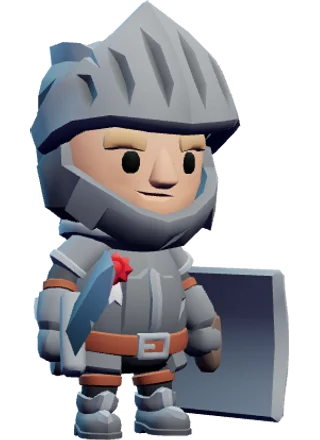 WarriorMelee · Assault / Guardian
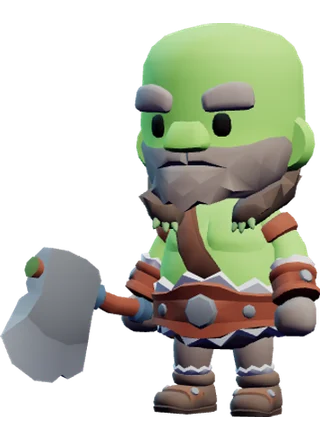 BruteMelee · Assault / Summon
 ArcanistRanged · Assault / Heal
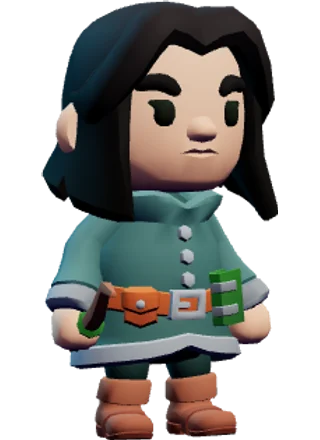 ClockmakerMid-range · Control / Assault
 ArtificerMid-range · Area / Summon
| Opponent | Their threat | Your plan |
|---|---|---|
| Warrior | Warrior’s leap (range 2 to 5) and Taunt (2 to 6, in a line) to get next to you | Mine the path, stay off their row and column, keep the Veil for the turn of their Warrior’s wrath |
| Brute | Charge up to 7 tiles in a straight line, Quake that hits tiles | Break straight lines with obstacles, place Blade traps in front of walls, do not think you are safe under the Veil |
| Arcanist | Long range, Blast and Comet on empty tiles | Your 6 MP and the Veil close the distance; in melee, their Focus gives nothing |
| Clockmaker | Hourglass that removes AP, position swaps | Your 40% AP removal resistance holds up well; destroy their Automatons (10 HP) |
| Artificer | Shove that pushes 3 tiles, charges that explode in an area | Do not place traps between you and them: they can push you into them |
| Shade | The same traps, invisible to you | Advance on tiles it cannot have mined: out of its line of sight when it placed them |
Against the Warrior and the Brute, everything comes down to distance. They must come to you, and they come in a straight line. Every turn they walk, they risk a trap; every turn they close in one go, they end up next to you. Stay off their lines and make them walk.
Against the Arcanist, the Shade is comfortable. Apart from their Flame elemental’s Burning breath, they have nothing to push you back, and their 700 HP do not last long in melee. Only watch out for their area spells, which hit you even when invisible.
Against the Clockmaker, think about their Automatons: Hourglass and Recall only swap places with them, and they have just 10 HP. One Automaton destroyed is one fewer swap.
Against the Artificer, it is the trickiest matchup. Their explosions hit tiles, not targets, and their Shove can send you back onto your own crosses. Place your traps behind them, never between the two of you.
Getting better with the Shade
Training against the AI is the right place to learn trap placement without risking your rating: it does not count towards the leagues. Then watch fights in spectator mode to see where players walk, since that is where your crosses go. And if you come from Dofus, the Shade is the Sram’s cousin: our article on the best Dofus class draws the parallels between the play styles of the two games.
The Shade rewards patience. Its best turns are often the ones where it deals no damage at all. Try it in Solwaris, free in your browser.
Sources: the numbers in this article come from the game code, as of the publication date.
The fastest way to understand it: play a duel
Pick a hero, take your position and beat another player — or an AI — turn by turn. Nothing to install: it plays right here.
Frequently asked questions
How do you play the Shade in Solwaris?
By preparing the ground before striking. You place traps on the tiles people walk through, poison from range, then step out of reach or vanish. The Shade deals little direct damage; its best turns are the ones where the opponent hurts themselves by walking.
Does the Shade trigger its own traps?
Yes. A trap triggers on anyone who enters its area, including the player who placed it. So remember where your traps are, and never back into them.
How do you hit an invisible Shade?
With an area spell cast on a tile, even an empty one, such as the Arcanist’s Blast or Comet, the Brute’s Quake, or the Artificer’s charges. An invisible Shade can no longer be targeted directly, but it still stands on a tile, and taking damage reveals it.
What is the best class against the Shade?
Classes that hit tiles rather than targets bother it most, the Artificer first, whose Shove can send it back onto its own traps. The Arcanist, on the other hand, struggles if the Shade manages to get next to it.